Black Sesame Soup

I find myself craving black sesame soup when the weather gets cold. It’s extremely comforting, and nutritious, and warms you from the inside out.

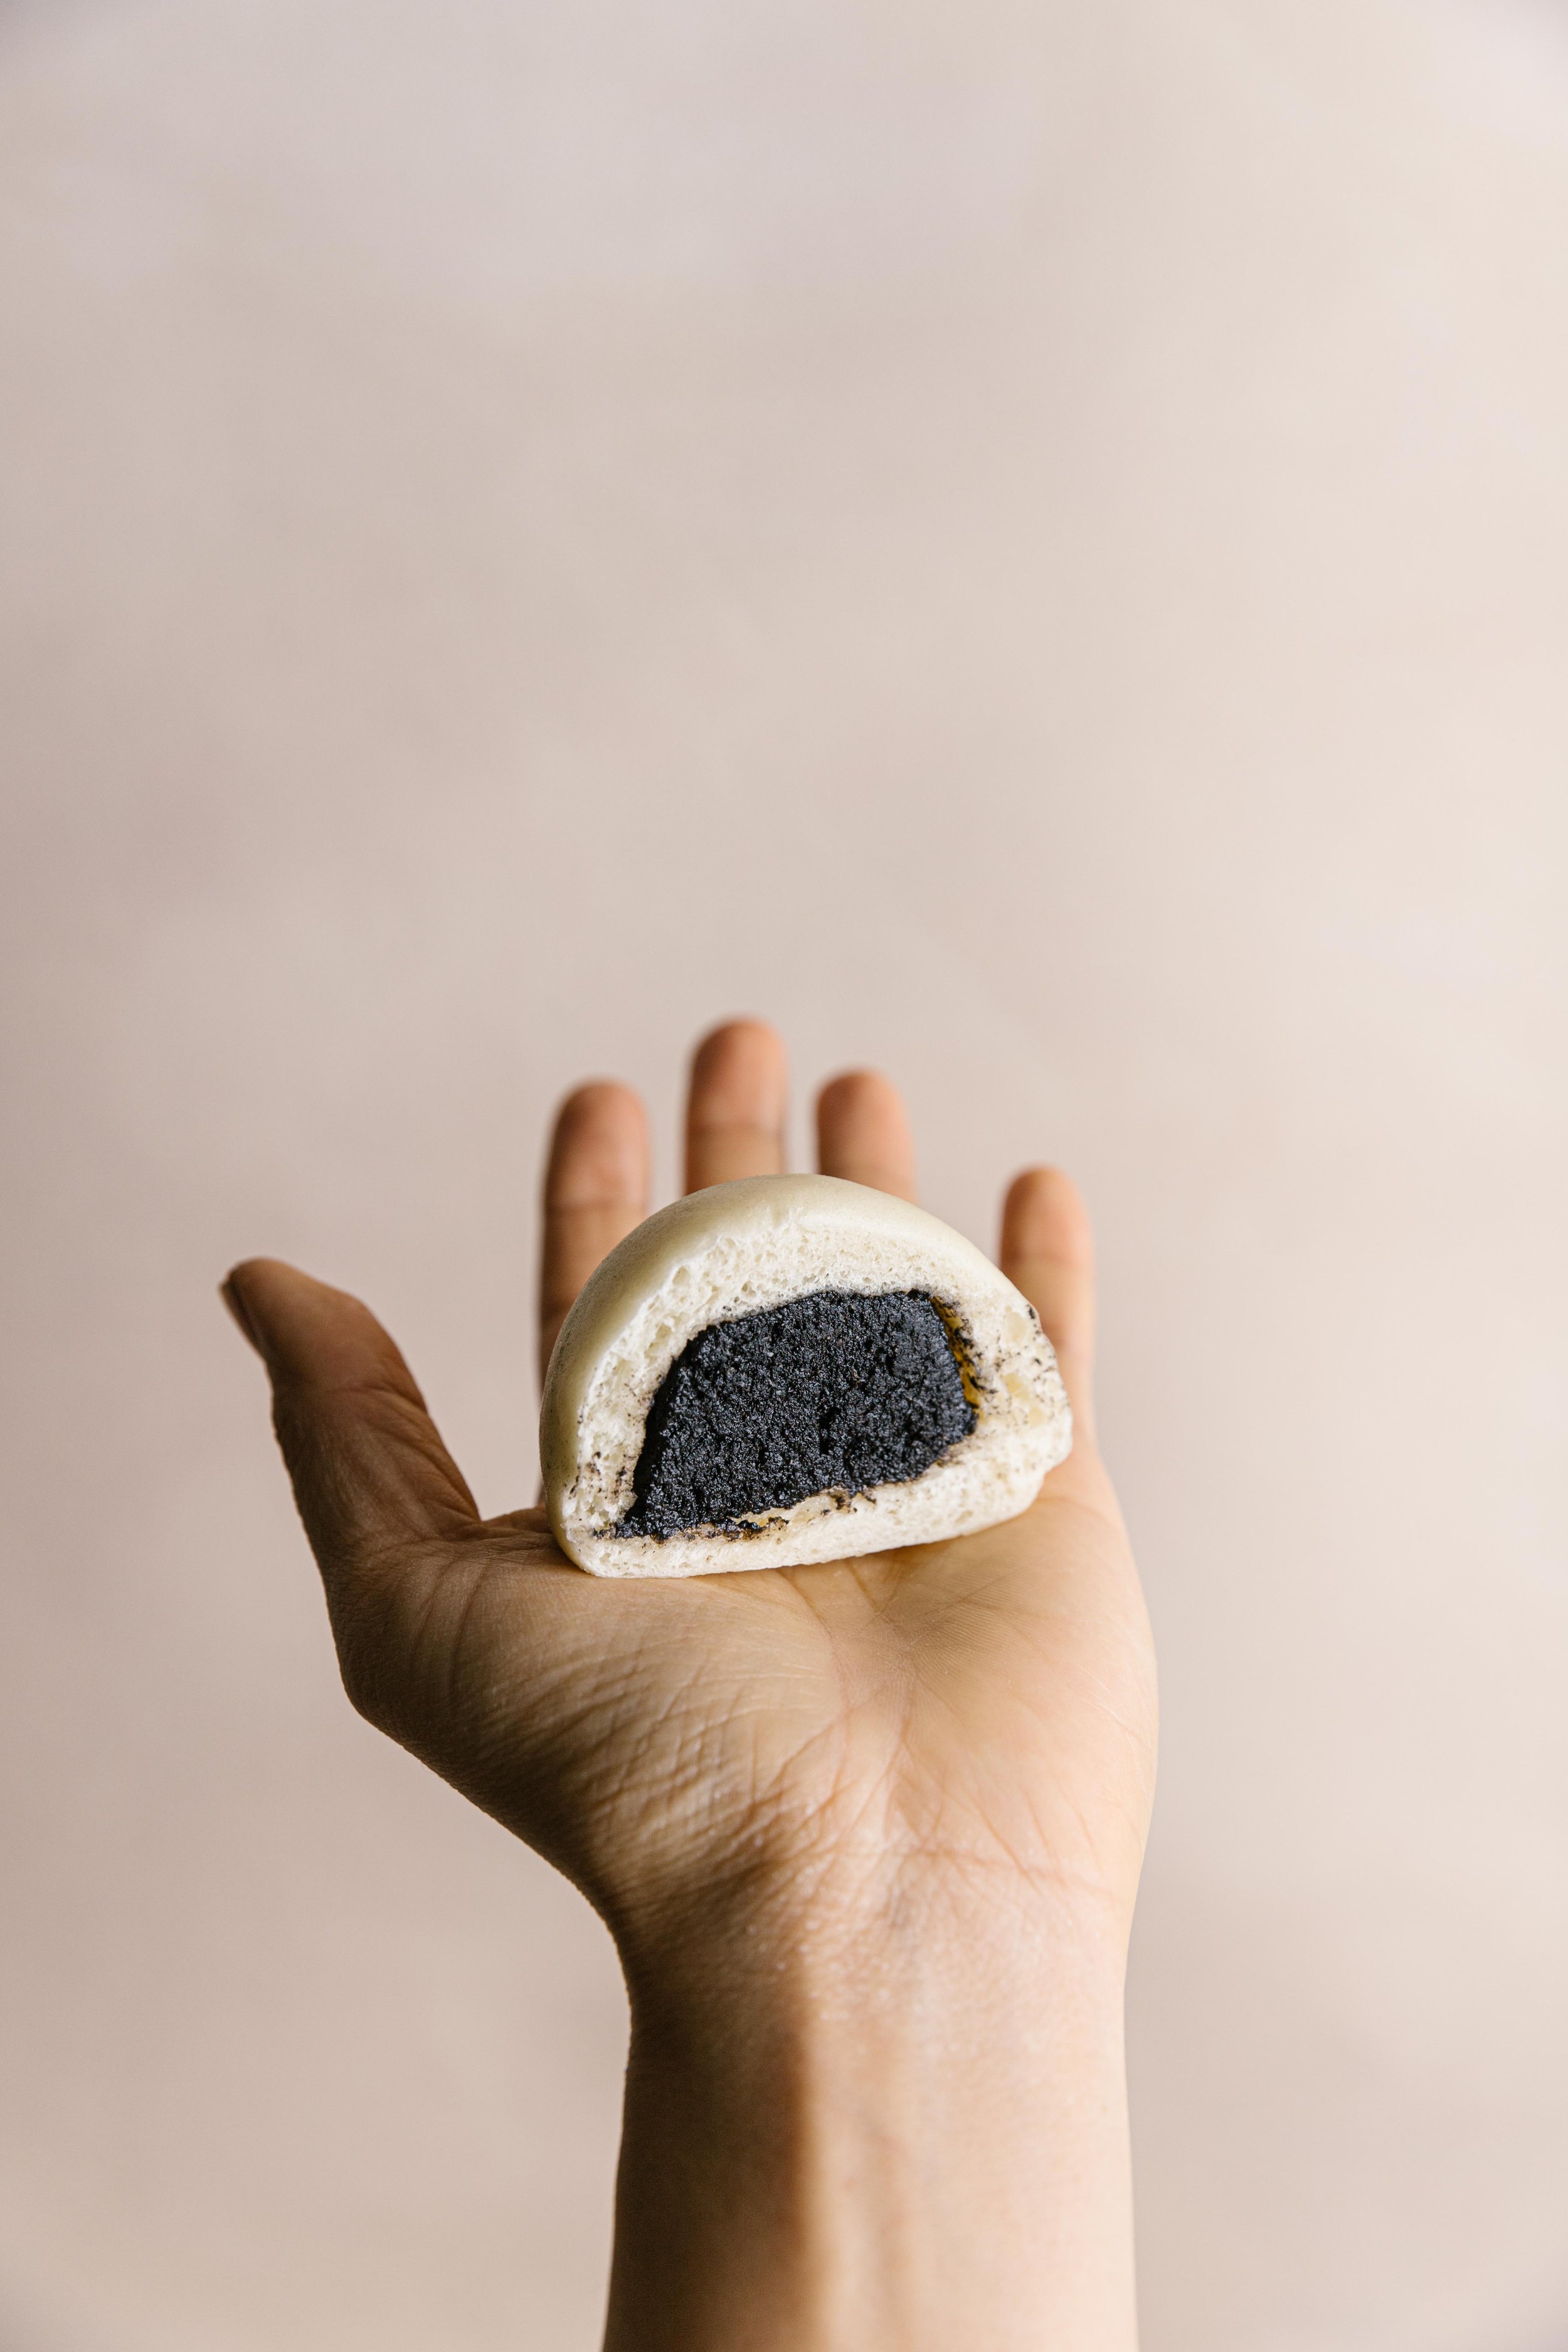
Black sesame is a popular ingredient used in many Asian desserts. The Chinese believe that eating black sesame promotes healthy hair and healthy bones. You’ll find them in ice cream, blended into hot drinks, baked as a paste into bread, or stuffed into dim sum in all shapes and sizes. 

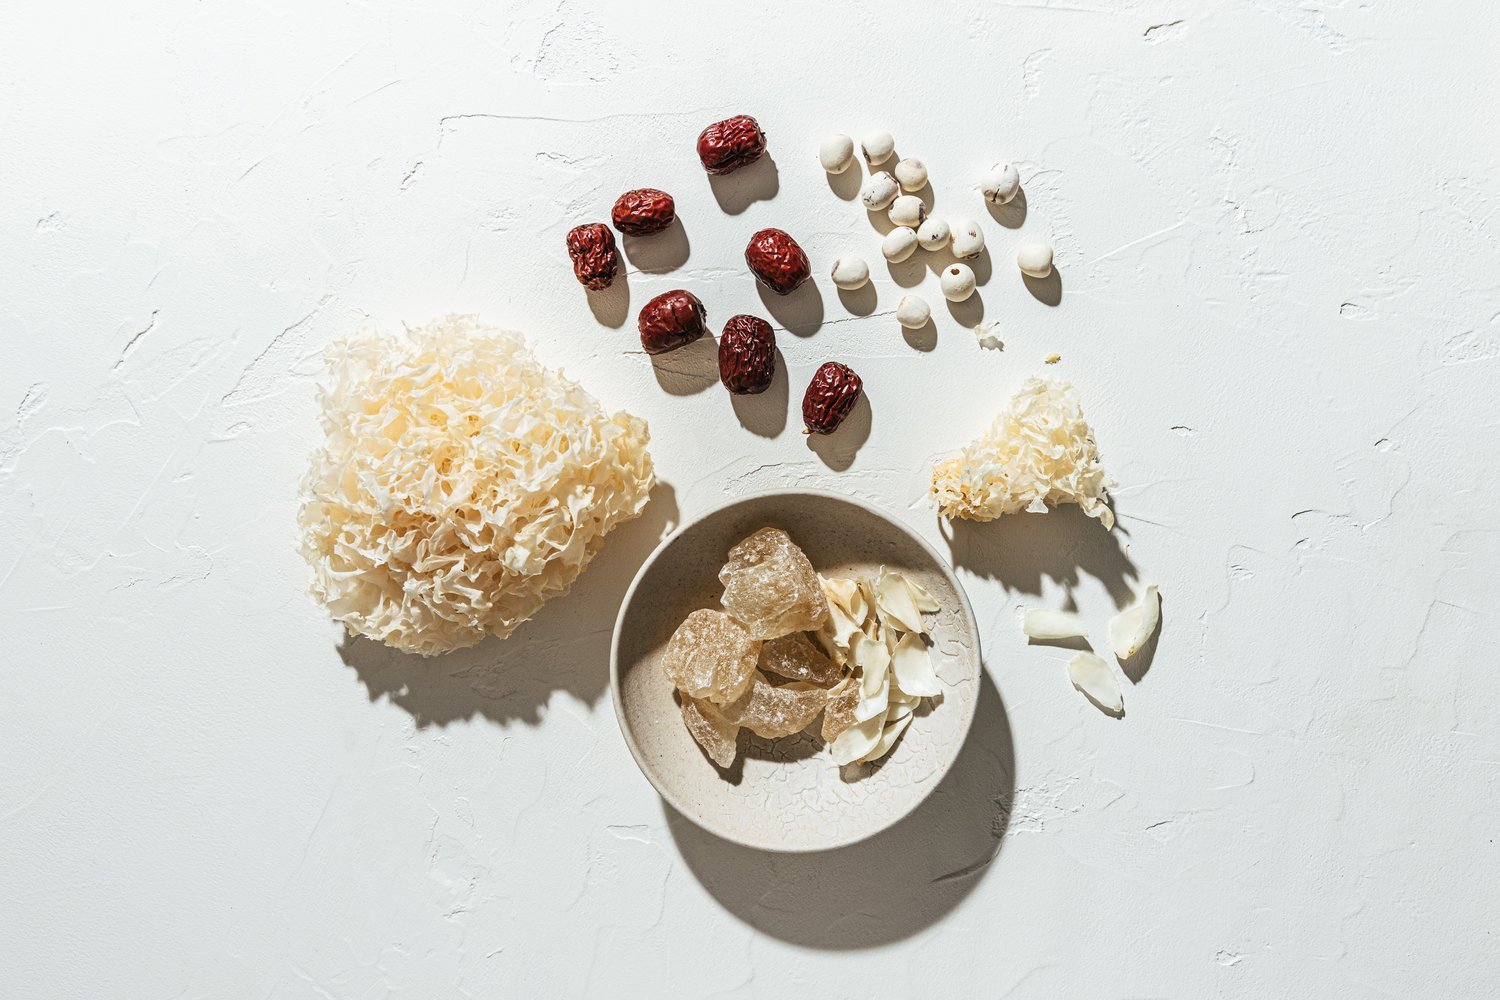
The jujube here is added for nutritional benefits. Known as the beauty fruit in China — jujube is full of minerals, fiber and adds a natural sweetness to dishes. 

Black Sesame Soup

Serves 4

Ingredients

2 tbsp (30 g) glutinous rice

1/2 cup (75 g) toasted black sesame seeds*

4 tbsp sugar or sweetener of choice, to taste

6 jujube dates, pitted (optional)*

2 cups (480 g) water

Instructions

  1. Rinse the glutinous rice and soak for 3 hours at room temperature or overnight in the fridge.

  2. Drain the glutinous rice and add to the blender with sesame seeds, jujube dates, and 2 cups of water. Blend on high until very smooth.

  3. Transfer the mixture to a medium-sized pot. Heat over medium heat until boiling, stirring constantly to prevent the bottom from burning. When the soup starts to bubble, add the sugar to taste. Continue cooking to your desired consistency (I like this soup on the thick side). Garnish with goji berries and serve warm.

Cooking notes:

  1. You can use raw black sesame seeds if you’re not able to find toasted ones. Just toast them for 10 minutes until the seeds start to pop.

  2. The jujube here is added for nutritional value and for a hint of sweetness. Feel free to omit it if it is not something you have in your pantry.

  3. It’s very important to stir and keep an eye on the soup to prevent the bottom from burning. The glutinous rice will thicken rapidly and stick to the bottom as you cook.

  4. This soup will keep in the fridge for 3 days or in the freezer for 1 month. The layers will separate so give it a stir before serving.

Black Sesame Steamed Buns

These sweet sesame buns are a nostalgic delight that appears in bakeries, dim sum restaurants, and street food vendors. There is something hearty and fulfilling about molten sesame paste, oozing out of a fresh-steamed bun. These make great breakfasts, a sweet to wrap up a meal, or a snack on the go. I make these by the batch and stock them in the freezer for cravings such as the above.

Black Sesame Steamed Buns

Makes 12  buns

INGREDIENTS

Black sesame filling

  • 110 grams of cane sugar 

  • 180 grams, black sesame seeds, toasted

  • 100 grams of butter, warmed and melted in the microwave

  • A pinch of salt

1 Portion of Steamed Bun Dough

INSTRUCTIONS

  1. Make your dough: Refer to this steamed bun dough recipe. I like to make the filling while I wait for the dough to rise. Alternatively, you can prep the filling ahead to save time. 

  2. Make the sesame filling: Add the sugar to a powerful blender or food processor. Blitz until the sugar turns to powder. Add the sesame seeds and blitz again until finely processed. Add the melted butter, salt and blend again until evenly combined. The paste should be thick and molten. Cool the filling until it’s firm enough to handle, then scoop it directly onto a steamed bun wrapper. If your paste is too firm, warm it for a few seconds in the microwave.

  3. Pleating the Bun: Line your steamers with steamer paper.* Place the wrapper in one hand and scoop a heading tablespoon of filling into the center.  The filling should weigh around 30-40 grams. For beginners, start with a minimal amount of filling to help the pleating process. Flatten the filling with a spoon and follow the steps below. Swap hands if you are left-handed.
    - With your right forefinger and thumb, firmly pinch an edge of the wrapper to make the first fold. 
    - Continue pinching folds with your right index finger and thumb. Rotate the wrapper with your left hand as you go, pinching until the whole bun is pleated. While pleating, use your left thumb to press down the filling so the dough comes over the filling. Your right thumb should never leave the bun.
    - Seal the bun with a series of pinches to form the pointy top of the bun. Repeat with the remaining dough and filling. Place all pleated buns in the steamer.

  4. Second Rising*: Transfer your buns to the steamer, leaving 1-2 inches of space between the buns. Cover, and let them sit for 15-20 minutes. The 2nd rising will allow the buns to be pillowy and soft. You’ll know the buns are ready when they have expanded in size and are fluffy and light to the touch. 

  5. Steaming the bun: Over high heat, bring a pot of water to boil. Place the steamer on top and immediately turn the heat to medium. Steam for 12 minutes and let sit for 5 minutes before taking the lid off. This will ensure your buns do not deflate with the quick temperature change. Serve immediately, or let cool and refrigerate.

Cooking tips:

  1. I like to place pleated buns directly into the steamer. That way, you won’t have to move them after the second rising.

  2. You can find steamer liners at Asian shops. To make your own steamer liner — measure and cut a round parchment paper to fit inside your steamer. Cut holes in the parchment paper that are 1½ inches apart to allow steam to rise through.

  3. Place the buns over a warm pot of water to speed up the second rising. 10-15 minutes.

Kanten Jelly (寒天)

I love this refreshing summer treat. It’s basically the simplified version of Japanese Fruit Jelly. You can incorporate these jellies into most cold soupy desserts like sweet tofu, sago soup, sweet bean soups, or bubble tea if you’d like. I love these topped with soybean powder (kinako) with a drizzle of sweet syrup. It’s also really good topped with red beans.

Kanten Jelly (寒天)

Serves 4-6 people

ingredients

  • 2 tsp (4 grams) kanten powder (I buy these at Thai or Asian shops, see note for kanten strips)

  • 2 cups water

  • 2 Tbsp sugar

instructions

  1. In a medium-sized pot, add water, sugar, and kanten powder. Bring to a boil, stirring all the while to dissolve the kanten powder.

  2. Pour the mixture into a square baking tray or heat-resistant container. I use a glass baking pan for mine. Set aside to cool before putting in the refrigerator for 20-30 mins.

  3. After the jelly has been set, run a knife through the edges and invert the jelly onto a cutting board. Cut into desired squares and serve chilled. The jelly will keep in the fridge for 3-4 days.

Recipe notes

• Traditionally, kanten jelly is served in a Japanese summer dessert called Anmitsu. I’ve enjoyed versions of it with red beans and sweet syrup (kuromitsu).

• If using kanten strips, soak in water for 30 mins or overnight before boiling. This will help dissolve the kanten.

Chickpea Sesame Cookies

Also known as Chickpea Magic Cookies —these are full of protein, refined sugar-free, and great for breakfast or a snack on the go.

The miso isn’t super noticeable here and acts as a good savory touch to balance the sweet. Replace with a pinch of salt or up the amount for more umami. This tastes like a classic peanut butter cookie with healthy substitutes.

Chickpea Sesame Cookies

Yields around 14 cookies

Ingredients

  • One 15 oz can of chickpeas, rinsed and drained

  • 6 pitted dates

  • 1/2 cup creamy peanut butter

  • 1/4 cup rolled oats

  • 1/4 cup maple syrup

  • 1 tsp vanilla

  • 1/2 tsp baking powder

  • 1/2 tsp baking soda

  • 2-3 tbsp miso paste (sub with a pinch of salt)

  • 1/2 cup raw sesame seeds (optional)

  • Rose petals, for garnish (optional)

instructions

1. Preheat the oven to 350 degrees F. Prep a baking sheet with parchment paper.

2. Blend all ingredients in a food processor except sesame seeds, and rose petals (if using)

3. Blend until smooth scraping down the sides as necessary.

4.  Fill a pasta bowl with sesame seeds. Using a spoon — scoop around 2 tbsp of cookie dough and dip the dough side into the sesame seeds. Push cookie dough onto the baking sheet, flatten and garnish with rose petals.

5. Bake for 13-15minutes. These are soft out of the oven but will firm up as they cool. Enjoy!

*Replace the sesame seeds and rose petals with 1/2 cup of chocolate chips for Chickpea chocolate cookies 🍪.

Snow Fungus Dessert Soup

This is an incredibly healthy + nourishing sweet soup we eat in Asia all year round. It’s served from street-side dessert shops to high-end buffet places as a light dessert after a big feast. The nutritional benefits of this soup are endless. To those who have never tried snow fungus — it’s also known as Silver Ear Mushroom. The name is a lot more intimidating than the taste, which resembles and soft jelly. You can pick it up at Asian grocery stores in dried packets. Look for snow fungus that is yellow in color, as the white ones might have been bleached.

Snow fungus is full of Vitamin  D and collagen that gives you plump skin. Red jujube (dates) is the most popular beauty fruit for Asian women. When I lived in China — I had friends who would religiously eat eight per day!

Benefits from these ingredients include:

  • Red Dates — lots of vitamin C, iron, and minerals. Great for your immune system

  • Rock Sugar — good for healthy lungs, soothing to the stomach

  • Dried Longan — warming, builds an appetite, helps with insomnia, and is great for your skin

  • Lily Bulb — detoxes your body, good for blood flow and immune system

  • Lotus Seeds — Lowers blood pressure and is good for your heart

  • Dried snow fungus and ingredients

Dried snow fungus and ingredients

Snow Fungus with Lotus Seed Soup 冰糖银耳莲子湯

Serves 6 | prep time: 30 mins | cooking time: 2-hours stove top, 30-mins instant pot

Ingredients

  • 30 grams dried snow fungus 

  • 80 grams Lotus seeds 

  • 50 grams Red dates

  • 30 grams Lily bulb (optional)

  • 20 grams dried Longan (optional)

  • Rock sugar or any mild sugar of choice, to taste

Instructions

  1. Soak the snow fungus, lotus seeds, and lily bulb for 1 hour or overnight. Remove the stem and tough parts of the snow fungus and cut them into small pieces. If there are lotus hearts in the lotus seeds – remove them as they are bitter in taste.

  2. Rinse the red dates, goji berries, and set aside.

  3. In a pot over medium-high heat, add water, snow fungus, lotus seeds, and goji berries. After the soup comes to a boil, lower the heat to a gentle simmer and cook for 1-2 hours.* The snow fungus will soften and the soup will become gelatinous and jelly-like. If the snow fungus tastes crunchy, continue cooking until it softens.

  4. Add the rock sugar to taste and stir to dissolve. Serve straight away or chilled.

Cooking notes:

  1. For Instant Pot, add everything into the pot, seal, and set on high for 30 minutes. Let the pressure release naturally.

  2. For winter, I added a small handful of dried longan to add heat to the soup. You can add it in step 3 with all of the ingredients.

Red Bean Soup

Whenever winter hits in Canada, I find myself craving red bean soup. Not only is it medicinal and warming  — it's all of the food memories in Asia. We love them stuffed into buns and mooncakes, served over ginger sweet tofu in winter, and heaping bowls of shaved ice in summer. A signature ingredient for desserts across Asia.

Read More

Taro coconut sago

This is one of my favorite summer desserts. It’s also a good recipe for winter when served warm. If you never had the chance to try taro — it has a nuttier, starchy texture compared to sweet potatoes. It’s also less sweet and is used in a variety of Asian desserts. 

When I lived with grandma on her tea farm in Taiwan, I would accompany her in the field every day and dig for baby taro. Dessert was simply steamed taro, peeled, and sometimes dipped in sugar. A nostalgic ingredient for me. 


Taro coconut sago

Ingredients:

  • 1/2 medium-sized taro (400 grams), peeled and diced into 1-inch cubes

  • 1 can (14 oz) full-fat coconut cream

  • 1/2 cup sago pearls (100 grams)

  • 1/3 cups sugar (80 grams) or preferred sweetener to taste

  • A pinch of salt

  • Water

Instructions

  1. In a pot & steamer, bring water to a boil and steam taro for 15 minutes. If you prefer mushier taro like me, steam for 3 minutes longer. Turn off the heat and let sit while you cook the sago.

  2. In a separate pot, bring 6 cups of water to a boil and add the sago pearls. Cook for 10 minutes, stirring constantly so they don’t stick to the bottom of the pot. Turn off the heat and let sit for 20 minutes. The residual heat will cook the pearls and they should turn from white to translucent.

  3. Pour the pot of sago pearls into a large sieve and run cold water through it, stirring with a fork. This will stop the cooking process and prevent your sago from getting too gluggy. Set the sago aside.

  4. In a clean pot, bring the can of coconut cream to a low simmer. While you are waiting — mash half of the taro in a bowl with a fork. Add all of the taro, 1/2 cup water (or more to achieve desired consistency), salt to the coconut cream and bring to a simmer. Add the sago pearls last and give it a good stir. Serve hot or chilled in the fridge.

Notes:

Consistency: The soup will become thicker the longer it sits, simply add water and adjust to the desired consistency.

Fresh Taro: Taro can be found fresh in most Asian markets. In the case you can’t find any, try some from the frozen section, though you can’t beat the fragrance of freshly cooked taro.

Over-stirring: Avoid over-stirring after everything is added together. This will ensure you get all the lovely textures from your ingredients.

Strawberry Clafoutis

I hope you all have been keeping well. Given the current state of affairs in the world, I have been finding solace in the home, in harvesting my first two strawberries in my pot, feeding myself with good films and cooking inspiration. 

I stumbled across the wonderful film The Hundred-Foot Journey this week. I watched it two times, read every article about it on Google and am now reading the book. The film features an Indian family immigrating from Mumbai to Europe after suffering the loss of their mother and home. They travel over Europe and settle in a small town in France, opening a restaurant across the street from a Michelin restaurant run by the fierce Madame Mallory. The story is a battle and coming together of flavour, cinematic beauty, family and tradition. It’s heartwarming and has everything I love about food, bridging culture, French and Indian cuisine. Personally, any film that features the main actor crying over home-cooked food is one worth watching. The book is beautifully written, I have lost much sleep over it and highly recommend both.

The Clafoutis is a recipe from the movie — one the chef stumbled across while studying his cookbooks. A French recipe I can now say I have made. I hesitate to delve into French cuisine, especially after reading the book of the movie and Julia Child’s memoir — My Life in France. French cuisine feels like such a classic yet complex cuisine to master. It takes a lot to keep things simple and master the technique to coax flavour out of the simplest, quality ingredients. I’m happy to start with this one.

This is a very versatile recipe made with staple ingredients milk, eggs, butter, sugar. You can substitute different kinds of fruit — berries, stone fruit, rhubarb (see note below). The texture is similar to that between a flan or a thick pancake. It's filling, but not too sweet so you won’t tire of it.

Aim for a silky smooth, lump-free batter here.

Strawberry Clafoutis

Ingredients

*Makes a 10-inch cake, serves 8

Butter, for buttering the pan
2 cups (226 grams) strawberries, hulled and halved lengthwise*
3 eggs
1 cup milk
2/3 cup flour
1/4 cup granulated sugar, plus more for sprinkling
1 1/2 teaspoons vanilla
Pinch of salt
Powdered sugar for dusting

Instructions

Preheat the oven to 350 F. Butter the bottom and sides of a pan with butter. Sprinkle one tablespoon of sugar all over the bottom of the pan. This will help release the cake without sticking and provide a crunchy bottom.

In a large mixing bowl, add the eggs, milk, sugar, vanilla. Mix until incorporated. Gradually add the flour and mix until silky to the touch. Pour the batter over a strainer to remove any lumps and into the pan. Arrange the strawberries over the top and bake until a skewer inserted into the batter comes out clean. Around 30 minutes. A golden crust will have formed on the sides. Dust with powdered sugar and serve warm.

* The strawberries bled into the batter. Next time, I will toss them in cornstarch (2 teaspoons) before adding over the batter.

* If you do not have powdered sugar, blitz white sugar in the blender till superfine.

* If using rhubarb, dice into pieces, macerate in 2 tbsps of sugar for 5 minutes and roast at 400F for 10 mins or until soft and bubbly. Let cool and add to the recipe like any other fruit.

Flourless Chocolate Brownie With Edible Flowers

This recipe is an update from a favourite. The fudgy-ist and the most satisfying chocolate recipe I have ever had. I have taken these brownies to many a social gathering, now passing them off in packets while social distancing. They never fail to please. I keep a stack handy in the freezer when I have a chocolate craving.

Cherry blossoms are beautiful. They are also edible. I am making Cherry Blossoms Preserves with their buds but making the most out of these fully blossomed buds. I love watching peoples eye’s light up before they take a bite. If you are curious about which flowers are edible, I have a list here. Just make sure they have not been sprayed with chemicals. I source most of mine from my parent’s yard.

Edible Flowers

Nasturcians
Rose
Forget-me-nots
Chive flowers (these smell like onions so use in savoury dishes)
Carnation petals
Pansies
Marigolds

I like my treats to be less sweet and have lowered the 150 grams of brown sugar to 120 grams and 100 grams. It seems to work without breaking the structure of the brownie.

These brownies taste rich, decadent but light without the flour. Please try it and let me know the results. Please also share them.

Flourless Chocolate Brownie With Cherry Blossoms

140g dark chocolate
155g (1/2 c) unsalted butter
120g brown sugar
3 large eggs, lightly beaten
50g (1/2 c) cocoa powder, sifted
1/4 tsp salt
11/2 tsp vanilla extract
1/4 c walnuts, chopped (substitute any kind of nuts)
Maldon sea salt for garnish (optional)

  1. Preheat oven to 350 F. Line a baking pan or sheet with parchment paper.

  2. In 15-30 second intervals, melt chocolate and butter in the microwave and stir until smooth. Set aside too cool. Add brown sugar, cocoa powder, salt, vanilla, and eggs. In that order. Mix but do not over-mix. Transfer batter to baking pan or sheet with a spatula. Top with walnuts.

  3. Bake for 20-30 minutes or until brownie is set and firm in the center. Time will vary depending on container size. Let sit until cool before cutting into pieces. Top with cherry blossoms, buds, and a sprinkle of flaky sea salt.

These are very delicious eaten cool or slightly warmed. They also keep well in the fridge for up to a week. If they last that long.

Flaky Pie Dough

To me, what dough can be better than flaky pie dough? I am so delighted every time I bake with this recipe. This dough keeps really well in the freezer (up to three months) and the layers of crispiness really make a difference.

With pie as a North American/European staple—pastry and galettes are something I love learning to perfect and create new traditions for myself. A dough very different from rice cake, dumpling and hand-pulled noodles but just as rewarding to share. I use this for my galettes and am always showered with high praise.

flaky-pie-dough-recipe.jpg

Flaky Pie Dough

Makes two large or four small galettes. I use half and freeze the remaining for future pies.

Flaky Pie DoughFlaky Pie Dough

Ingredients

  • 2 1/2 cup (350g)all-purpose flour (I use Anita’s organic flour when I want to feel fancy)

  • 1/2 teaspoon kosher salt

  • 1 cup (225g) cold unsalted butter, cut into 1/2 inch cubes

  • 6–7 tablespoons (110g) ice-cold water

Instructions

  • Sift the flour into a large mixing bowl. Add the diced butter. With clean hands (or a food processor if you own one), work the butter into the flour until the butter is the size of peas. Add 6 tablespoons of ice-cold water and continue mixing until the dough starts coming together. You may need more ice water depending on humidity. 

  • Transfer the dough to a surface and shape it together without handling it too much. The mixture should be crumbly with pieces of butter still intact. We want to keep the butter cold and chunky without melting it with the heat of your hands. This will aid in a flaky crust.

  • Using a bench scraper or large knife, cut the dough into two equal pieces. Wrap them in saran wrap and flatten them into round discs. Chill the dough for at least 30 minutes before using. I freeze half the dough at this point and use it for future baking sessions. Just thaw it out in the fridge before rolling.

  • To roll the dough, lightly dust a work surface* with flour. Start rolling the dough from the center, rotating the dough with your other hand every time. Aiming for a circular, even shape. Make sure the surface and rolling pin are floured to avoid sticking. If the dough cracks or shapes unevenly, bring the dough back together, knead it a couple of times and start again. 

*A trick I use for galettes is to roll the dough on a piece of parchment paper and transfer it directly to a baking pan.

Strawberry Clafoutis + New Read

Good morning. I hope you all have been keeping well. Given the current state of affairs in the world, I have been finding solace in the home, in harvesting my first two strawberries in my pot, feeding myself with good films and cooking inspiration. 

I stumbled across the wonderful film The Hundred-Foot Journey this week. I watched it two times, read every article about it on Google and am now reading the book. The film features an Indian family immigrating from Mumbai to Europe after suffering the loss of their mother and home. They travel over Europe and settle in a small town in France, opening a restaurant across the street from a Michelin restaurant run by the fierce Madame Mallory. The story is a battle and coming together of flavour, cinematic beauty, family and tradition. It’s heartwarming and has everything I love about food, bridging culture, French and Indian cuisine. Personally, any film that features the main actor crying over home-cooked food is one worth watching. The book is beautifully written, I have lost much sleep over it and highly recommend both.

The Clafoutis is a recipe from the movie — one the chef stumbled across while studying his cookbooks. A French recipe I can now say I have made. I hesitate to delve into French cuisine, especially after reading the book of the movie and Julia Child’s memoir — My Life in France. French cuisine feels like such a classic yet complex cuisine to master. It takes a lot to keep things simple and master the technique to coax flavour out of the simplest, quality ingredients. I’m happy to start with this one.

This is a very versatile recipe made with staple ingredients milk, eggs, butter, sugar. You can substitute different kinds of fruit — berries, stone fruit, rhubarb (see note below). The texture is similar to that between a flan or a thick pancake. It's filling, but not too sweet so you won’t tire of it.

Strawberries picked from my potted plant. My pride and joy.

Strawberries picked from my potted plant. My pride and joy.

strawberry+clafoutis+recipe.jpg
strawberry+clafoutis+recipe-7-1.jpg

Strawberry Clafoutis

Strawberry Clafoutis

*Makes a 10-inch cake, serves 8

Ingredients

Butter, for buttering the pan
2 cups (226 grams) strawberries, hulled and halved lengthwise*
3 eggs
1 cup milk
2/3 cup flour
1/4 cup granulated sugar, plus more for sprinkling
1 1/2 teaspoons vanilla
Pinch of salt
Powdered sugar for dusting

Instructions

Preheat the oven to 350 F. Butter the bottom and sides of a pan with butter. Sprinkle one tablespoon of sugar all over the bottom of the pan. This will help release the cake without sticking and provide a crunchy bottom.

In a large mixing bowl, add the eggs, milk, sugar, vanilla. Mix until incorporated. Gradually add the flour and mix until silky to the touch. Pour the batter over a strainer to remove any lumps and into the pan. Arrange the strawberries over the top and bake until a skewer inserted into the batter comes out clean. Around 30 minutes. A golden crust will have formed on the sides. Dust with powdered sugar and serve warm.

* The strawberries bled into the batter. Next time, I will toss them in cornstarch (2 teaspoons) before adding over the batter.

* If you do not have powdered sugar, blitz white sugar in the blender till superfine.

* If using rhubarb, dice into pieces, macerate in 2 tbsps of sugar for 5 minutes and roast at 400F for 10 mins or until soft and bubbly. Let cool and add to the recipe like any other fruit.

Nori Peanut Rice Crisps

In Taiwan, “popcorn trucks” 爆米香 are a thing. You can find them driving through neighbourhoods, parking to sell rice puff squares while blaring “Bao Mi (Popcorn), Bao Mi.” If you stop long enough, you will hear a giant bang followed by a puff of smoke and the aroma of roasted peanuts, job tears and rice. It’s a memory everyone has growing up in Asia. Some versions include sesame seeds and it’s relatively similar to peanut candy, a popular snack among the old folks. I am known to devour these by the bag.

I was re-introduced to puffed rice making granola Glo bars from OhSheGlows before realizing, heck, I need to make my own version of these. I’ve replaced the maltose (麥芽糖) with brown rice syrup, which is terrifically sticky and holds around 2/3 of sweetness compared to honey. I also substituted butter with almond butter, though peanut butter will do just as well. A healthy-westernized version of Bao Mi that is marvelously crunchy. I have a square or two for breakfast and it keeps me surprisingly full. You can add your own flair to these with roasted nuts, chia seeds and completely veer off the path of tradition.

Nori Peanut Rice Crisps 海苔花生爆米香

Ingredients

1/2 cup brown rice syrup (sub honey but it will taste a lot sweeter)
1/2 cup creamy almond butter (sub peanut butter)
3 1/2 cups puffed rice crisps
1 pack toasted nori sheets (17 grams), torn and crumbled into pieces
1/2 cup roasted peanuts (sub any kind of roasted nuts)
I tbsp sesame seeds or chia seeds

Instructions

Line a 9x13 inch baking pan with parchment paper, and aim for one with depth as it yields thicker squares. In a large bowl, combine the dry ingredients — puffed rice, nori, peanuts, sea salt and sesame seeds. Set aside. In a large soup pot, add the brown rice syrup and almond butter and cook on medium-low heat until it bubbles. Keep an eye on it and don’t let it caramelize or harden. Remove pot from the heat source and add in the dry ingredients, stirring furiously to encourage even distribution. The mixture will be very sticky.

Transfer contents from the pot to the baking tray. Scrape the sides with a spatula. Spread it evenly and press down with a spatula or wooden spoon. Set aside until cool and slice into squares or bars with a bread knife. Store cooled in an airtight container. It keeps well at room temperature for a week.

Avocado Chocolate Cake

Growing up in Taiwan, my definition of avocados revolved around the football-sized Choquette avocado sold in fruit shops or juice stalls at the night market. Bred for their intimidating size and mild flavour — the Choquette avocado is used for smoothies with milk, sugar and pudding. Salad culture in Taiwan is slowly catching up to the west, but it was not after moving to Canada that I expanded my worldview on avocados and the many ways one can eat it in salads, guacamole, ice cream and so on.

I have gone through many flourless chocolate cake recipes but this is a new favourite yet. No blender or spiralizer is needed just two perfectly ripe avocados. The raw batter is heavenly and tastes like a thick chocolate pudding. I would make it just to eat the batter. A gluten-free treat you can make vegan by substituting the butter with cashew butter or olive oil. I made a less sweetened version for Mother’s Day and topped it with edible flowers, dried fruit and cashew cream.

Avocado Chocolate Cake

Serves 8/fills a 13-inch baking pan

Wet Ingredients
2 ripe medium-large avocados
4 eggs

Dry Ingredients
1 cup of cocoa powder
1 3/4 cup brown sugar (use 1 1/2 cup for a less sweet version)
4 tablespoons butter, softened at room temperature
2 teaspoons baking powder
2 teaspoons vanilla extract
1/2 teaspoon sea salt
1/2 cup chopped dark chocolate (optional)

Preheat the oven to 325°F. Grease a 10 x 12-inch baking pan with butter or parchment paper. 

In a large mixing bowl, sift the cacao powder with a sieve into a fine powder. Add the brown sugar, baking powder and sea salt. Mix evenly and set aside.

In a medium mixing bowl, mash the avocados, breaking large pieces with a fork as you go. Crack eggs into bowl one by one, add the butter and stir to evenly distribute. Add the wet ingredients into the dry, stirring and scraping the bottom of the bowl from time to time. Pour the mixture into the baking pan and bake for 25-30 minutes. The middle of the cake should be firm while on the edge of gooey. Let the cake come to room temperature before cutting. Top with chopped dark chocolate, sea salt, edible flowers or cashew cream. 

mom, dad and avocado chocolate cake

Chinese Egg Tarts Recipe (Whole Egg)

I had some leftover pastry shells in the freezer which I have been itching to put to use. Egg tarts. I never realized how easy it was to make these until I tried. All you need is egg, milk, sugar and some patience. This is a “whole egg” egg tart recipe so you don’t have to worry about coming up with creative ways to use your egg whites.

If you’ve ever been to a Chinese bakery, you’ll know that these are the stars of the show. A simplified version of the Portuguese egg tart — these tarts appear in breakfasts, dim sums, potlucks and brighten many faces with their yellow shade.

If you don’t have pastry shells on hand, the filling is great baked in ramekins as well. Make sure to pass some off to friends as soon as they’ve cooled to avoid eating one too many. My highest record is three a day.

Chinese Egg Tarts 全蛋蛋撻

*Makes 6 egg tarts

Ingredients

5 small pastry shells
5 eggs
80 ml milk
165 ml water
80 grams sugar (I used golden sugar)
1/2 tsp vanilla extract

Instructions

Heat oven to 390 F. In a small saucepan, add water and sugar over medium heat. Stir until the sugar dissolves and set aside to cool. In a large mixing bowl, whisk the eggs until the yolk and whites are combined. Add the milk, vanilla extract, sugar water and mix well. Filter the liquid through a sieve to remove chunky pieces of raw egg. Discard the chunky bits. Fill each shell up to 80%.

Bake for 15 minutes, then reduce heat to 350F and bake for another 10 minutes. Turn off heat, prop the oven door open and let the egg tarts sit for 5 minutes or so. Check on the tarts every so often to make sure the egg filling does not get overcooked. The filling should be soft with just the right amount of gooey in the center. 

Flourless Chocolate Brownies With Sea Salt

A few of my proudest accomplishments this year include: landed an in-house photography job, tried out and stayed on a sports team this spring (the last time I played in competitive sports was elementary school), signed a lease on an apartment (cannot wait to move in next month), committing to put down roots in this transitional city of Vancouver, and the creation of these fabulous flourless chocolate brownies. 

On days when I feel doubt about trading my freelance life for a nine to five — I make brownies and take them into the office. It is simply impossible to eat more than 3 pieces of these brownies and having coworkers to share them with is a very ideal situation. These will never fail to hit the spot when you need a decadent treat in hope that you can stop at three pieces. A timeless brownie recipe.

You know you have created an excellent brownie when both of the recipe developers at work ask you for the recipe. I first had these at a ladies night and immediately asked my friend for the recipe. I am pretty sure the original creator is Nicole Spiridakis. Here is my version with reduced sugar, roasted nuts and sprinkled with Maldon sea salt

Ps: I finally ordered a cooking scale off the internet. It really is worth it when you want to use up the many dark Trader Joe chocolate bars sitting in your cupboard and not worry about fitting them into measuring cups. 

flourless_chocolate_brownies_sea_salt_-6-1.jpg
flourless_chocolate_brownies_sea_salt_sophia_hsin.jpg

Flourless Chocolate Brownies With Sea Salt and Nuts

140g dark chocolate
155g (1/2 cup) unsalted butter
120g brown sugar
3 large eggs, lightly beaten
50g (1/2 cup) cocoa powder, sifted
1/4 tsp salt
11/2 tsp vanilla extract
1/3 cup almond or walnuts, chopped
Maldon sea salt for garnish (optional)

  1. Preheat oven to 350 F. Line a baking pan or sheet with parchment paper.

  2. In 15-30 second intervals, melt chocolate and butter in the microwave and stir until smooth. Set aside too cool. Add brown sugar, cocoa powder, salt, vanilla, and eggs. In that order. Mix but do not over-mix. Transfer batter to baking pan or sheet with a spatula. Top with walnuts.

  3. Bake for 20-30 minutes or until brownie is set and firm in the centre. Time will vary depending on container size. Let sit until cool before cutting into pieces. Top with a sprinkle of flaky sea salt.

These are very delicious eaten cool or slightly warmed. They also keep well in the fridge up to a week. If they last that long.