Taro coconut sago

This is one of my favorite summer desserts. It’s also a good recipe for winter when served warm. If you never had the chance to try taro — it has a nuttier, starchy texture compared to sweet potatoes. It’s also less sweet and is used in a variety of Asian desserts. 

When I lived with grandma on her tea farm in Taiwan, I would accompany her in the field every day and dig for baby taro. Dessert was simply steamed taro, peeled, and sometimes dipped in sugar. A nostalgic ingredient for me. 


Taro coconut sago

Ingredients:

  • 1/2 medium-sized taro (400 grams), peeled and diced into 1-inch cubes

  • 1 can (14 oz) full-fat coconut cream

  • 1/2 cup sago pearls (100 grams)

  • 1/3 cups sugar (80 grams) or preferred sweetener to taste

  • A pinch of salt

  • Water

Instructions

  1. In a pot & steamer, bring water to a boil and steam taro for 15 minutes. If you prefer mushier taro like me, steam for 3 minutes longer. Turn off the heat and let sit while you cook the sago.

  2. In a separate pot, bring 6 cups of water to a boil and add the sago pearls. Cook for 10 minutes, stirring constantly so they don’t stick to the bottom of the pot. Turn off the heat and let sit for 20 minutes. The residual heat will cook the pearls and they should turn from white to translucent.

  3. Pour the pot of sago pearls into a large sieve and run cold water through it, stirring with a fork. This will stop the cooking process and prevent your sago from getting too gluggy. Set the sago aside.

  4. In a clean pot, bring the can of coconut cream to a low simmer. While you are waiting — mash half of the taro in a bowl with a fork. Add all of the taro, 1/2 cup water (or more to achieve desired consistency), salt to the coconut cream and bring to a simmer. Add the sago pearls last and give it a good stir. Serve hot or chilled in the fridge.

Notes:

Consistency: The soup will become thicker the longer it sits, simply add water and adjust to the desired consistency.

Fresh Taro: Taro can be found fresh in most Asian markets. In the case you can’t find any, try some from the frozen section, though you can’t beat the fragrance of freshly cooked taro.

Over-stirring: Avoid over-stirring after everything is added together. This will ensure you get all the lovely textures from your ingredients.

Homemade Ginger Ale

I have been cooking for the masses this past week. I just realized I have styled and photographed over 400 recipes in this past year. To live a day without making/cooking something leaves me feeling strangely empty. I read in Gay Hendricks's book The Joy of Genius this week on creativity as a gift and something to appreciate every day. I am taking this period of isolation time to be thankful for creativity. and for ginger ale :)

One cannot shoot on set without getting thirsty. My go-to — bubbly water. Sparkling water if I feel fancy. I just found a way to make it fancier with homemade ginger ale syrup. It is also great for your immune system. I drink a cup of ginger lemon tea every morning and have made a commitment to using organic ginger root. It is a commitment one cannot go back on. Organic ginger is extremely pungent, spicy and comes in smaller delicate knobs. You have to soak them and scrub harder. The flavour is every bit worth it. This is a refreshing drink for every day and for summer days. I hope you enjoy it.

Immunity Ginger Ale

Ingredients

*Makes 1 1/2 cup ginger ale syrup, I make double and it lasts me a few weeks.
1/4 pound (112g) organic ginger
1 cup (200 g) organic cane sugar
2 cups water
1/4 tsp sea salt
Sparkling water*
Lime wedges

Instructions

Soak the ginger root in water for a bit. It loosens the residue dirt. Scrub ginger thoroughly, between the knobs and through the crevices. No need to peel. Slice thinly with a knife and chop into small pieces. Alternatively, pop the ginger into your blender or food processor. Aim for 2-millimetre pieces and make sure it does not turn into a puree.

Transfer ginger into a medium-sized pot along with sugar, salt and 2 cups water. Bring to a boil then simmer for 45 minutes. Let cool, strain and store the syrup in a jar in the fridge.

To serve, fill a glass with ice. Add 2 tablespoons of syrup to 2/3 cup of water. Add a dash of lime juice and stir with a spoon. Serve immediately.

* For a fancy cream soda, add a drop of pure vanilla extract into your drink.

Recipe adapted from Nancy Singleton Hachisu.

Strawberry Clafoutis

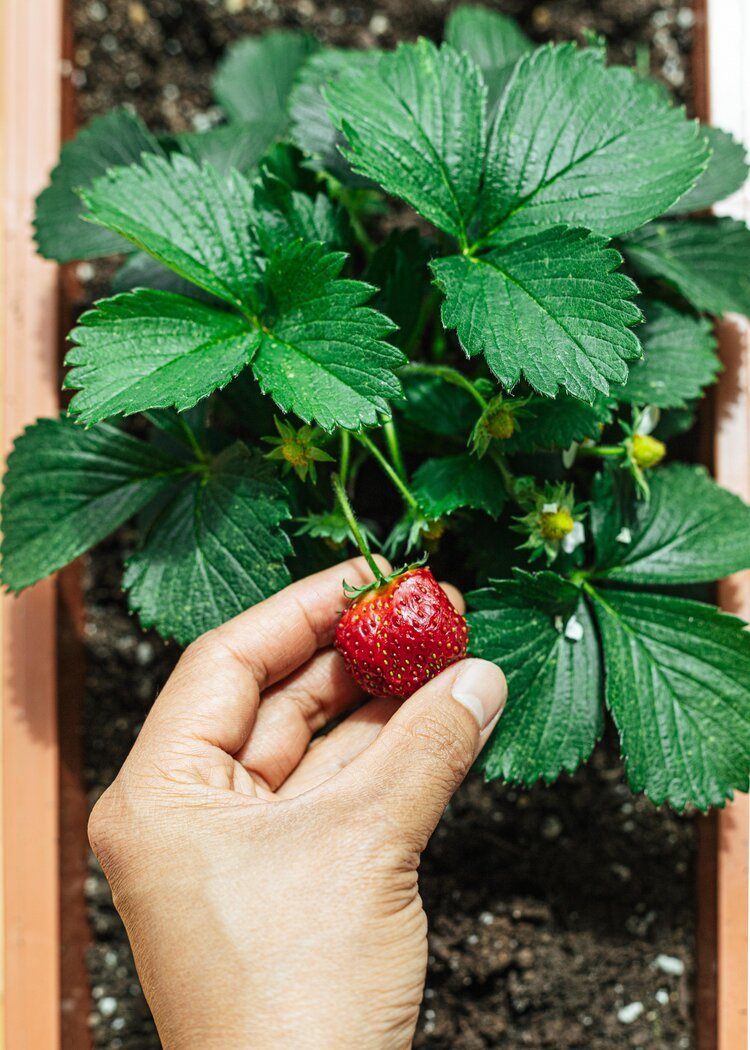
I hope you all have been keeping well. Given the current state of affairs in the world, I have been finding solace in the home, in harvesting my first two strawberries in my pot, feeding myself with good films and cooking inspiration. 

I stumbled across the wonderful film The Hundred-Foot Journey this week. I watched it two times, read every article about it on Google and am now reading the book. The film features an Indian family immigrating from Mumbai to Europe after suffering the loss of their mother and home. They travel over Europe and settle in a small town in France, opening a restaurant across the street from a Michelin restaurant run by the fierce Madame Mallory. The story is a battle and coming together of flavour, cinematic beauty, family and tradition. It’s heartwarming and has everything I love about food, bridging culture, French and Indian cuisine. Personally, any film that features the main actor crying over home-cooked food is one worth watching. The book is beautifully written, I have lost much sleep over it and highly recommend both.

The Clafoutis is a recipe from the movie — one the chef stumbled across while studying his cookbooks. A French recipe I can now say I have made. I hesitate to delve into French cuisine, especially after reading the book of the movie and Julia Child’s memoir — My Life in France. French cuisine feels like such a classic yet complex cuisine to master. It takes a lot to keep things simple and master the technique to coax flavour out of the simplest, quality ingredients. I’m happy to start with this one.

This is a very versatile recipe made with staple ingredients milk, eggs, butter, sugar. You can substitute different kinds of fruit — berries, stone fruit, rhubarb (see note below). The texture is similar to that between a flan or a thick pancake. It's filling, but not too sweet so you won’t tire of it.

Aim for a silky smooth, lump-free batter here.

Strawberry Clafoutis

Ingredients

*Makes a 10-inch cake, serves 8

Butter, for buttering the pan
2 cups (226 grams) strawberries, hulled and halved lengthwise*
3 eggs
1 cup milk
2/3 cup flour
1/4 cup granulated sugar, plus more for sprinkling
1 1/2 teaspoons vanilla
Pinch of salt
Powdered sugar for dusting

Instructions

Preheat the oven to 350 F. Butter the bottom and sides of a pan with butter. Sprinkle one tablespoon of sugar all over the bottom of the pan. This will help release the cake without sticking and provide a crunchy bottom.

In a large mixing bowl, add the eggs, milk, sugar, vanilla. Mix until incorporated. Gradually add the flour and mix until silky to the touch. Pour the batter over a strainer to remove any lumps and into the pan. Arrange the strawberries over the top and bake until a skewer inserted into the batter comes out clean. Around 30 minutes. A golden crust will have formed on the sides. Dust with powdered sugar and serve warm.

* The strawberries bled into the batter. Next time, I will toss them in cornstarch (2 teaspoons) before adding over the batter.

* If you do not have powdered sugar, blitz white sugar in the blender till superfine.

* If using rhubarb, dice into pieces, macerate in 2 tbsps of sugar for 5 minutes and roast at 400F for 10 mins or until soft and bubbly. Let cool and add to the recipe like any other fruit.

Apple Rum Galette

Happy Fall everyone. It has been quiet over here this summer. A good kind of online quiet while my offline life was filled with time in nature, cliff jumping, sitting by the beach, and away from the screen as much as possible. I hope it was one as energizing and glorious for you as it was for me. Some warm, bright memories to store up for the coming months.

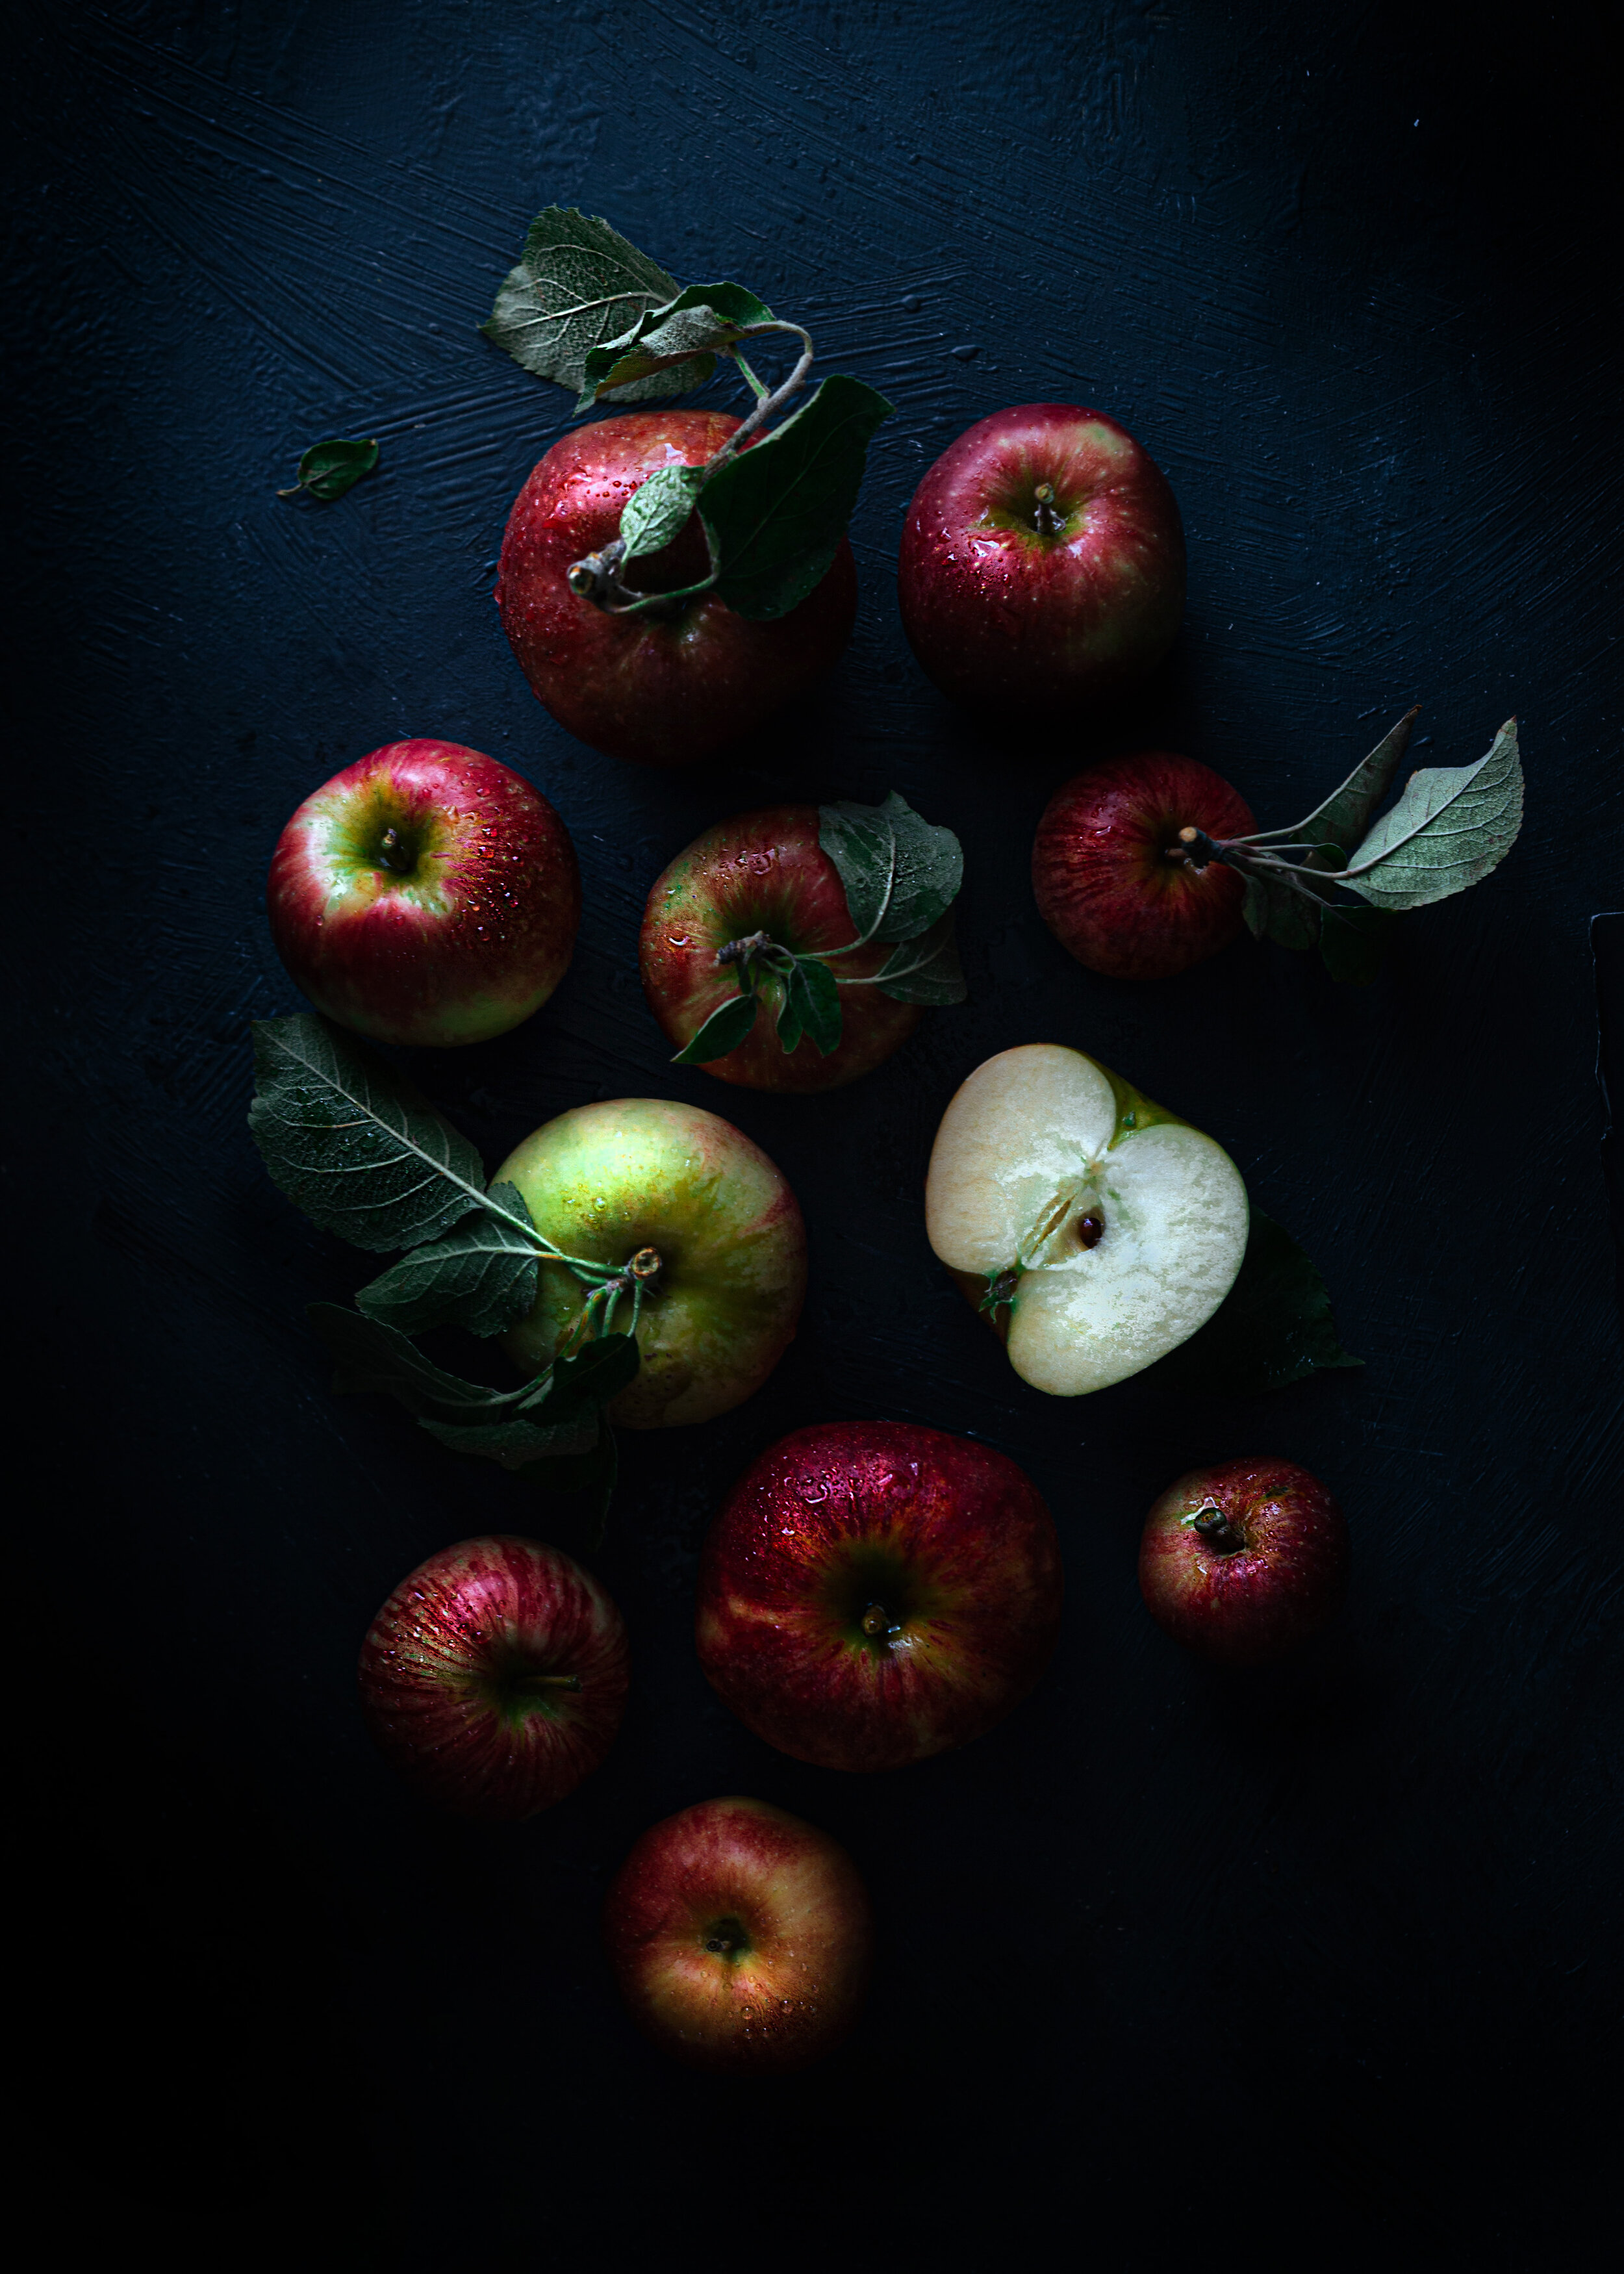
If you have been following along on social media — you will have noticed my switch from light, airy photography to dark and rich imagery. It is a direction that has taken me by surprise but something I feel very connected to. For me —  a new way of seeing, shaping light, and appreciating details to capture in everyday life. After shooting mostly artificial light for the past year— it feels like I am coming full circle working with natural light again. On a personal level, I feel I am finally embracing the light of dark winters in Canada while absorbing classical inspiration from artists in the Dutch golden era. I have pulled out my music sheets and classic music in the studio is now a thing. It is a personal process, not without emotion, but one that comes with a sense of peace.

Now, let's talk about apple pies. I love how timeless this recipe is, never failing to reappear this time every year. I did not grow up eating apple pies, so this is a new tradition I am setting for myself. I had the best fruit cake in Australia last Christmas with my boyfriend’s family, and finally made use of the rum I bought on that trip. Inspired by Australian fruit cake —  rum will be added to all of my fruit desserts now.

This recipe is adapted from an apple bourbon galette recipe from food52, using flaky pie dough from Cannelle Et Vanille’s cookbook. The apples were picked from Willow View Farm with my family last week, it made a world's difference using fresh apples. Jonagolds are my new favourite eating and cooking apple. I have some Korean pears and plums from the garden that I am looking forward to baking with this recipe. 

apple-picking-willow-view-farm-british-columbia.jpg
Ladybirds, always landing in the perfect time and place.

Ladybirds, always landing in the perfect time and place.

Apples-chiaroscuro-light-photography.jpg
Stocksy_comp_3439539.jpg
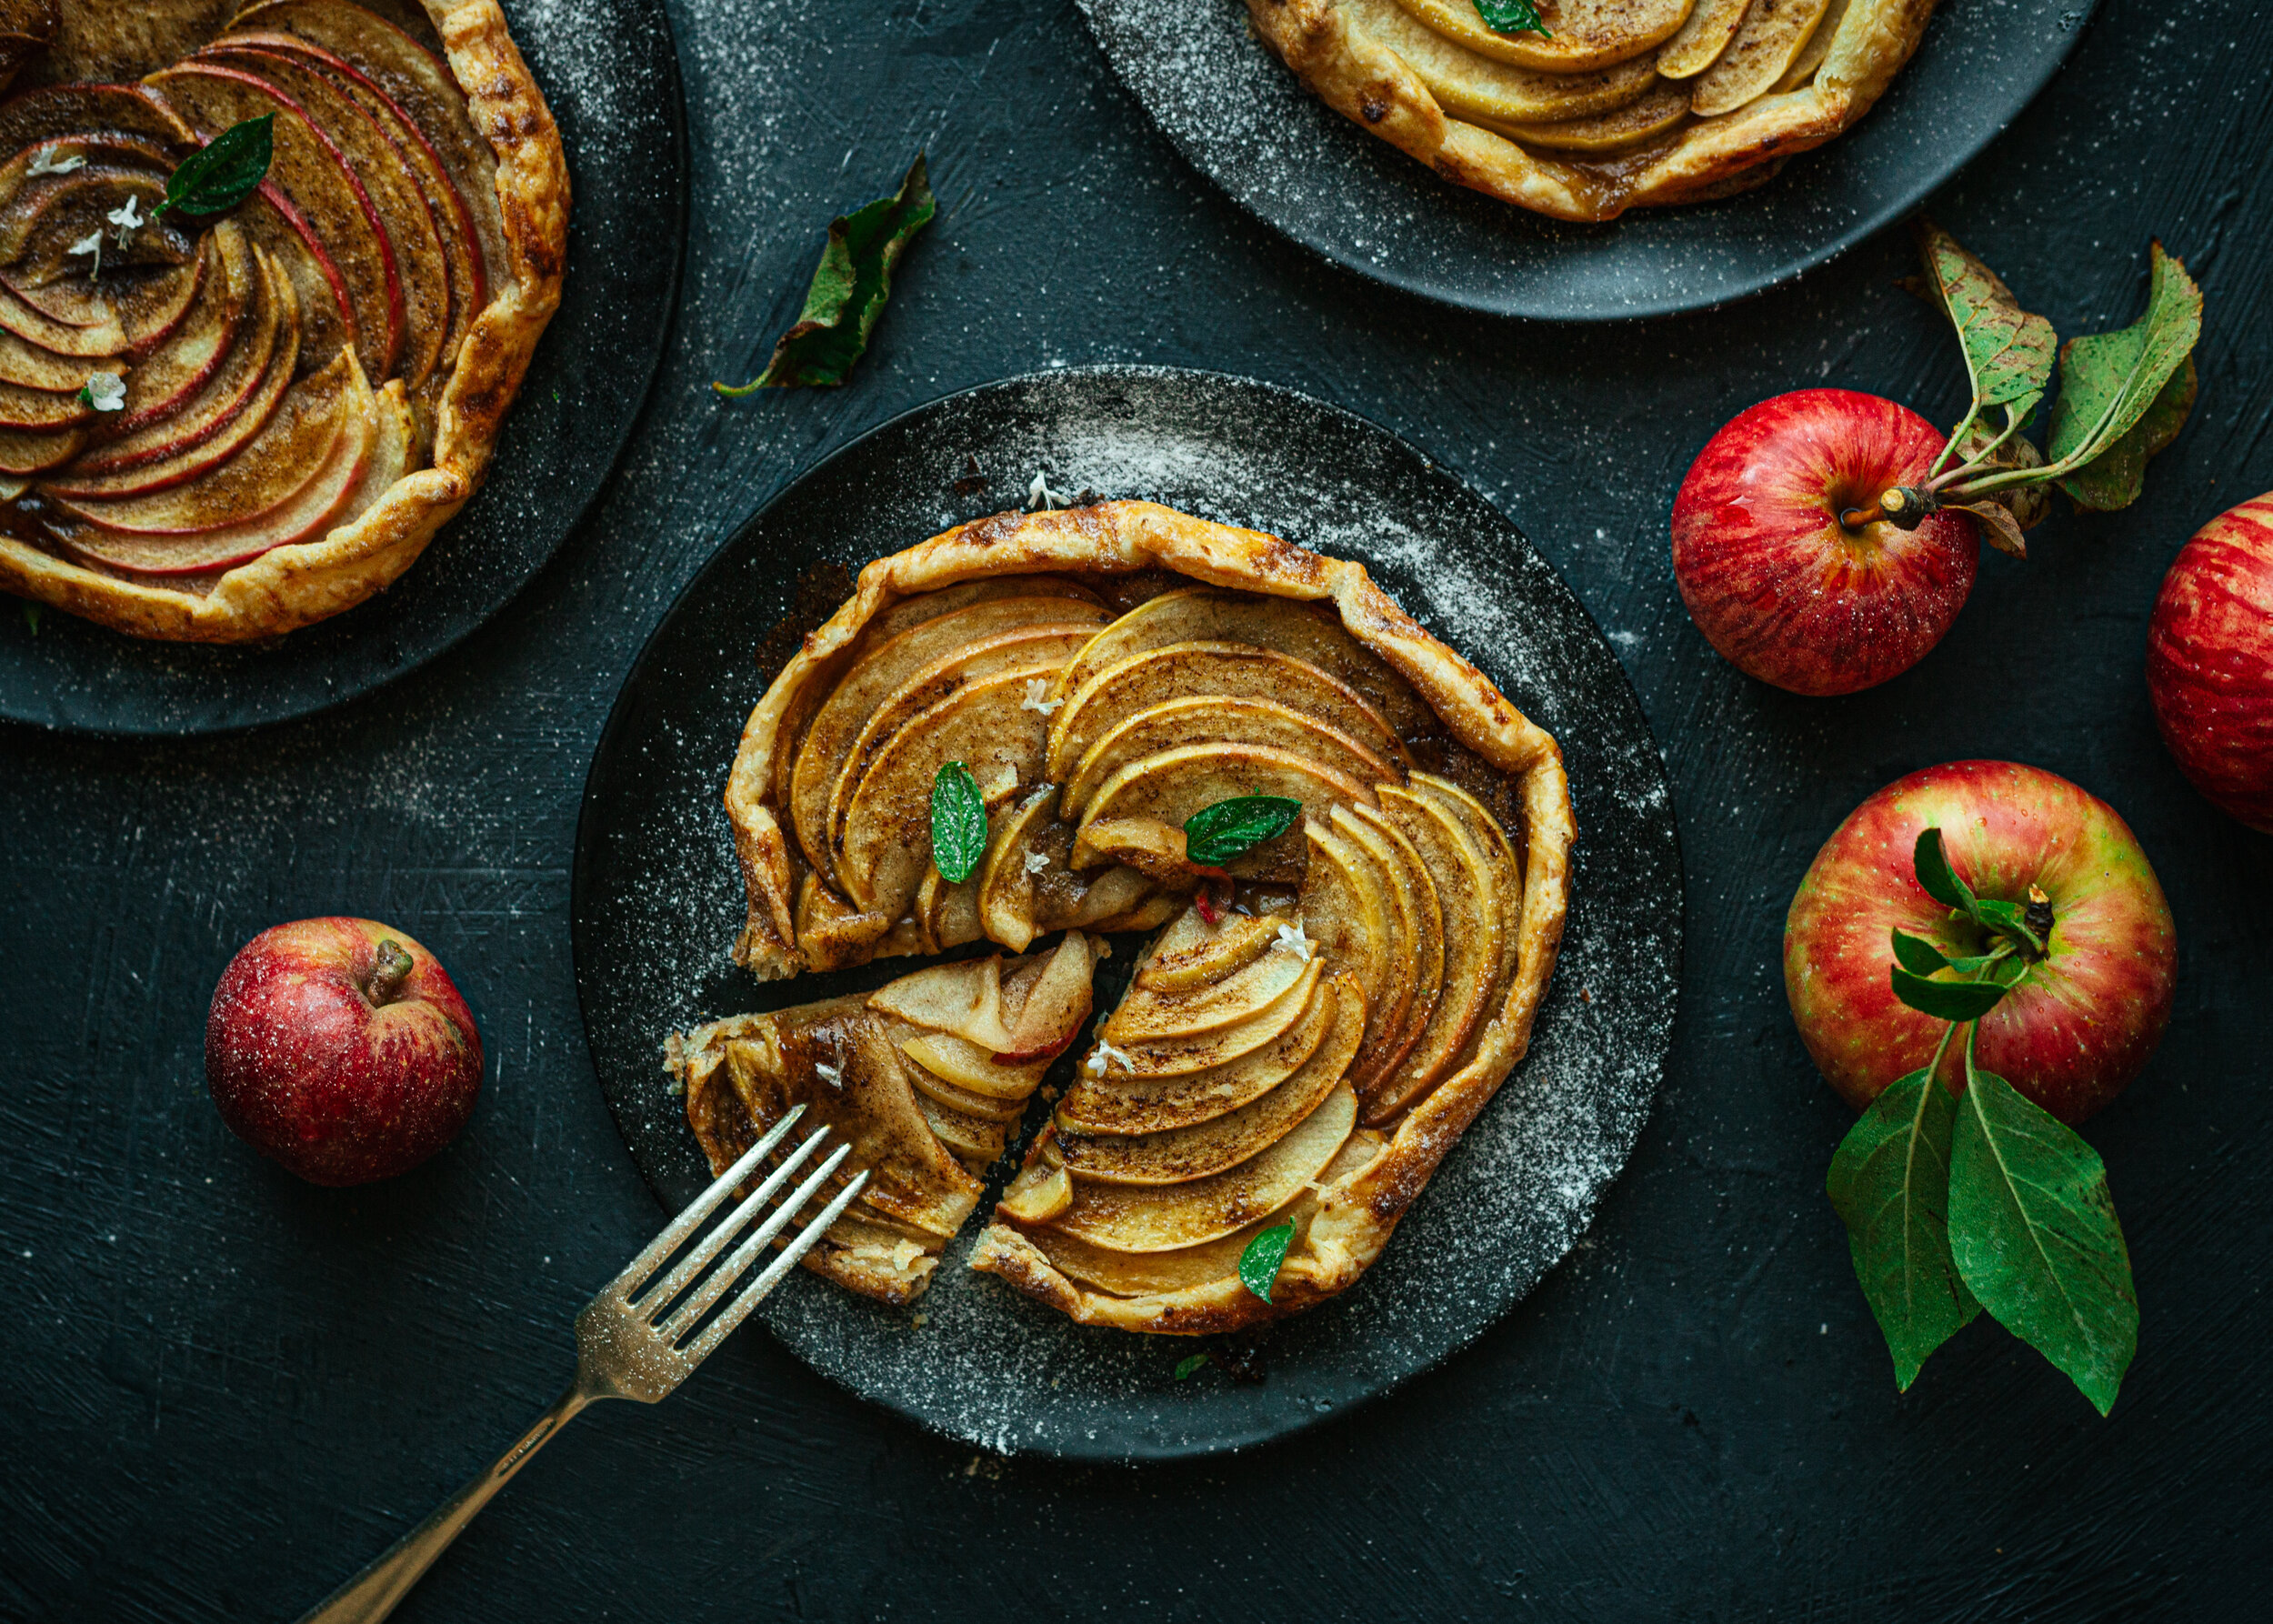
Dusted these with a sprinkle of powdered sugar and basil flowers.

Dusted these with a sprinkle of powdered sugar and basil flowers.

Apple Rum Galette

Serves 6, makes one large galette or 2-3 small ones

Ingredients 

  • 1/2 flaky pie dough

  • 1/3 cup rum

  • 3 tablespoons unsalted butter

  • 1/3 cup dark brown sugar ( I used 1/4 for a less sweet version)

  • 1 tablespoon cornstarch (optional)

  • 1 teaspoon cinnamon

  • 3 large or 4 medium apples, cored and sliced into pieces

  • 1 egg, beaten, for finishing

  • Turbinado sugar, for finishing

  • Basil leaves, for garnish (optional)

Instructions

Preheat the oven to 425° F. Line a baking sheet with baking paper.

  • In a small saucepot, bring the rum to a boil over medium heat. Cook until the liquor is reduced to 2 tablespoons, then stir in the butter until it’s melted.

  • In a small bowl, whisk the brown sugar, cornstarch, and cinnamon to combine. Stir this into the rum-butter mixture and let cool completely.

  • Cut the apples into four outer pieces, leaving the core intact. Carefully slice each piece into thin slices, doing your best to keep sections together while you slice. This will make your apples easier to fan

  • On a lightly floured surface, roll out the dough into a round shape around 1/4 inches thick. Trim the edges if you need to. Transfer the dough to the prepared baking sheet.

  • Starting around the edges — fan the apples out and place them over the dough, leaving about 1 1/2 inches of uncovered dough all around the edge.

  • Fold the sides of the dough over the apples. Overlapping the folds and pinching at the edges to ensure they are secure.

  • Carefully spoon the bourbon-sugar mixture over the apples evenly. Apply egg wash over the edges of the dough and sprinkle with turbinado sugar.

  • Bake the galette until the crust is golden brown and the apples are toasted and tender. Around 25 to 30 minutes. Let cool before slicing and serve with ice cream. Garnish with basil leaves if you like. The galette keeps for2-3 a few days though best enjoyed fresh, a light toast for leftovers in the convection oven helps.

Apple-galette-recipe.jpg

Flaky Pie Dough

To me, what dough can be better than flaky pie dough? I am so delighted every time I bake with this recipe. This dough keeps really well in the freezer (up to three months) and the layers of crispiness really make a difference.

With pie as a North American/European staple—pastry and galettes are something I love learning to perfect and create new traditions for myself. A dough very different from rice cake, dumpling and hand-pulled noodles but just as rewarding to share. I use this for my galettes and am always showered with high praise.

flaky-pie-dough-recipe.jpg

Flaky Pie Dough

Makes two large or four small galettes. I use half and freeze the remaining for future pies.

Flaky Pie DoughFlaky Pie Dough

Ingredients

  • 2 1/2 cup (350g)all-purpose flour (I use Anita’s organic flour when I want to feel fancy)

  • 1/2 teaspoon kosher salt

  • 1 cup (225g) cold unsalted butter, cut into 1/2 inch cubes

  • 6–7 tablespoons (110g) ice-cold water

Instructions

  • Sift the flour into a large mixing bowl. Add the diced butter. With clean hands (or a food processor if you own one), work the butter into the flour until the butter is the size of peas. Add 6 tablespoons of ice-cold water and continue mixing until the dough starts coming together. You may need more ice water depending on humidity. 

  • Transfer the dough to a surface and shape it together without handling it too much. The mixture should be crumbly with pieces of butter still intact. We want to keep the butter cold and chunky without melting it with the heat of your hands. This will aid in a flaky crust.

  • Using a bench scraper or large knife, cut the dough into two equal pieces. Wrap them in saran wrap and flatten them into round discs. Chill the dough for at least 30 minutes before using. I freeze half the dough at this point and use it for future baking sessions. Just thaw it out in the fridge before rolling.

  • To roll the dough, lightly dust a work surface* with flour. Start rolling the dough from the center, rotating the dough with your other hand every time. Aiming for a circular, even shape. Make sure the surface and rolling pin are floured to avoid sticking. If the dough cracks or shapes unevenly, bring the dough back together, knead it a couple of times and start again. 

*A trick I use for galettes is to roll the dough on a piece of parchment paper and transfer it directly to a baking pan.