Sweet and Spicy Dipping Sauce

This is a spin on the traditional soy and vinegar dipping sauce. Great for dumplings, scallion or potato pancakes, and most Northern-style Chinese pastries 北方麵食. I love the sweet, sour tang it adds to pastry. I find that rice vinegar or apple cider vinegar make great substitutes for black vinegar.

Sweet and Spicy Dipping Sauce

Ingredients

  • 2 tbsp apple cider vinegar (or rice vinegar or Chinese black vinegar)

  • 1 tbsp soy sauce

  • 1 tbsp maple syrup

  • 1 tsp chili oil (or sesame oil)

  • Ginger threads or chopped green onions (optional)

Instructions

  1. Mix everything together and serve in a sauce dish. This keeps in the fridge for a 3-4 days.

Roasted Sichuan Peppercorn Salt

This is yet another recipe from the cookbook China Moon by Barbora Tropp. According to an interview, peppercorn salt was one of the condiments Barbara craved during the last few months of her life battling cancer. I am ever so grateful to discover her work during this period of time. Such is the power of food to bring back memories of adventure in china — eating coloured dumplings in famous dumpling houses, and discovering hole-in-the-wall baozi shops that I would revisit if I were to visit Northern China again.

Read More

Salt-Pickled Cherry Blossoms

salt-pickled-cherry-blossoms-recipe-4.jpg

Spring is a season I can spend outside for as long as I possibly can. I do not fare well with winter. It may be that I’ve always left Vancouver in the last few winters for somewhere warm. Building a home in Vancouver has been an on-going project for the last half-decade. But do I love spring. It is a time when the light shines in longer hours, tiny sprouts appear on your slumbering plants and birds chirp louder than they have for the longest time.

I have been enjoying Nancy Singleton’s book — Preserving the Japanese Way. There is always a part of me that feels convicted with my multi-tasking and my need for accomplishment. Perhaps it is in working with, observing and photographing plants that I feel a certain stillness. They are so beautiful in their own way without trying. It is calming to capture.

salt-pickled-cherry-blossoms-recipe-6.jpg
salt-pickled-cherry-blossoms-recipe-7.jpg
salt-pickled-cherry-blossoms-recipe-5.jpg

Pickled cherry blossoms. Ideally, one should look for buds that have not flowered and trees that have not been sprayed or branches. Try asking a friend! I snipped a few branches from a tree in the ally behind my apartment. If you cannot find cherry blossoms, plum or peach will work as well.

Yae-zakura (Double-layer Cherry Blossom) is the recommended variety for preserving. They have the most pungent, flavourful leaves. I will try working with them next.

Cherry blossoms, removed from their salty home after three days.

Cherry blossoms, removed from their salty home after three days.

Salt-Pickled Cherry Blossoms

Ingredients

  1. 1 cup of cherry blossom buds (select ones that have yet to flower)

  2. Best-quality sea salt

Instructions

  • Find a good tree to harvest flowering branches from. A neighbour, a friend, your parent’s back yard. Make sure that they have not been sprayed.

  • Rinse the flowers with water, dry with paper towels or set them aside to air dry. Pick the buds off, try not to use full blooms as the petals will fall apart.

  • Sprinkle salt to cover the bottom layer of a clean bowl. The amount of salt will depend on the size of your vessel. Carefully layer with cherry blossoms. Top with salt and repeat until the blossoms are fully covered.

  • Cover the bowl with a well-sized plate, and add a weight on top. Allow them to cure for a few days or up to a month. The salt will absorb water from the blossoms.

  • Remove cherry blossoms from salt. Sprinkle blossoms with salt and store them in an airtight container. Add them as a pickle with rice, or fold them into your onigiri rice cakes. The preserves will keep for a couple of months but the colour will fade over time.

* To use for edible flower cookies — remove salt and soak cherry blossoms in a bowl of water overnight. Lay blossoms to dry on a paper towel before placing them on cookies. This will help reduce the saltiness of the pickle.

A tuna-filled onigiri, topped with salted blossoms.

A tuna-filled onigiri, topped with salted blossoms.


Japanese Onion Salad Dressing (Wafu)

Wafu (和風) is a popular Japanese salad dressing which is basically an onion vinaigrette. It takes 5 ingredients to make and pairs perfectly with greens, lettuce, cucumber for an appetizer or a refreshing side.

This dressing brings me back to my high school days when I worked at Mos Burger — a Japanese chain restaurant that specializes in rice burgers. Boy, I loved everything on the menu — fish fillets, pomelo ice teas, organic rice patties (some of my coworkers used them to make fried rice). It was a memorable and delicious time.

Among their menu, Wafu salad was a bestseller. It had completely slipped my mind until I came across it on Adam Liaw’s social media. Making it brings me back to the school days — walking home after an evening shift, the jasmine-scented gardens of Chang Kai Shek memorial hall, koi fish ponds, and the many meals I shared with my friends. I will be eating lots of Wafu dressing on salads this summer.

Japanese Onion Salad Dressing (Wafu/和風醬)

Ingredients

  1. 1/2 onion, roughly chopped (around 1 cup)

  2. 1 tbsp soy sauce

  3. 2 tbsp rice vinegar (sub-seasoned rice vinegar and omit the sugar)

  4. 1 tbsp cane sugar

  5. 1/2 cup grapeseed oil (sub olive oil)

  6. 1/2 tbsp toasted sesame seeds (optional)

Instructions

  • Add all of the ingredients aside from the oil into a blender or food processor. Pulse and blend into a thick dressing. Don’t overblend.

  • Top with oil of choice and sesame seeds. Seal the jar, and give it a good shake until the ingredients emulsify. Serve over salad or soba/rice noodles. Dressing keeps for 3-4 days in the fridge

Cooking Notes:

• Traditionally, the onions are grated with a Microplane grater to preserve texture. I find the blender method easier with limited time on my hands.

• If making beforehand, give the dressing jar a good shake before serving.

Chive Blossom Vinegar

I have an appetite for chives. Chives in boiled dumplings, chives in potstickers; chives chopped, stir-fried and hidden into chive pockets; chives wrapped into steamed buns and strung onto sticks with enoki or chicken skewers from vendors on the streets in Asia; chives fried with egg, dried shrimp, thin slivers of pork and rice noodles grandma would make by the mountain-full. I eat chives for the taste just as much as the love of the memories I have of eating them.

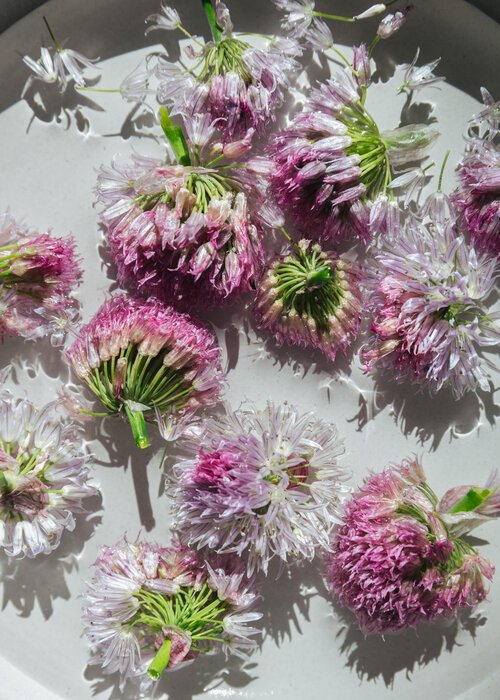
There is something incredibly beautiful about chives blossoms, the tiny bursts of purple on long green stems, the pungent smell and tiny seeds that fall from their pods. I also cherish the fact that I get to harvest a handful of these beauties every year from my dad’s yard — so pretty that I put them in vases for a few days before making a recipe out of them. 

I chuckle to think of the traits I bring from Asian culture into photography —choosing to photograph subjects that are at once tasty, photogenic, accessible and meaningful. It’s almost like someone said, “I created these chive blossoms, make good use of them!” An opportunity one must not pass.

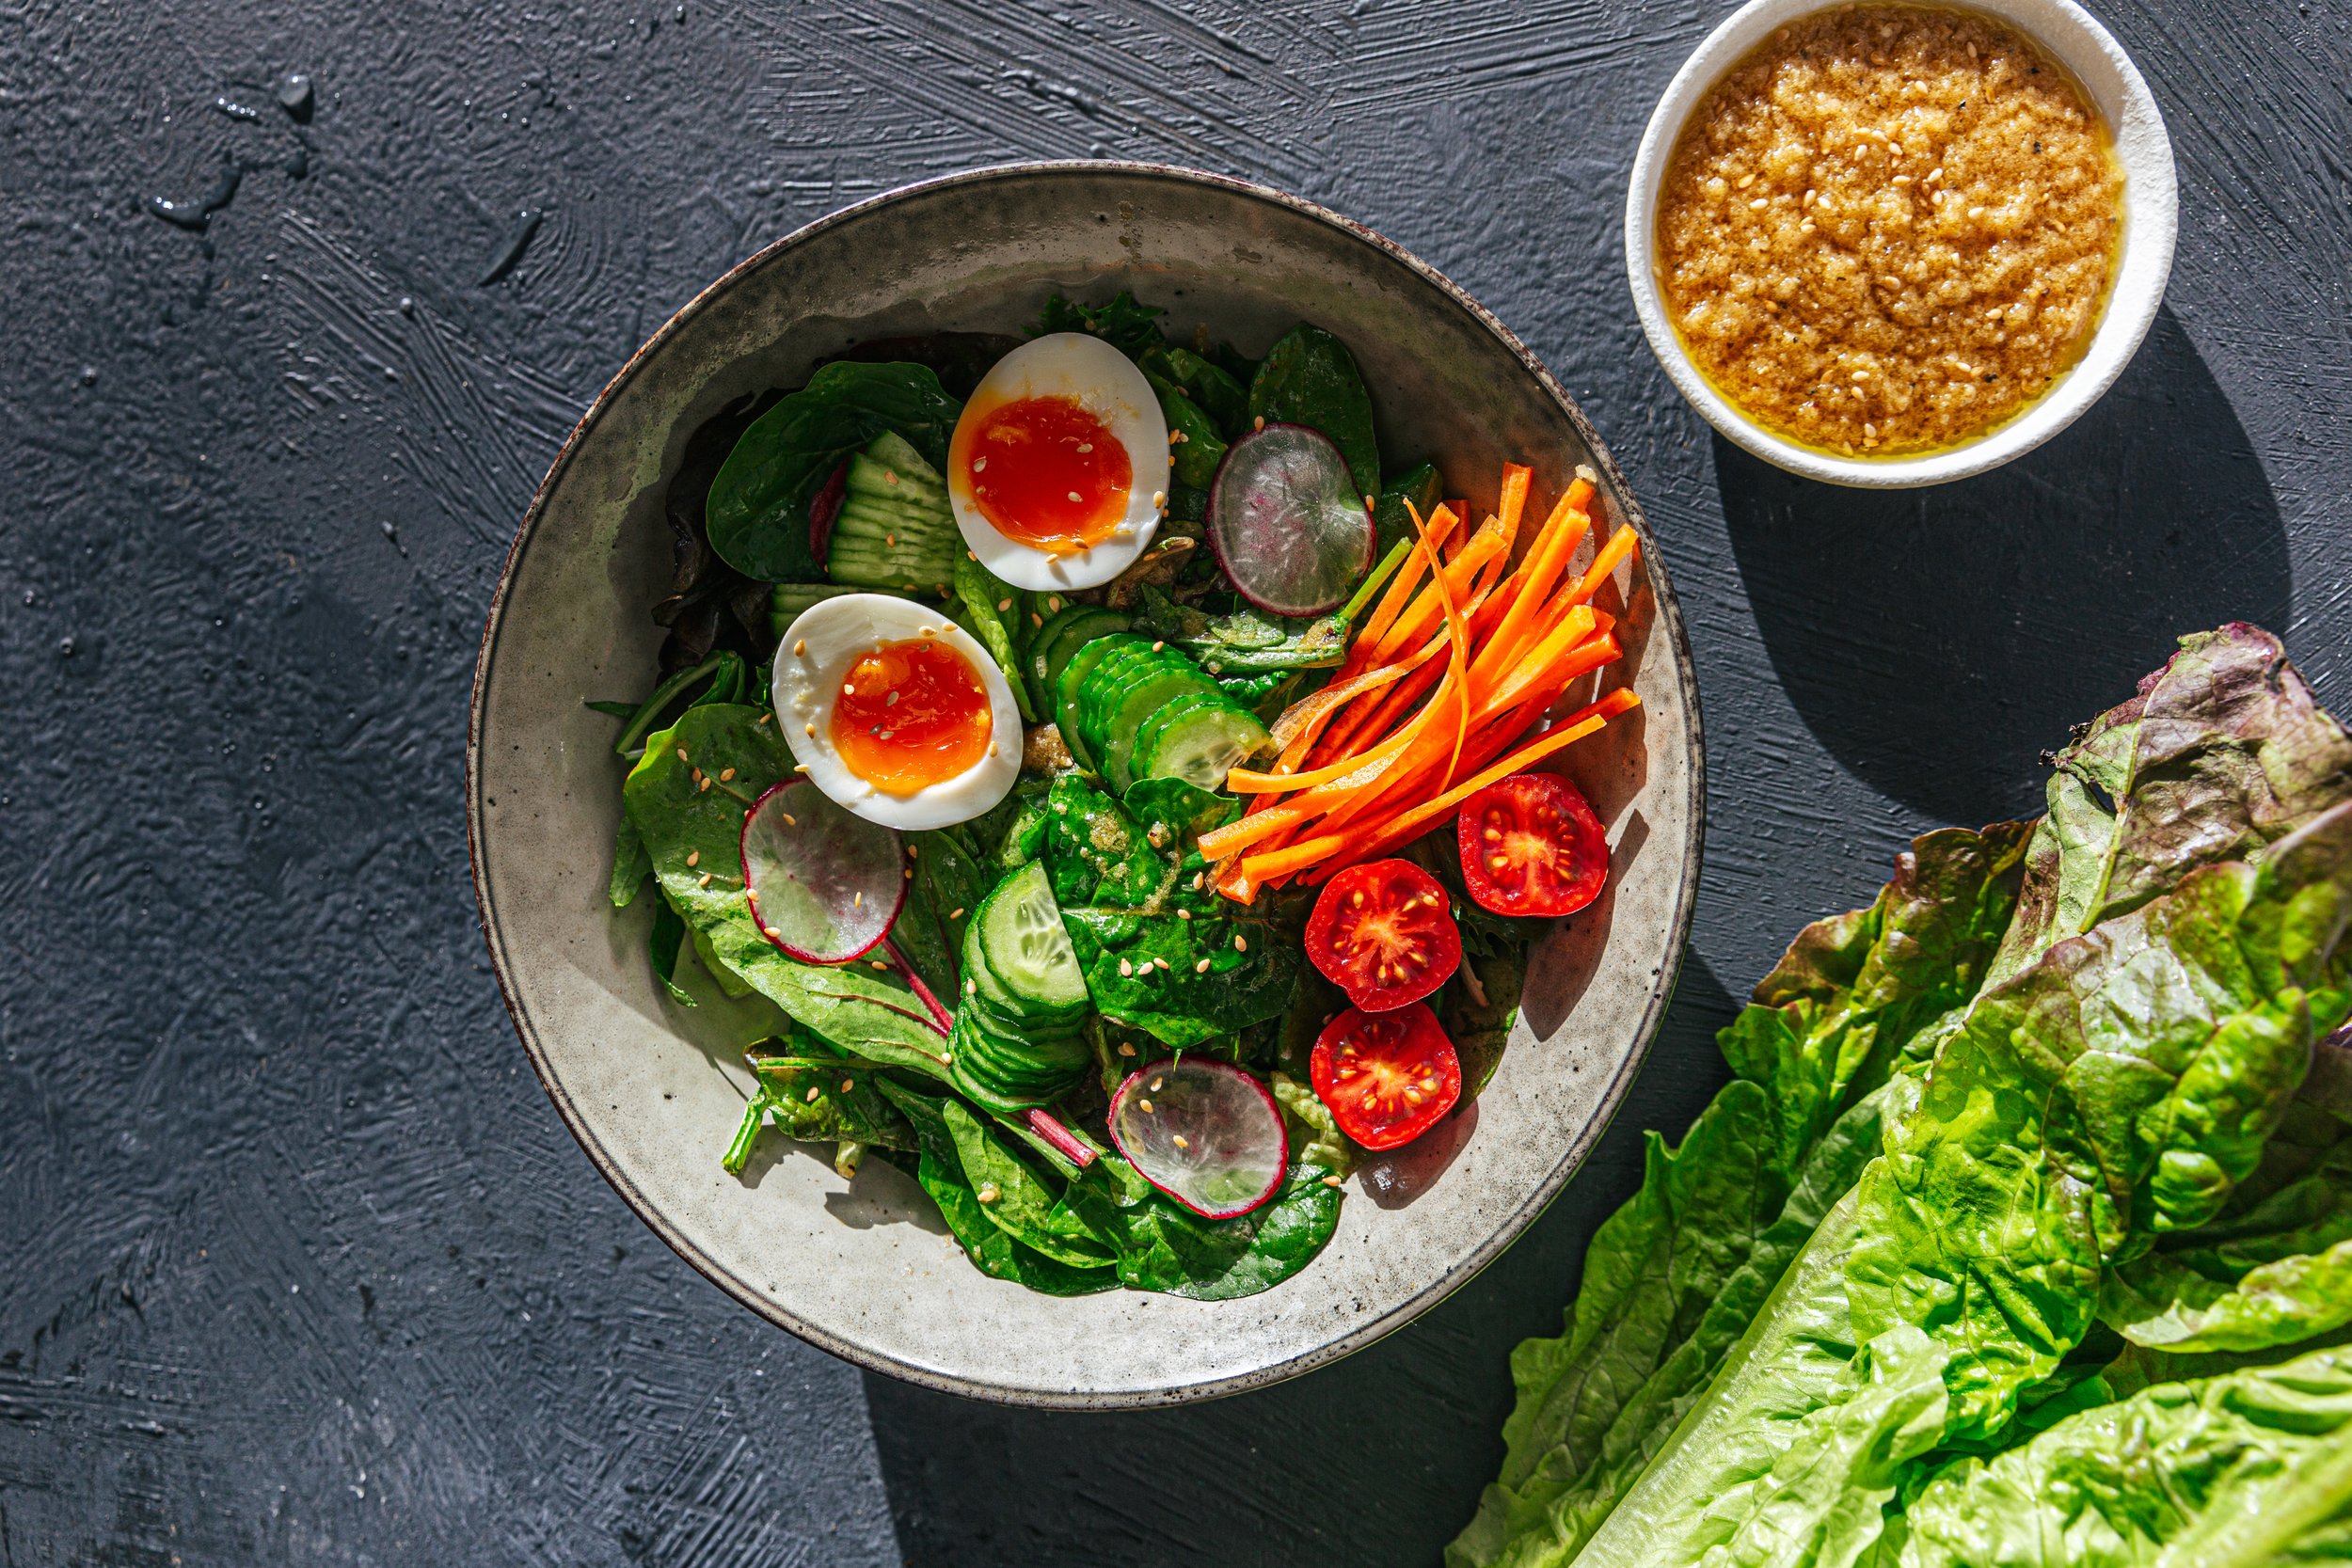
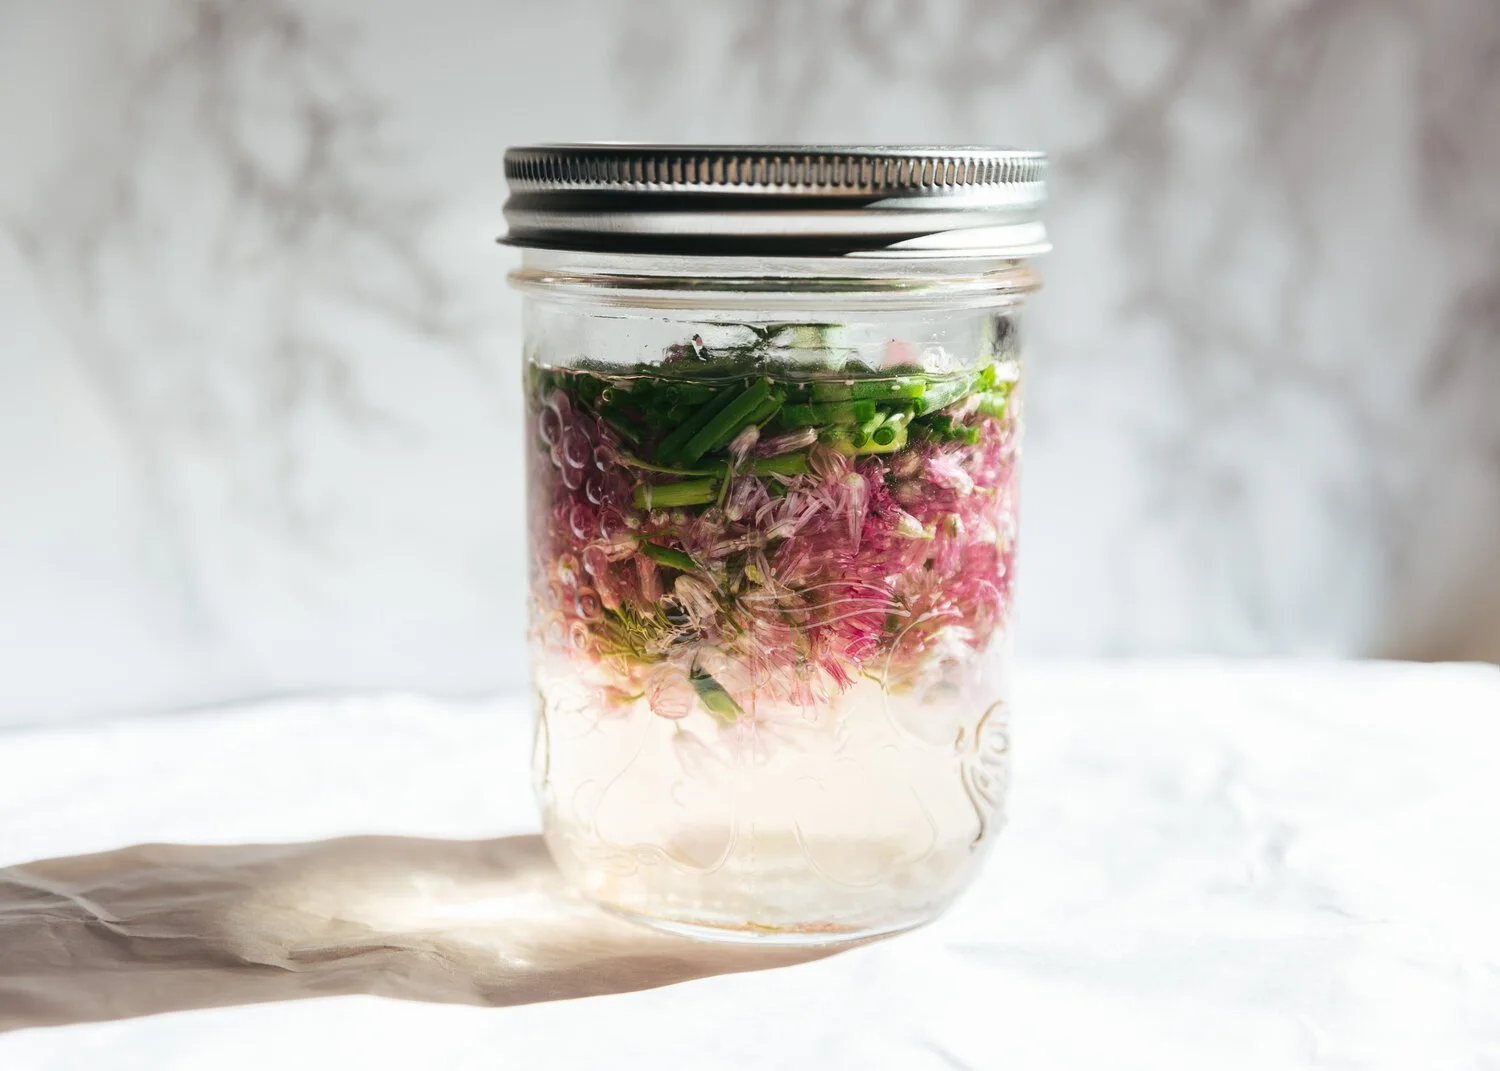
So here is a recipe for chive blossom vinegar. A vinegar that will taste slightly like chives and turn the liquid into a deceivingly shade of rosé. Great for pickling daikon or adding flavour to a salad.

Chive Blossom Vinegar

Ingredients

• A handful of chive blossoms (use blooms that bloomed and have yet gone to seed)
• Vinegar (I used rice vinegar for this one)

Instructions

1. Behead chive blossoms, wash thoroughly with water and pat dry with paper towels.

2. Transfer chive blossoms into a clean jar. Mash slightly with a spoon to release flavour. Top the blossoms with a sprig of chive stem if you like, chopped.

3. Fill to the brim with vinegar.

4. Let sit in a cool dark place for two weeks. Strain the liquid and keep in a sterilized jar for up to 6 months.

* Rice vinegar can be substituted with apple cider vinegar or white wine vinegar.

* For a quick pickle, heat the vinegar until it comes to a simmer (do not boil, it will drain the colour from the blossoms), repeat with steps 3 and 4 above. Vinegar will be ready in 3 days.