The secret to juicy meat buns — onion, pepper and ginger water

Pleated buns, ready for a steaming


Growing up in Taipei, steamed buns are a staple in everyday life. They are found at breakfast shops, dim sum restaurants, and the many street food vendors that line the alleys of Taipei City. Steamed buns come in every variety — pan-fried, steamed, stuffed with vegetable meat, or sweet fillings.
The secret of a juicy meat bun is the onion, ginger, and pepper water that is beaten into the filling. It prevents the meat from drying out and you’ll end up with a tender and juicy filling. This recipe is designed for an afternoon or evening of hanging out in the kitchen. For cold climates, rise the dough for 25-30 minutes with a tray of boiling water in the oven. Make the filling while you wait for the dough to rise. Assign a wrapper roller while others pleat the buns. The beauty of making these in batches is that there will be plenty to share and give away.
Beef and Onion Steamed Buns
Makes 16 buns
Ingredients
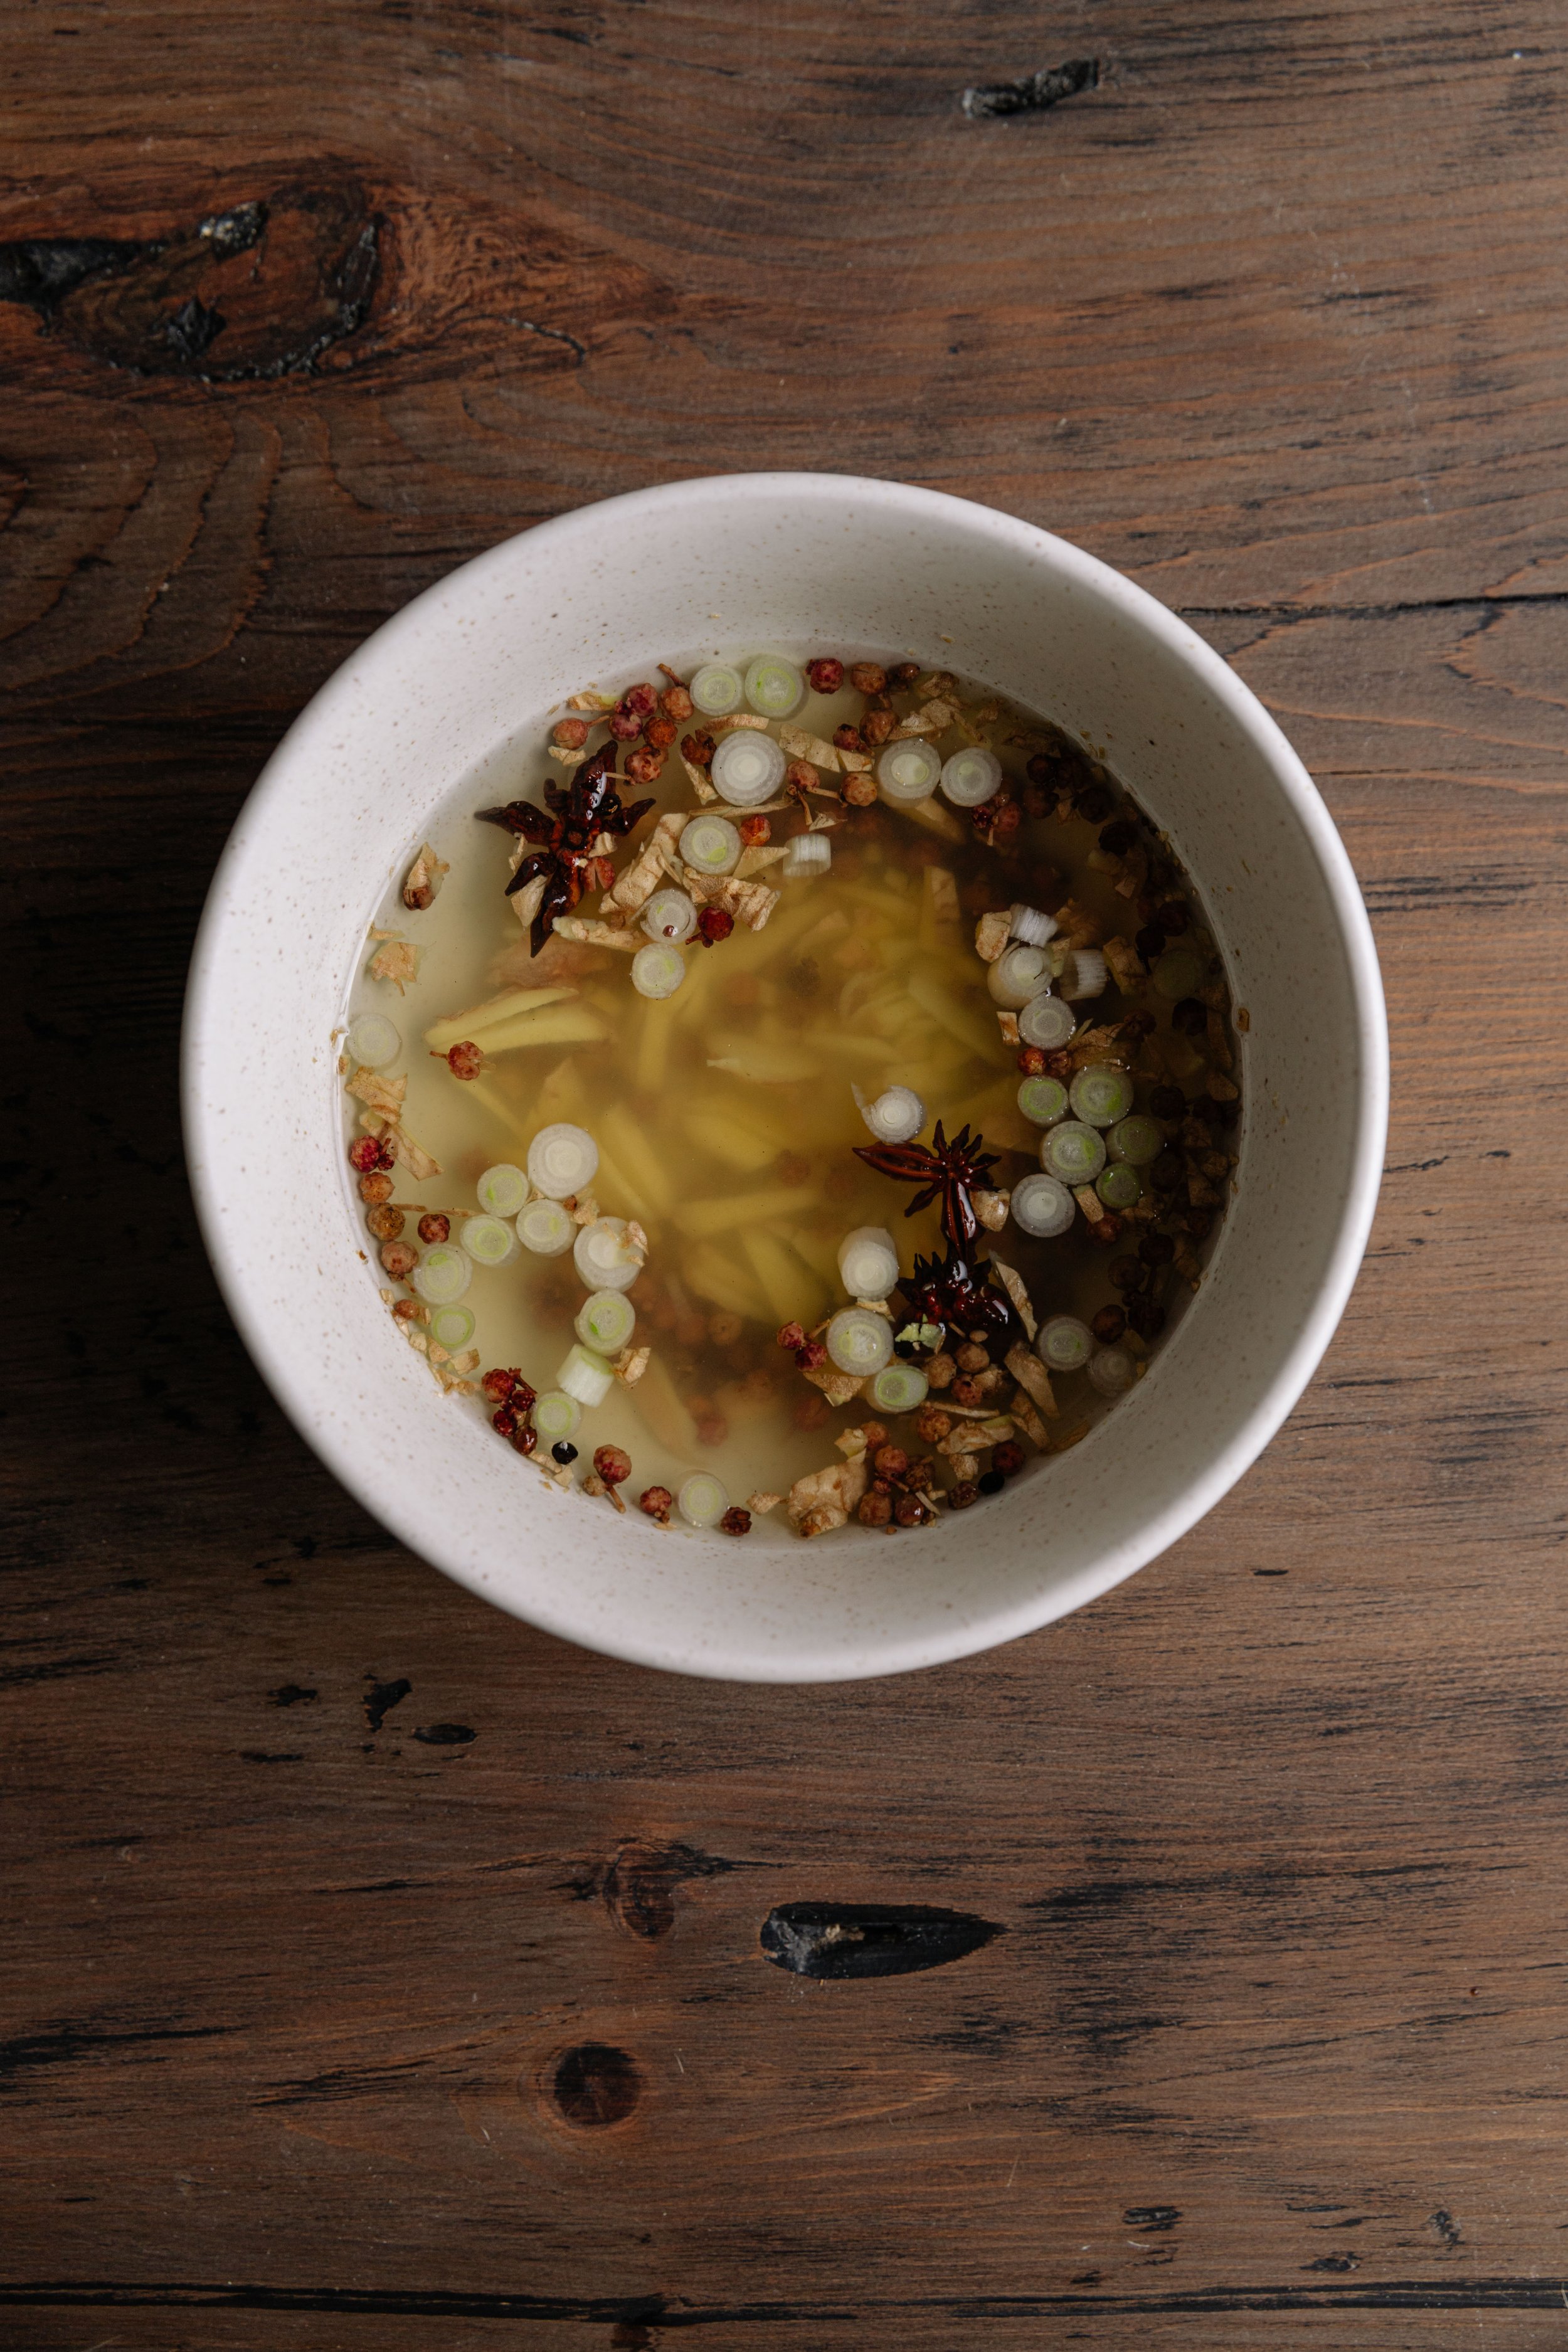
Onion, ginger, pepper water
2 tbsp (15 g) ginger, peeled and sliced
2 star anise seeds (optional)
1 tsp Sichuan black peppercorns*
3 white parts of spring onions, chopped
1/3 cup (113 g) boiling water
Meat Filling
1 lb (453 g) lean ground beef
Onion, ginger, pepper water (recipe above)
1 tbsp soy sauce
1 tbsp salt
1 tsp Sichuan peppercorn powder
1 large onion, peeled and finely chopped
3 green parts of spring onion, chopped
2 tbsp sesame oil
Steamed Bun Dough
1 cup (236 g) of lukewarm water
1 tbsp (12 g) cane sugar
2 tsp (5 g) active dry yeast*
3 cups (420 g) all-purpose flour, plus extra for kneading and rolling
1/2 tsp (3 g) salt
1 tsp (4 g) baking powder
1 tsp (5 g) vegetable oil, plus extra for coating the bowl
Instructions
Making the filling: Bring a jug of water to boil. Add the ginger, star anise, chopped white parts of spring onion, and peppercorns to a bowl. Pour 1/3 cup of boiling water into the bowl, steep and let cool.
Add the meat to a large mixing bowl. Gradually stream in the onion, ginger, and pepper water. Mixing until well incorporated. Add in the salt, soy sauce, pepper powder, onion, and green onion, stirring continuously. Lastly, add in the sesame oil and mix. The oil will prevent the mixture from becoming too watery. Set the filling aside until ready to use.*
Making the dough: In a small bowl, add the yeast, warm water, and sugar and stir to dissolve the yeast. Let sit for 5 minutes to activate the yeast. The liquid should foam and look creamy. It’s important to use fresh yeast. In a large mixing bowl, add the flour and make a well in the center. Sprinkle the baking powder around the outer ridges of the bowl so it will incorporate later.
Slowly stream in the yeast mixture to the flour, mixing with a pair of chopsticks as you go. The dough should come together into a loose mound. When there are no dry patches left, add the vegetable oil and knead for 8 minutes. You’ll know that the dough is ready when it has “Three Shines or San Guang 三光“ — Shiny hands, clean bowl, shiny dough. The dough should be smooth and soft like a baby's bottom. If the dough is too sticky, add flour or vegetable oil. If the dough is too tight, add water to your hands and continue kneading.
First rising*: Place the kneaded dough in a well-oiled bowl. Let sit in a warm spot for 1-2 hours until it has doubled in size. The time will depend on the temperature in your home so keep a keen eye on it. To check if the dough is ready — pull the dough away from the edge of the bowl. There should be strands of airy, honeycomb-like textures.
Using well-oiled hands, lift the dough out of the bowl onto a floured surface. Knead for another 5 minutes until the air bubbles have popped and you have a smooth round ball. The fewer air bubbles, the smoother your buns will be. Roll the dough into a log and divide it into two portions. Cover one portion of the dough with a clean dishcloth while you work with the other half. This will prevent the dough from drying out. Roll your portion of dough into a log and divide it into 8 pieces. Each piece should weigh around 35-40 grams. Knead and roll each morsel into a round, smooth ball.
Rolling the wrapper: Flatten a morsel of dough with your palm. Using a rolling pin, roll it from the edge towards the center, without actually rolling the center of the dough. You want a thick center and thin edges on your wrapper. The wrapper should be 4-5 inches in diameter.
Pleating the Bun: Place the wrapper in one hand and scoop a heaping tablespoon of filling into the center. The filling should weigh around 30 grams. For beginners, start with a minimal amount of filling to help the pleating process. Flatten the filling with a spoon and follow the steps below. Switch hands if you are left-handed.
With your right forefinger and thumb, firmly pinch an edge of the wrapper to make the first fold.
Continue pinching folds with your right index finger and thumb. Rotate the wrapper with your left hand as you go, pinching until the whole bun is pleated. While pleating, use your left thumb to press down the filling so the dough comes over the filling. Your right thumb should never leave the bun.
Seal the bun with a series of pinches to form the pointy top of the bun. Repeat with the remaining dough and filling.
Second Rising: Line your steamer with parchment paper*. Transfer your buns to the steamer, cover them, and let them sit for 15-20 minutes. The 2nd rising will allow the buns to be pillowy and soft. You’ll know the buns are ready when they have expanded in size and are fluffy and light to the touch.
Steaming the buns: Over high heat, bring a pot of water to boil. Place the steamer on top and immediately turn the heat to medium. Steam for 15 minutes and let sit for 5 minutes before taking the lid off. This will ensure your buns do not deflate with the quick temperature change.
Serve immediately, or let cool and refrigerate or freeze. To reheat, steam for 2-3 minutes in a steam or microwave with a wet paper towel covered on top.
Cooking Tips:
If you are using instant yeast, substitute the same amount, skip the proofing step, and add the yeast directly to the dry ingredients.
If you are making the filling ahead, mix everything together aside from the onion, spring onion, and sesame oil until you are ready to pleat the buns. This will prevent the vegetables from becoming too watery.
To speed up the rising process. Cover your dough and place it in the oven with a plate of boiling water underneath. The temperature should be around 38 C/100 F. The dough should be ready in 25-30 minutes.
For beginners, start with a minimal amount of filling to help the pleating process. No one starts out with good-looking buns so practice makes perfect.
You can find steamer liners at Asian shops. To make your own steamer liner — measure and cut a round parchment paper to fit inside your steamer. Cut holes in the parchment paper that are 1½ inches apart to allow steam to rise through.
These buns reheat extremely well in the steamer or microwave (covered with a damp paper towel before heating). Eat within 3 days or freeze in an airtight container for up to 2 months.


