Salt-Pickled Cherry Blossoms

salt-pickled-cherry-blossoms-recipe-4.jpg

Spring is a season I can spend outside for as long as I possibly can. I do not fare well with winter. It may be that I’ve always left Vancouver in the last few winters for somewhere warm. Building a home in Vancouver has been an on-going project for the last half-decade. But do I love spring. It is a time when the light shines in longer hours, tiny sprouts appear on your slumbering plants and birds chirp louder than they have for the longest time.

I have been enjoying Nancy Singleton’s book — Preserving the Japanese Way. There is always a part of me that feels convicted with my multi-tasking and my need for accomplishment. Perhaps it is in working with, observing and photographing plants that I feel a certain stillness. They are so beautiful in their own way without trying. It is calming to capture.

salt-pickled-cherry-blossoms-recipe-6.jpg
salt-pickled-cherry-blossoms-recipe-7.jpg
salt-pickled-cherry-blossoms-recipe-5.jpg

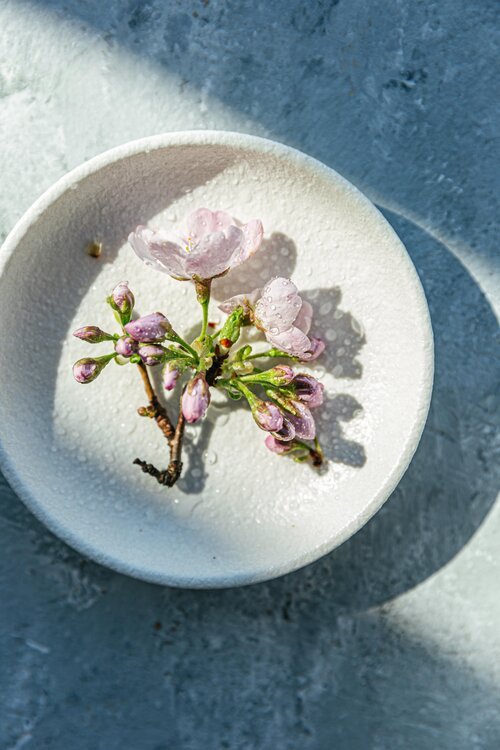
Pickled cherry blossoms. Ideally, one should look for buds that have not flowered and trees that have not been sprayed or branches. Try asking a friend! I snipped a few branches from a tree in the ally behind my apartment. If you cannot find cherry blossoms, plum or peach will work as well.

Yae-zakura (Double-layer Cherry Blossom) is the recommended variety for preserving. They have the most pungent, flavourful leaves. I will try working with them next.

Cherry blossoms, removed from their salty home after three days.

Cherry blossoms, removed from their salty home after three days.

Salt-Pickled Cherry Blossoms

Ingredients

  1. 1 cup of cherry blossom buds (select ones that have yet to flower)

  2. Best-quality sea salt

Instructions

  • Find a good tree to harvest flowering branches from. A neighbour, a friend, your parent’s back yard. Make sure that they have not been sprayed.

  • Rinse the flowers with water, dry with paper towels or set them aside to air dry. Pick the buds off, try not to use full blooms as the petals will fall apart.

  • Sprinkle salt to cover the bottom layer of a clean bowl. The amount of salt will depend on the size of your vessel. Carefully layer with cherry blossoms. Top with salt and repeat until the blossoms are fully covered.

  • Cover the bowl with a well-sized plate, and add a weight on top. Allow them to cure for a few days or up to a month. The salt will absorb water from the blossoms.

  • Remove cherry blossoms from salt. Sprinkle blossoms with salt and store them in an airtight container. Add them as a pickle with rice, or fold them into your onigiri rice cakes. The preserves will keep for a couple of months but the colour will fade over time.

* To use for edible flower cookies — remove salt and soak cherry blossoms in a bowl of water overnight. Lay blossoms to dry on a paper towel before placing them on cookies. This will help reduce the saltiness of the pickle.

A tuna-filled onigiri, topped with salted blossoms.

A tuna-filled onigiri, topped with salted blossoms.


Stir Fry Lotus Root

In Chinese culture, lotus root is described as “the lover’s vegetable”. There are strands of fibre that connect every piece as you take a bite. In short, a sentimental vegetable that is unwilling to part with itself. Stewed in broths, thrown in stir-fries and pickled for salads — I’ve loved poking my chopsticks through the holes to eat as a child. It’s a vegetable that is rewarding to work with and fun to introduce to your friends.

Read More

Flourless Chocolate Brownie With Edible Flowers

This recipe is an update from a favourite. The fudgy-ist and the most satisfying chocolate recipe I have ever had. I have taken these brownies to many a social gathering, now passing them off in packets while social distancing. They never fail to please. I keep a stack handy in the freezer when I have a chocolate craving.

Cherry blossoms are beautiful. They are also edible. I am making Cherry Blossoms Preserves with their buds but making the most out of these fully blossomed buds. I love watching peoples eye’s light up before they take a bite. If you are curious about which flowers are edible, I have a list here. Just make sure they have not been sprayed with chemicals. I source most of mine from my parent’s yard.

Edible Flowers

Nasturcians
Rose
Forget-me-nots
Chive flowers (these smell like onions so use in savoury dishes)
Carnation petals
Pansies
Marigolds

I like my treats to be less sweet and have lowered the 150 grams of brown sugar to 120 grams and 100 grams. It seems to work without breaking the structure of the brownie.

These brownies taste rich, decadent but light without the flour. Please try it and let me know the results. Please also share them.

Flourless Chocolate Brownie With Cherry Blossoms

140g dark chocolate
155g (1/2 c) unsalted butter
120g brown sugar
3 large eggs, lightly beaten
50g (1/2 c) cocoa powder, sifted
1/4 tsp salt
11/2 tsp vanilla extract
1/4 c walnuts, chopped (substitute any kind of nuts)
Maldon sea salt for garnish (optional)

  1. Preheat oven to 350 F. Line a baking pan or sheet with parchment paper.

  2. In 15-30 second intervals, melt chocolate and butter in the microwave and stir until smooth. Set aside too cool. Add brown sugar, cocoa powder, salt, vanilla, and eggs. In that order. Mix but do not over-mix. Transfer batter to baking pan or sheet with a spatula. Top with walnuts.

  3. Bake for 20-30 minutes or until brownie is set and firm in the center. Time will vary depending on container size. Let sit until cool before cutting into pieces. Top with cherry blossoms, buds, and a sprinkle of flaky sea salt.

These are very delicious eaten cool or slightly warmed. They also keep well in the fridge for up to a week. If they last that long.

Apple Rum Galette

Happy Fall everyone. It has been quiet over here this summer. A good kind of online quiet while my offline life was filled with time in nature, cliff jumping, sitting by the beach, and away from the screen as much as possible. I hope it was one as energizing and glorious for you as it was for me. Some warm, bright memories to store up for the coming months.

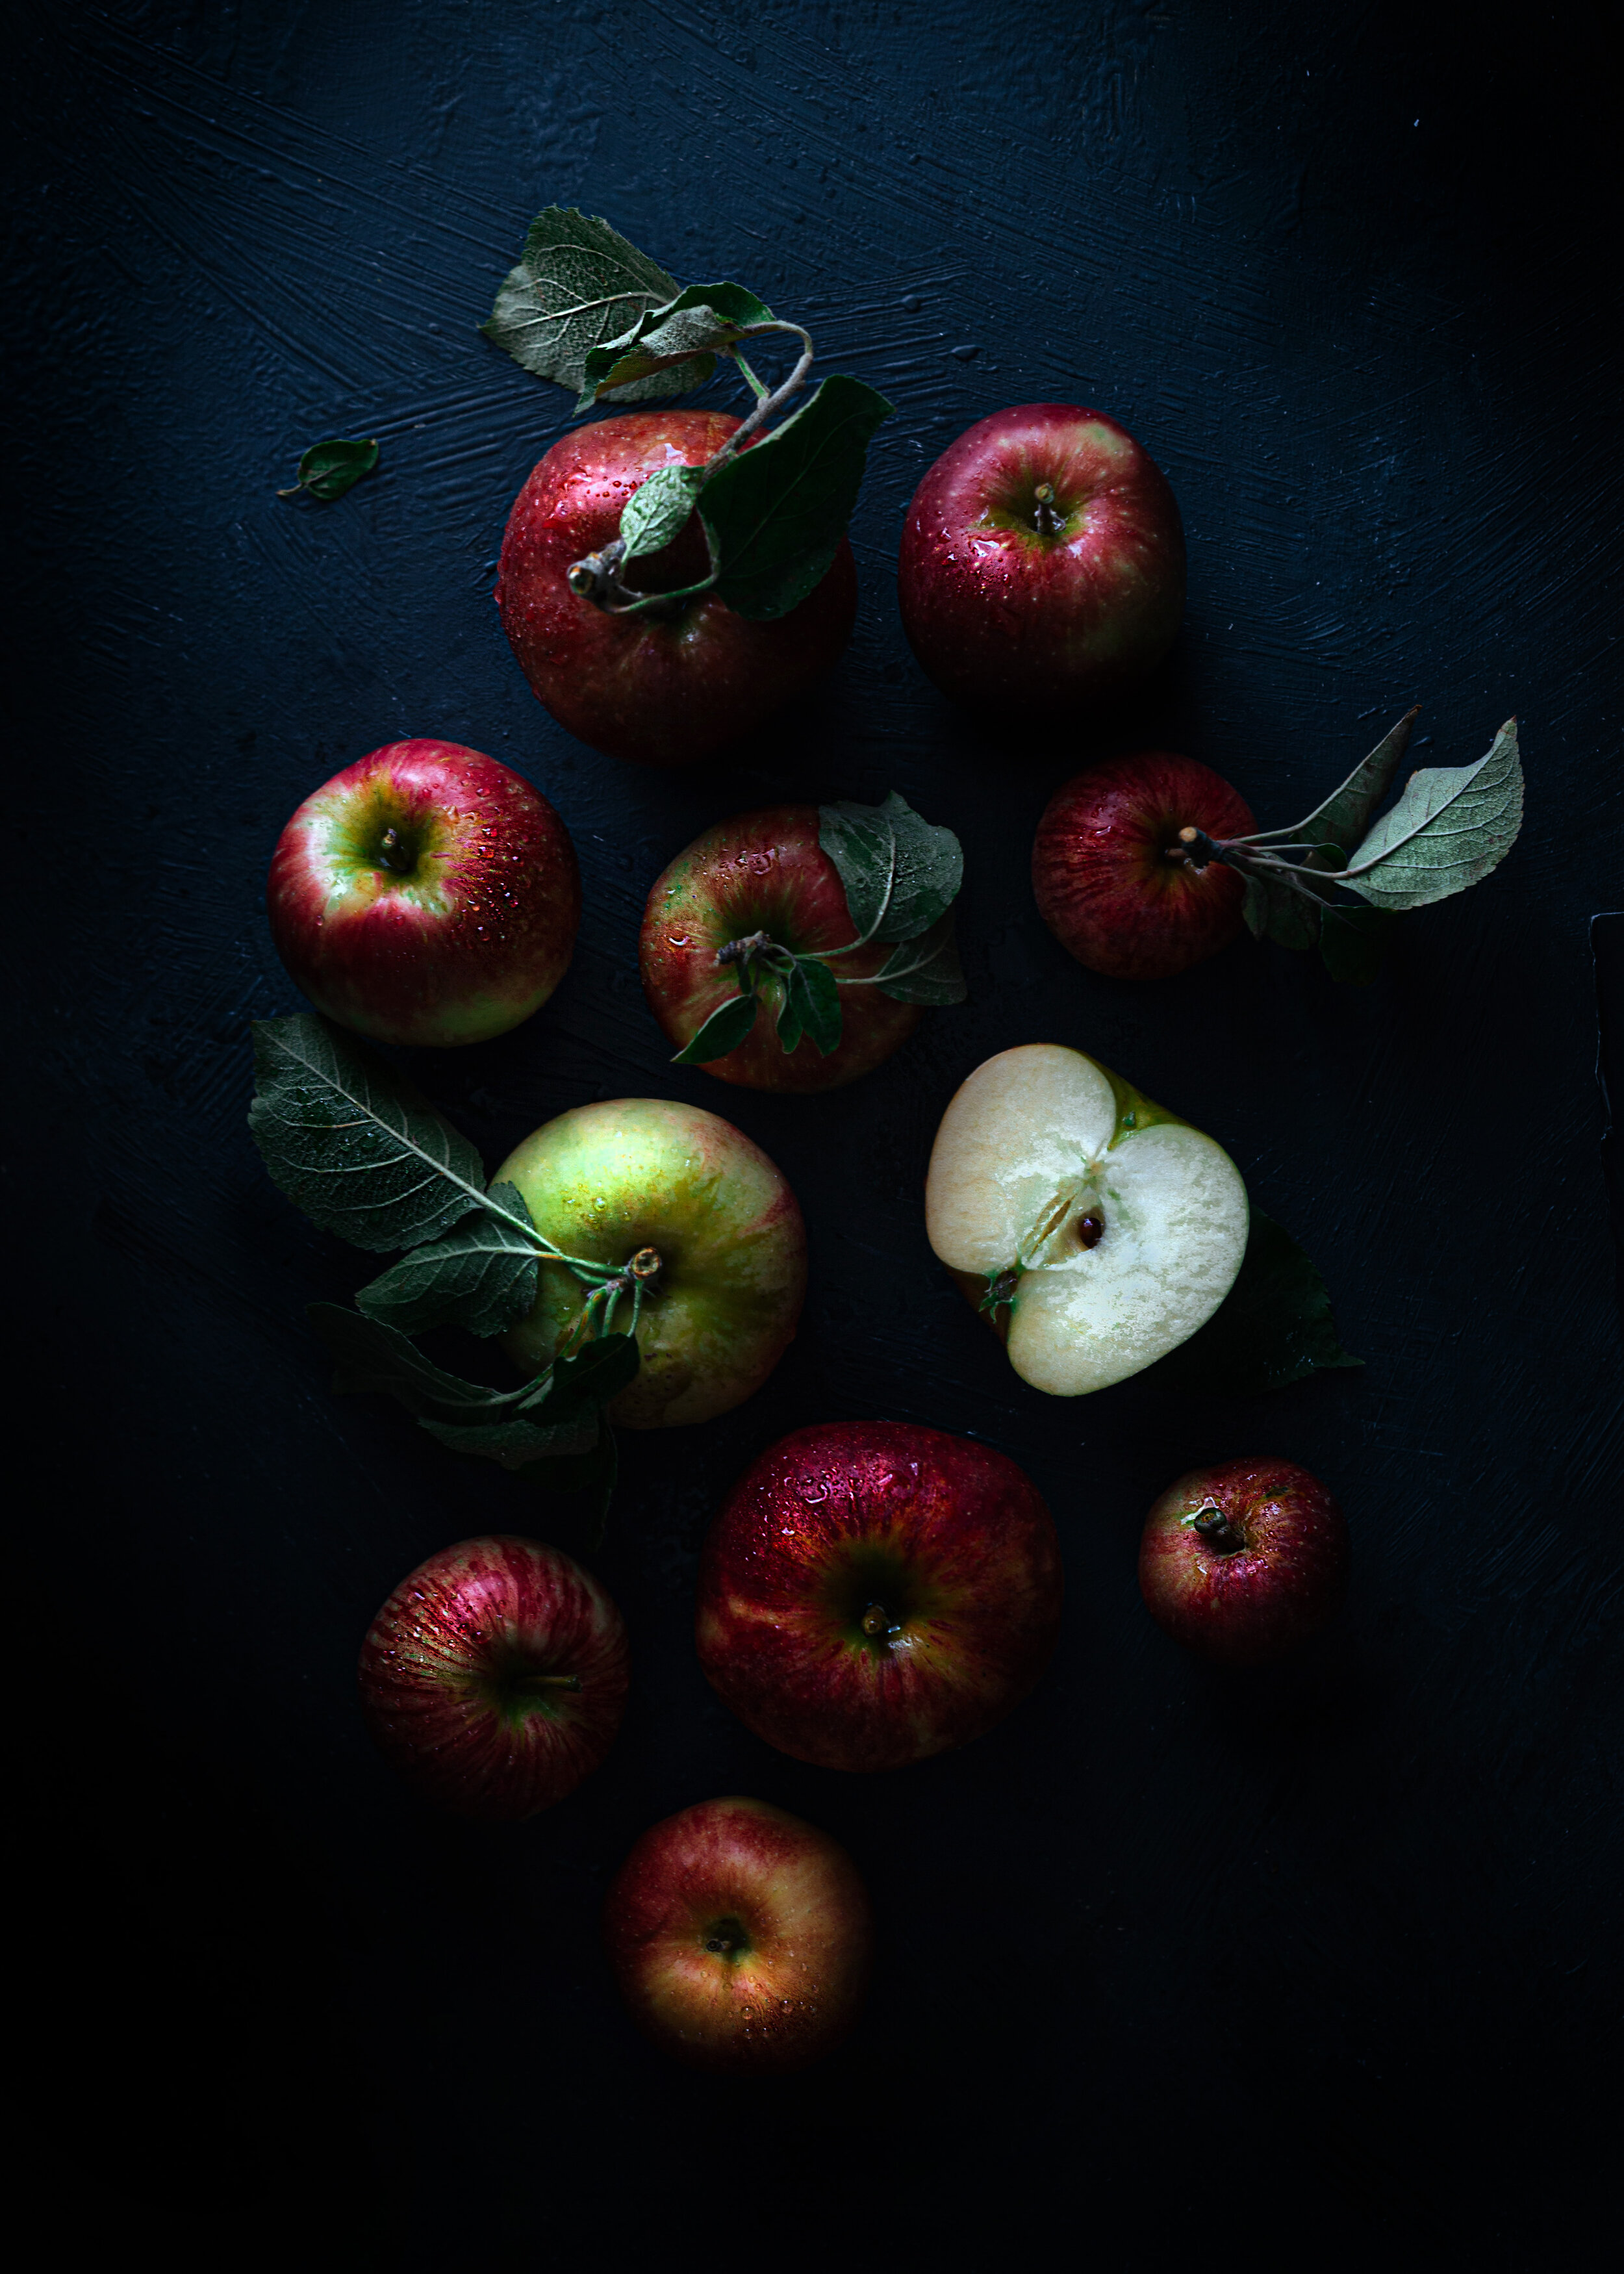
If you have been following along on social media — you will have noticed my switch from light, airy photography to dark and rich imagery. It is a direction that has taken me by surprise but something I feel very connected to. For me —  a new way of seeing, shaping light, and appreciating details to capture in everyday life. After shooting mostly artificial light for the past year— it feels like I am coming full circle working with natural light again. On a personal level, I feel I am finally embracing the light of dark winters in Canada while absorbing classical inspiration from artists in the Dutch golden era. I have pulled out my music sheets and classic music in the studio is now a thing. It is a personal process, not without emotion, but one that comes with a sense of peace.

Now, let's talk about apple pies. I love how timeless this recipe is, never failing to reappear this time every year. I did not grow up eating apple pies, so this is a new tradition I am setting for myself. I had the best fruit cake in Australia last Christmas with my boyfriend’s family, and finally made use of the rum I bought on that trip. Inspired by Australian fruit cake —  rum will be added to all of my fruit desserts now.

This recipe is adapted from an apple bourbon galette recipe from food52, using flaky pie dough from Cannelle Et Vanille’s cookbook. The apples were picked from Willow View Farm with my family last week, it made a world's difference using fresh apples. Jonagolds are my new favourite eating and cooking apple. I have some Korean pears and plums from the garden that I am looking forward to baking with this recipe. 

apple-picking-willow-view-farm-british-columbia.jpg
Ladybirds, always landing in the perfect time and place.

Ladybirds, always landing in the perfect time and place.

Apples-chiaroscuro-light-photography.jpg
Stocksy_comp_3439539.jpg
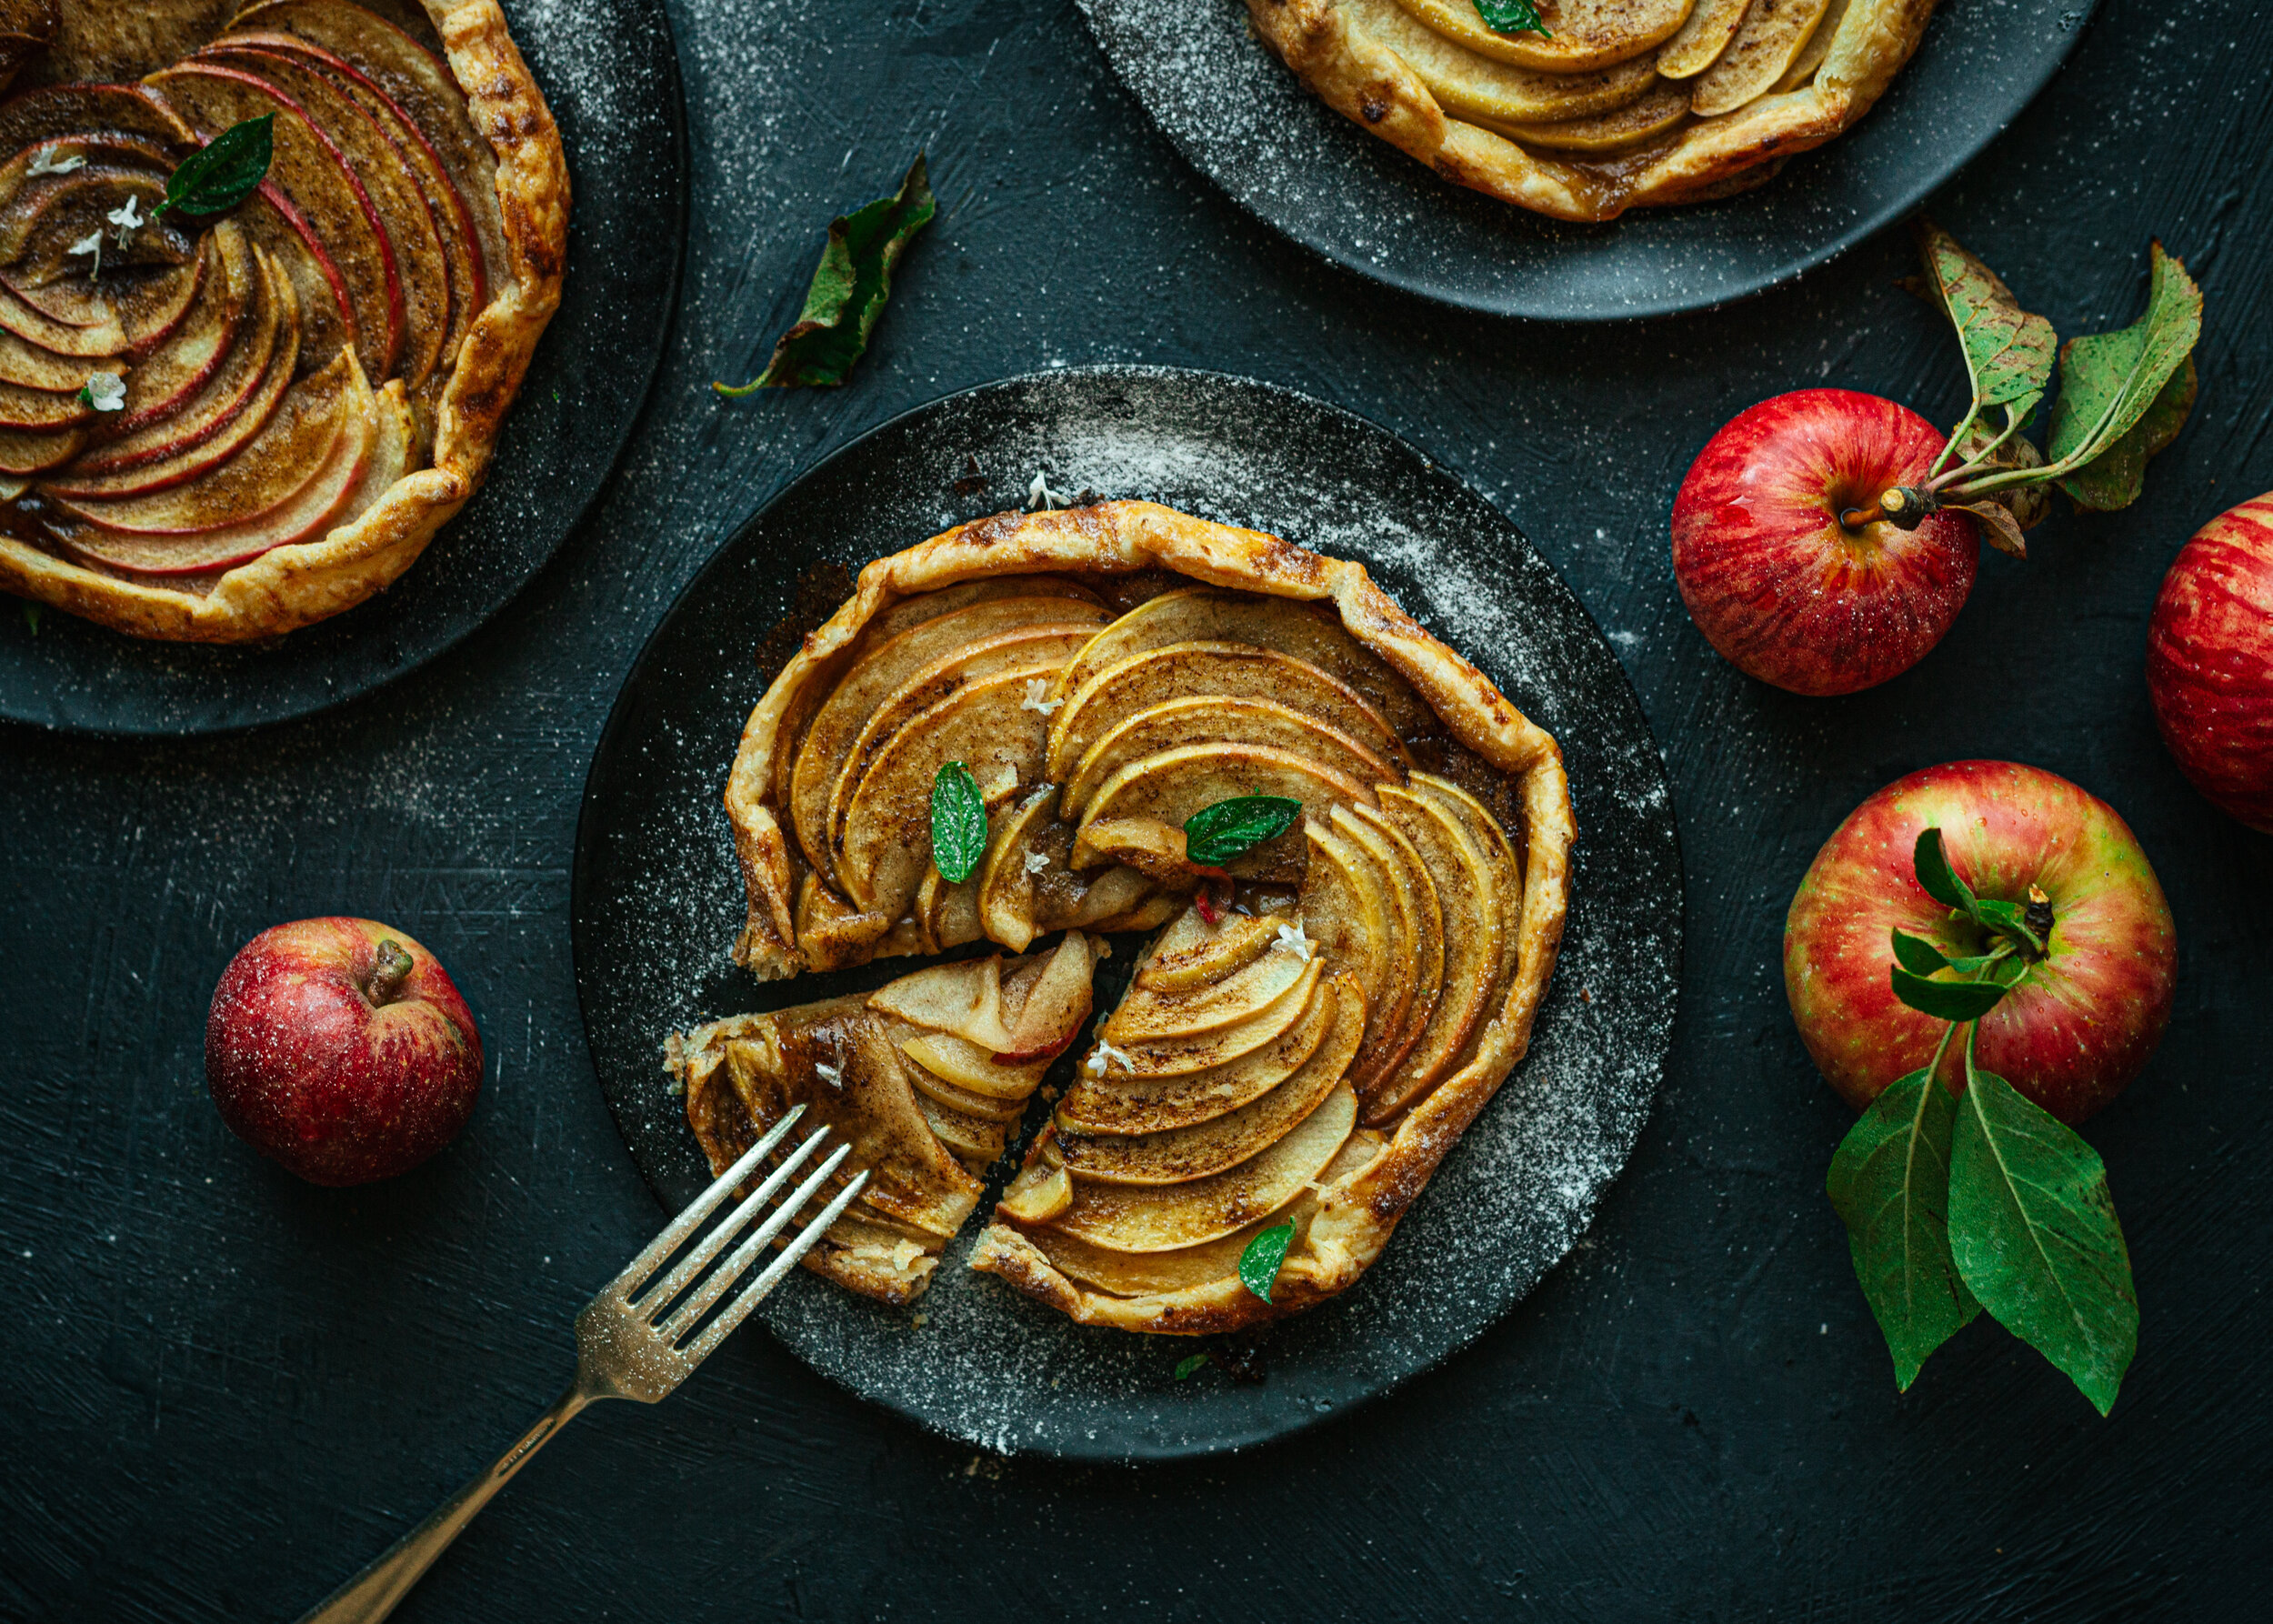
Dusted these with a sprinkle of powdered sugar and basil flowers.

Dusted these with a sprinkle of powdered sugar and basil flowers.

Apple Rum Galette

Serves 6, makes one large galette or 2-3 small ones

Ingredients 

  • 1/2 flaky pie dough

  • 1/3 cup rum

  • 3 tablespoons unsalted butter

  • 1/3 cup dark brown sugar ( I used 1/4 for a less sweet version)

  • 1 tablespoon cornstarch (optional)

  • 1 teaspoon cinnamon

  • 3 large or 4 medium apples, cored and sliced into pieces

  • 1 egg, beaten, for finishing

  • Turbinado sugar, for finishing

  • Basil leaves, for garnish (optional)

Instructions

Preheat the oven to 425° F. Line a baking sheet with baking paper.

  • In a small saucepot, bring the rum to a boil over medium heat. Cook until the liquor is reduced to 2 tablespoons, then stir in the butter until it’s melted.

  • In a small bowl, whisk the brown sugar, cornstarch, and cinnamon to combine. Stir this into the rum-butter mixture and let cool completely.

  • Cut the apples into four outer pieces, leaving the core intact. Carefully slice each piece into thin slices, doing your best to keep sections together while you slice. This will make your apples easier to fan

  • On a lightly floured surface, roll out the dough into a round shape around 1/4 inches thick. Trim the edges if you need to. Transfer the dough to the prepared baking sheet.

  • Starting around the edges — fan the apples out and place them over the dough, leaving about 1 1/2 inches of uncovered dough all around the edge.

  • Fold the sides of the dough over the apples. Overlapping the folds and pinching at the edges to ensure they are secure.

  • Carefully spoon the bourbon-sugar mixture over the apples evenly. Apply egg wash over the edges of the dough and sprinkle with turbinado sugar.

  • Bake the galette until the crust is golden brown and the apples are toasted and tender. Around 25 to 30 minutes. Let cool before slicing and serve with ice cream. Garnish with basil leaves if you like. The galette keeps for2-3 a few days though best enjoyed fresh, a light toast for leftovers in the convection oven helps.

Apple-galette-recipe.jpg

Flaky Pie Dough

To me, what dough can be better than flaky pie dough? I am so delighted every time I bake with this recipe. This dough keeps really well in the freezer (up to three months) and the layers of crispiness really make a difference.

With pie as a North American/European staple—pastry and galettes are something I love learning to perfect and create new traditions for myself. A dough very different from rice cake, dumpling and hand-pulled noodles but just as rewarding to share. I use this for my galettes and am always showered with high praise.

flaky-pie-dough-recipe.jpg

Flaky Pie Dough

Makes two large or four small galettes. I use half and freeze the remaining for future pies.

Flaky Pie DoughFlaky Pie Dough

Ingredients

  • 2 1/2 cup (350g)all-purpose flour (I use Anita’s organic flour when I want to feel fancy)

  • 1/2 teaspoon kosher salt

  • 1 cup (225g) cold unsalted butter, cut into 1/2 inch cubes

  • 6–7 tablespoons (110g) ice-cold water

Instructions

  • Sift the flour into a large mixing bowl. Add the diced butter. With clean hands (or a food processor if you own one), work the butter into the flour until the butter is the size of peas. Add 6 tablespoons of ice-cold water and continue mixing until the dough starts coming together. You may need more ice water depending on humidity. 

  • Transfer the dough to a surface and shape it together without handling it too much. The mixture should be crumbly with pieces of butter still intact. We want to keep the butter cold and chunky without melting it with the heat of your hands. This will aid in a flaky crust.

  • Using a bench scraper or large knife, cut the dough into two equal pieces. Wrap them in saran wrap and flatten them into round discs. Chill the dough for at least 30 minutes before using. I freeze half the dough at this point and use it for future baking sessions. Just thaw it out in the fridge before rolling.

  • To roll the dough, lightly dust a work surface* with flour. Start rolling the dough from the center, rotating the dough with your other hand every time. Aiming for a circular, even shape. Make sure the surface and rolling pin are floured to avoid sticking. If the dough cracks or shapes unevenly, bring the dough back together, knead it a couple of times and start again. 

*A trick I use for galettes is to roll the dough on a piece of parchment paper and transfer it directly to a baking pan.

Japanese Onion Salad Dressing (Wafu)

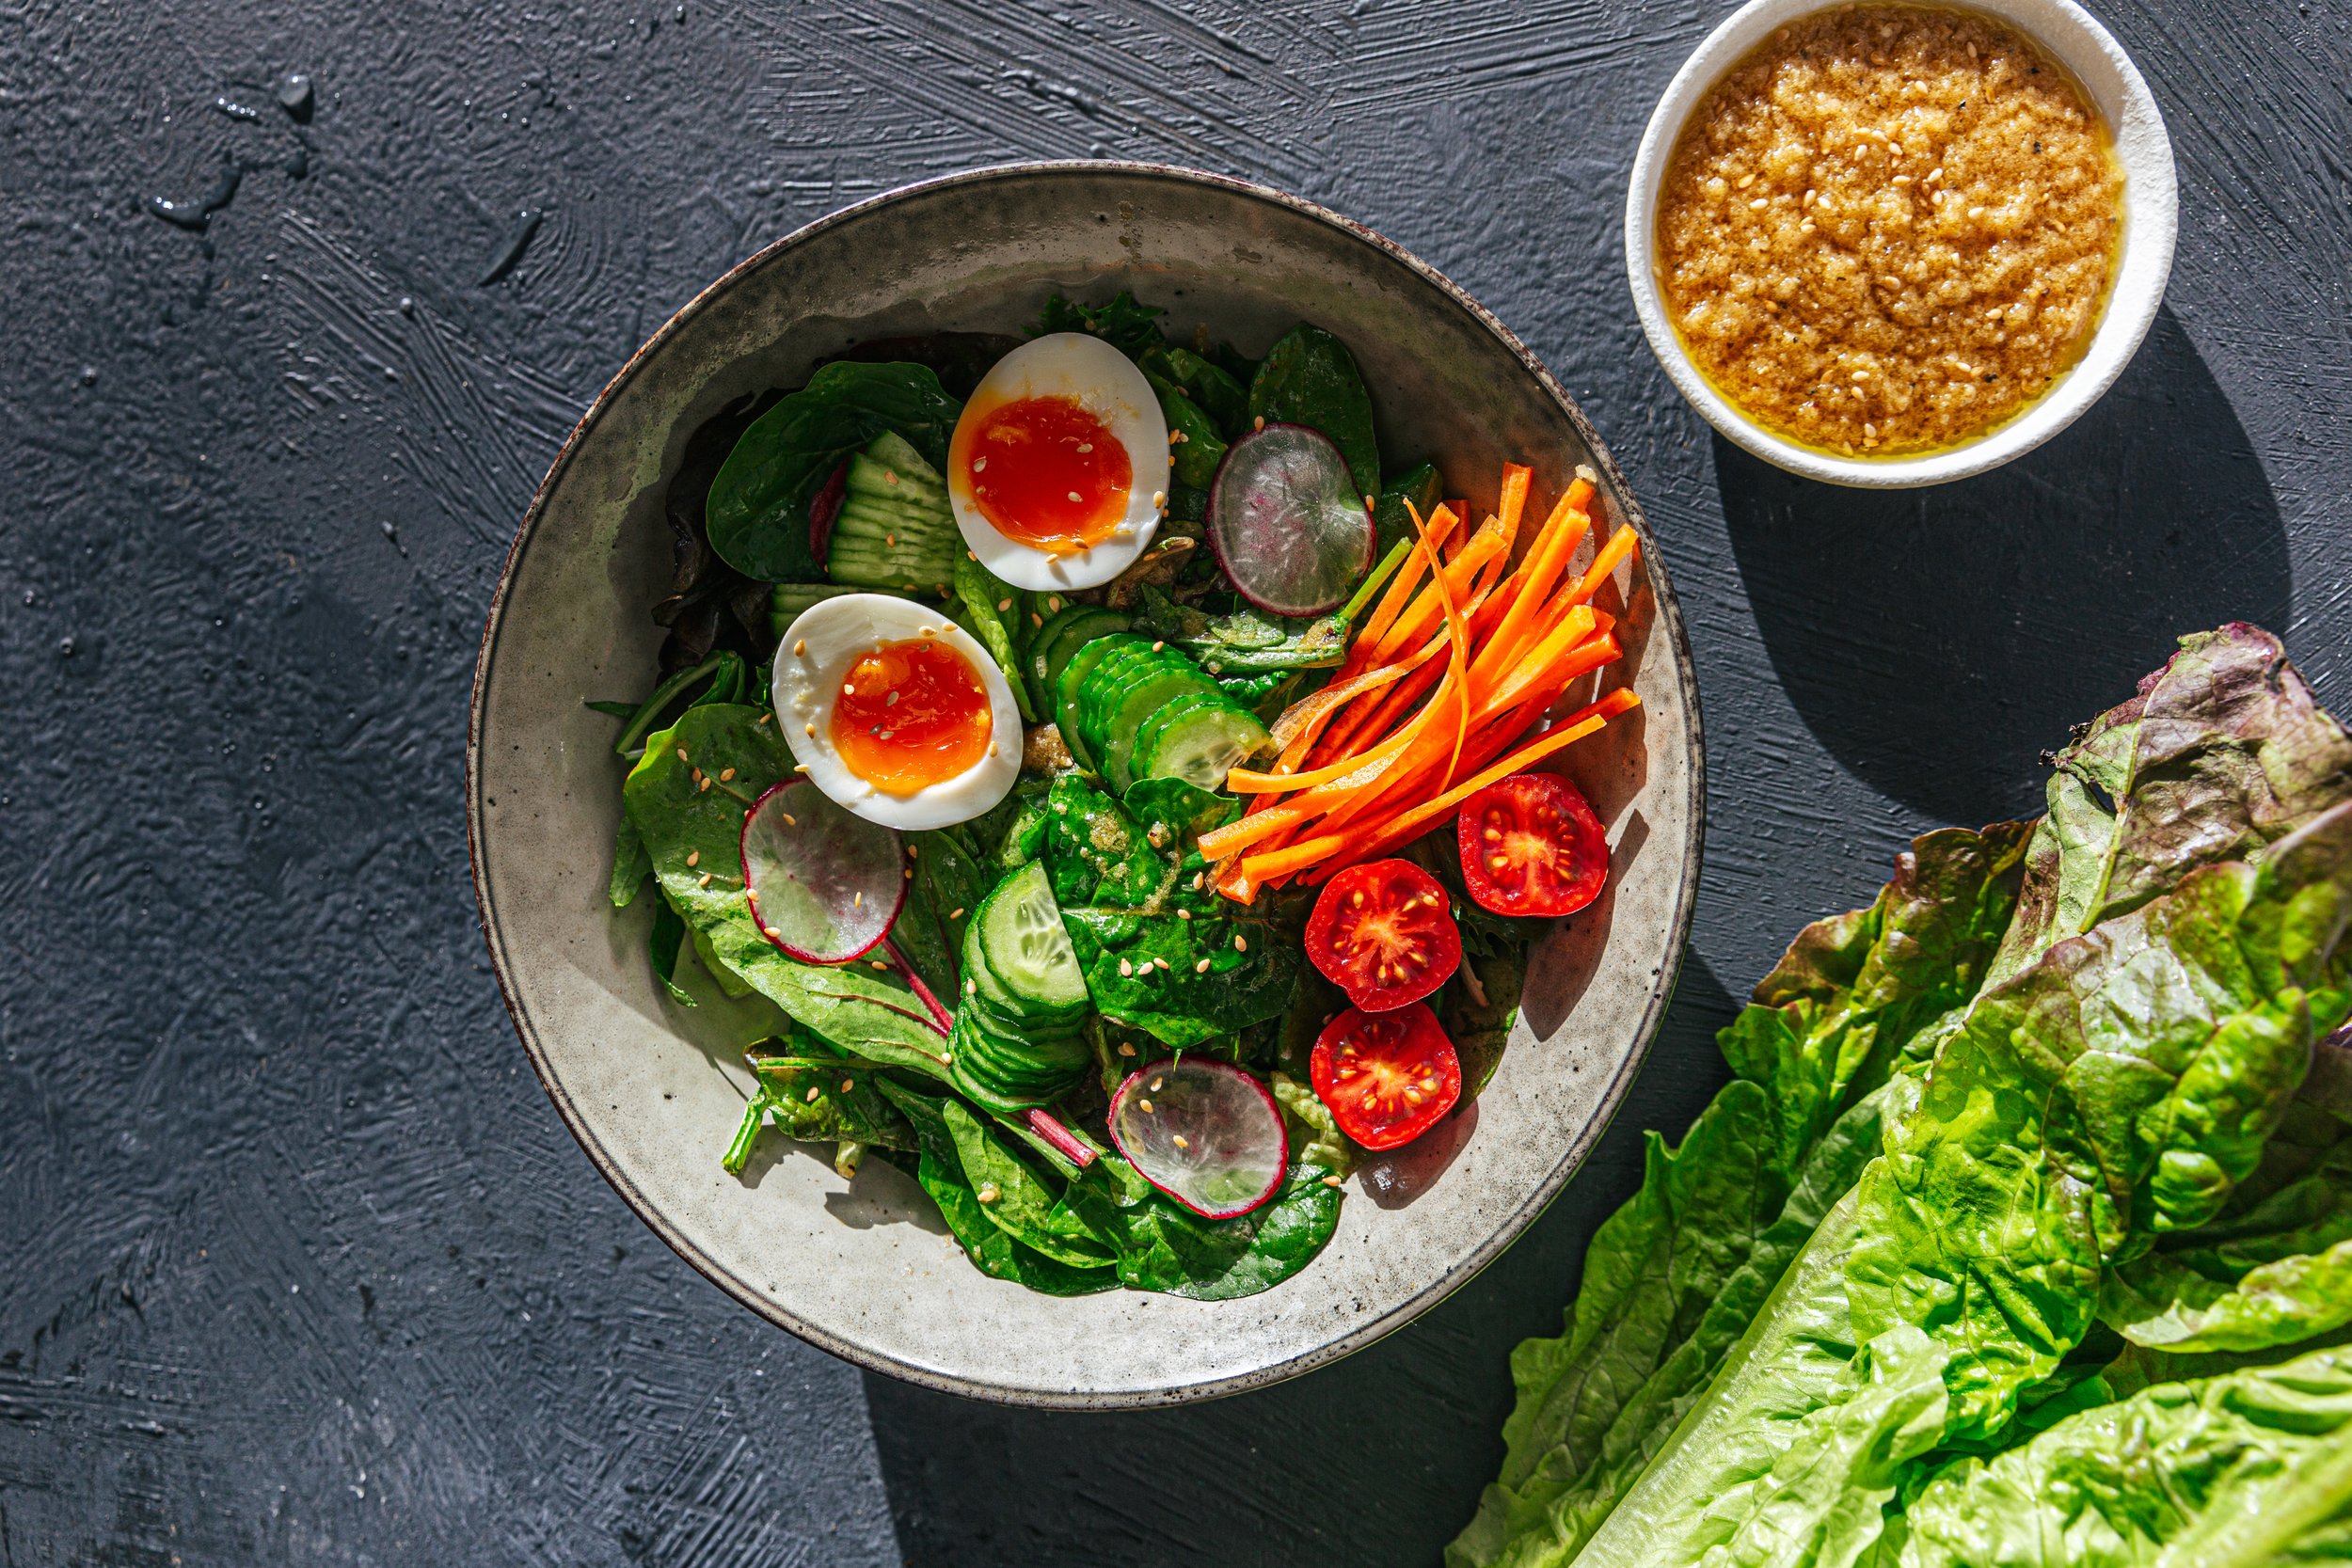
Wafu (和風) is a popular Japanese salad dressing which is basically an onion vinaigrette. It takes 5 ingredients to make and pairs perfectly with greens, lettuce, cucumber for an appetizer or a refreshing side.

This dressing brings me back to my high school days when I worked at Mos Burger — a Japanese chain restaurant that specializes in rice burgers. Boy, I loved everything on the menu — fish fillets, pomelo ice teas, organic rice patties (some of my coworkers used them to make fried rice). It was a memorable and delicious time.

Among their menu, Wafu salad was a bestseller. It had completely slipped my mind until I came across it on Adam Liaw’s social media. Making it brings me back to the school days — walking home after an evening shift, the jasmine-scented gardens of Chang Kai Shek memorial hall, koi fish ponds, and the many meals I shared with my friends. I will be eating lots of Wafu dressing on salads this summer.

Japanese Onion Salad Dressing (Wafu/和風醬)

Ingredients

  1. 1/2 onion, roughly chopped (around 1 cup)

  2. 1 tbsp soy sauce

  3. 2 tbsp rice vinegar (sub-seasoned rice vinegar and omit the sugar)

  4. 1 tbsp cane sugar

  5. 1/2 cup grapeseed oil (sub olive oil)

  6. 1/2 tbsp toasted sesame seeds (optional)

Instructions

  • Add all of the ingredients aside from the oil into a blender or food processor. Pulse and blend into a thick dressing. Don’t overblend.

  • Top with oil of choice and sesame seeds. Seal the jar, and give it a good shake until the ingredients emulsify. Serve over salad or soba/rice noodles. Dressing keeps for 3-4 days in the fridge

Cooking Notes:

• Traditionally, the onions are grated with a Microplane grater to preserve texture. I find the blender method easier with limited time on my hands.

• If making beforehand, give the dressing jar a good shake before serving.

Strawberry Clafoutis + New Read

Good morning. I hope you all have been keeping well. Given the current state of affairs in the world, I have been finding solace in the home, in harvesting my first two strawberries in my pot, feeding myself with good films and cooking inspiration. 

I stumbled across the wonderful film The Hundred-Foot Journey this week. I watched it two times, read every article about it on Google and am now reading the book. The film features an Indian family immigrating from Mumbai to Europe after suffering the loss of their mother and home. They travel over Europe and settle in a small town in France, opening a restaurant across the street from a Michelin restaurant run by the fierce Madame Mallory. The story is a battle and coming together of flavour, cinematic beauty, family and tradition. It’s heartwarming and has everything I love about food, bridging culture, French and Indian cuisine. Personally, any film that features the main actor crying over home-cooked food is one worth watching. The book is beautifully written, I have lost much sleep over it and highly recommend both.

The Clafoutis is a recipe from the movie — one the chef stumbled across while studying his cookbooks. A French recipe I can now say I have made. I hesitate to delve into French cuisine, especially after reading the book of the movie and Julia Child’s memoir — My Life in France. French cuisine feels like such a classic yet complex cuisine to master. It takes a lot to keep things simple and master the technique to coax flavour out of the simplest, quality ingredients. I’m happy to start with this one.

This is a very versatile recipe made with staple ingredients milk, eggs, butter, sugar. You can substitute different kinds of fruit — berries, stone fruit, rhubarb (see note below). The texture is similar to that between a flan or a thick pancake. It's filling, but not too sweet so you won’t tire of it.

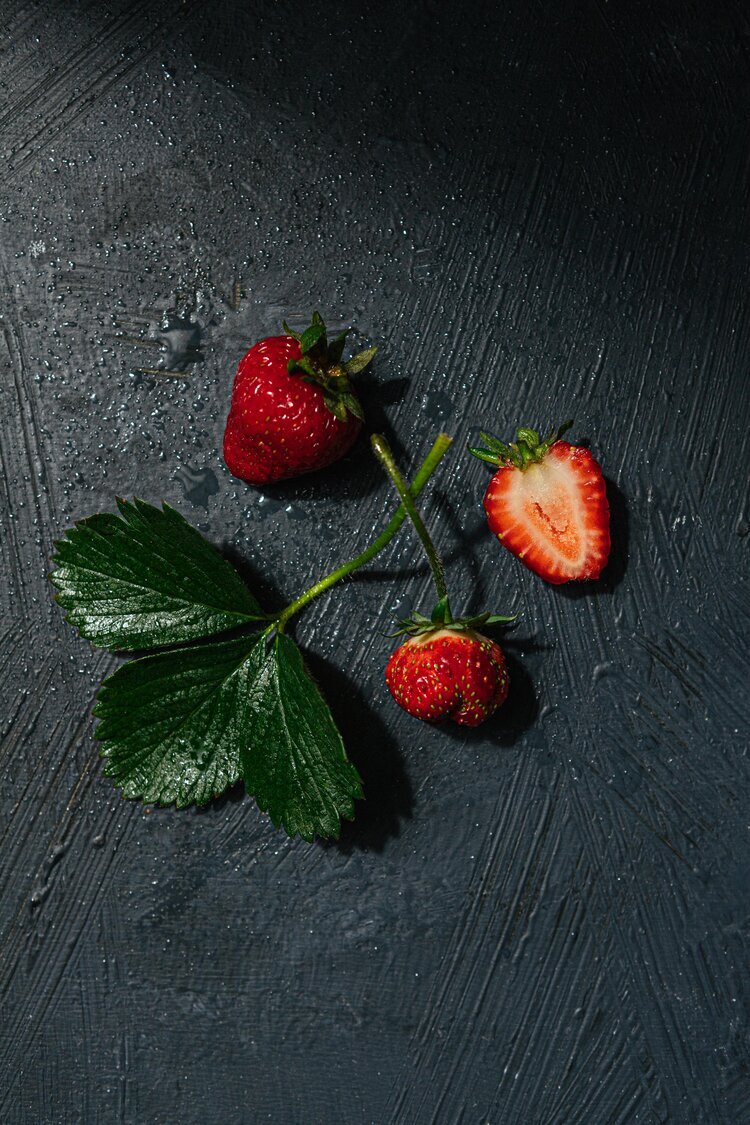
Strawberries picked from my potted plant. My pride and joy.

Strawberries picked from my potted plant. My pride and joy.

strawberry+clafoutis+recipe.jpg
strawberry+clafoutis+recipe-7-1.jpg

Strawberry Clafoutis

Strawberry Clafoutis

*Makes a 10-inch cake, serves 8

Ingredients

Butter, for buttering the pan
2 cups (226 grams) strawberries, hulled and halved lengthwise*
3 eggs
1 cup milk
2/3 cup flour
1/4 cup granulated sugar, plus more for sprinkling
1 1/2 teaspoons vanilla
Pinch of salt
Powdered sugar for dusting

Instructions

Preheat the oven to 350 F. Butter the bottom and sides of a pan with butter. Sprinkle one tablespoon of sugar all over the bottom of the pan. This will help release the cake without sticking and provide a crunchy bottom.

In a large mixing bowl, add the eggs, milk, sugar, vanilla. Mix until incorporated. Gradually add the flour and mix until silky to the touch. Pour the batter over a strainer to remove any lumps and into the pan. Arrange the strawberries over the top and bake until a skewer inserted into the batter comes out clean. Around 30 minutes. A golden crust will have formed on the sides. Dust with powdered sugar and serve warm.

* The strawberries bled into the batter. Next time, I will toss them in cornstarch (2 teaspoons) before adding over the batter.

* If you do not have powdered sugar, blitz white sugar in the blender till superfine.

* If using rhubarb, dice into pieces, macerate in 2 tbsps of sugar for 5 minutes and roast at 400F for 10 mins or until soft and bubbly. Let cool and add to the recipe like any other fruit.

A Conversation with Song Tea

song-tea-and-ceramics-san-francisco-photography-13.jpg

There is a saying in Chinese called 緣分(Yuan Fen). Meaning fate, destiny, luck or whatever you call it. 緣分 is how you find yourself in San Francisco, meeting online friends for the first time in cafes who connect you to local finds. 緣分 is how you discover a tea on the cafe menu from your family hometown and coming across a story you must write. That is how I connected with Peter Loung, the founder and owner of Song Tea & Ceramics

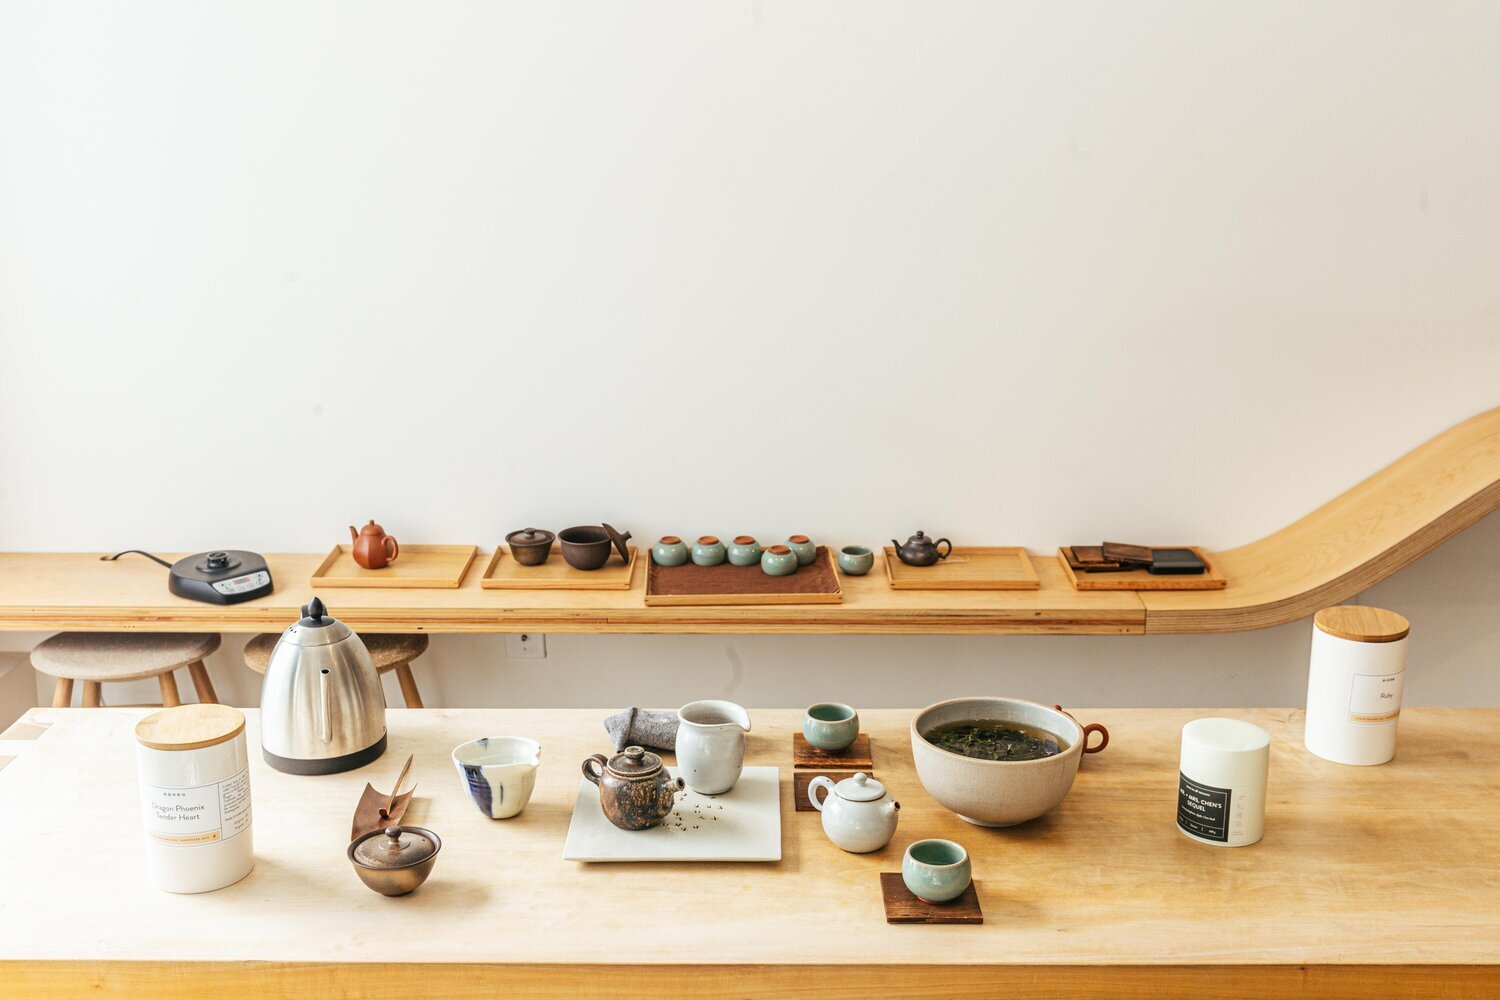
Tea shops are a beautiful thing. They call you to enter space where time slows to a trickle and you are invited to drink from a library of beverages in handmade ceramics. I grew up on a tea farm with a family that drank tea like water. Our tea was grown for the outside world and something I took for granted during my careless childhood roaming around the lush rows of tea bushes in my rubber sandals. Yet here I am, twenty years later, learning more about tea in California than I have ever had. From production, sourcing ceramics from makers in Taiwan, tea picking, roasting, depth and finish — there is much to the world of tea. Here are photographs and snippets from our conversation.

image-asset-4.jpg
image-asset.jpg
image-asset-1.jpg
image-asset-5.jpg
image-asset-6.jpg

Tell me about the inspiration behind the name Song Tea?
Peter: The word Song (宋)is taken from 宋朝(Song Chao). It was the shortest dynasty in China. Short, but one that lasted 300 years. When I opened Song Tea, I decided that it is a period long enough for me. I am also drawn towards ceramics from the Song dynasty.

What was your motivation for opening this store?
Peter: My parents immigrated to San Francisco 30 years ago. They owned a herbal tea shop 藥茶店 in Chinatown. Back then, I worked in consulting. When that came to an end, I took over their shop with the mission of repositioning it for the American market. I was there for two years before deciding it was not for me. I sold the shop and started a gentler version  of the business— Song Tea.

When people drink your tea, what is it is you want people to take away?
Peter: Working with tea was a reconnection with culture for me. Hong Kong — the world my parents left. I love how tea is a myriad of many things — food, ceramics, the moment you share a cup with someone. I don’t want to sound overly fancy but tea is transformative. The experience, the simple act of brewing. I personally find it very fulfilling to share the agriculture aspect of tea, along with ceramics that complement each drink. 

What was the hardest part of building Song Tea?
Peter: The first three years were the hardest. The uncertainty, becoming a sustainable business, the underlying stress of overhead. That has somewhat faded away. Song Tea is growing. 

What should one look for in good tea?
Peter: Texture. Structure. Thickness. Good tea should taste and feel good. It should not taste astringent. Look for depth and finish. Ultimately, what you are drinking should be delicious.

image-asset-3.jpg

Caramelized Black Pepper Chicken

A chicken rice dish. One of the first chicken recipes on the blog. I don’t cook a lot of meat these days but dating an Australian boy means meat is bound to show up on the table at least once a week. I am also excited to share Dad’s two-ingredient chicken soup over here at some point.

I attended a Thai cooking class in Australia last winter and loved the chef’s observation of the Asian versus North American diet. The average meat portion in America being 120 grams/person while being 30 grams or so in Thailand. I like the idea — small amounts, shared plates. Growing up, my parents didn’t get to eat a lot of meat as it is more expensive. Mom would get a single hard-boiled egg (dyed pink) on her birthday as a special treat. Oftentimes a meal would be soy sauce with lard poured over a bowl of rice. But if you were to attend any meal hosted by family or friends, you can be sure there will be at least one meat dish on the table

This dish is delicious and easy to whip up. I added some purple onions to give it colour and will try adding vegetables next. Substitute the chicken with tofu or whatever protein you have. Hold back on the red chilies if you need them, they were the perfect amount of almost-too-spicy for me.

Vietnamese Black Pepper Chicken

Serves 2

Ingredients

  • 1 pound chicken breast, cut into 1-inch pieces (sub chicken thigh or protein of choice)

  • 2 tbsp oil

  • Sprinkle of salt

  • 1/2 cup dark brown sugar

  • 1/4 cup fish sauce

  • 1/4 cup water

  • 3 tbsp rice vinegar

  • 1 medium shallot, thinly sliced into rings

  • 1/2 purple onion, sliced thinly(optional)

  • 1 tsp fresh ginger, finely chopped

  • 1-2 cloves garlic, minced

  • 2 dried red chiles (sub fresh Thai chilli, chopped into pieces)

  • 1 tsp freshly ground black pepper

  • Cilantro for garnish

  • Steamed jasmine rice for serving

Instructions

  1. In a bowl, combine chicken, half of the oil, and a sprinkle of salt. Mix to combine. 

  2. In a small saucepan, add the water, rice vinegar, fish sauce, and brown sugar. Give it a stir. Heat until the sugar dissolves, and then turn it down to a simmer.

  3. In a skillet, heat the remaining oil over medium heat. Add the shallots (and onion, if you are using any) and cook for one minute. Add the ginger, then garlic, and fry until aromatic or until the shallot is lightly caramelized. Add the chicken, red chile, and cook for two minutes, flipping the chicken halfway.

  4. Add 3/4 of the fish sauce from the saucepan into the chicken along with the black pepper. Cook over medium-high heat for another 6-8 minutes, until the sauce reduces and the chicken is done. Taste and add more fish sauce if you’d like. If you do, bring the skillet to a simmer again. 

  5. Transfer contents of skillet to a bowl, serve over rice with cilantro.

*Recipe adapted from Charles Phan

Smashed Cucumber Salad

In Taiwan, one cannot eat at a restaurant without ordering 小菜 “Little Plate” or side dishes. Usually consisting of vegetables, marinated firm tofu, soft boiled peanuts, or black wood ear mushrooms. Little Plate is a part of Taiwanese restaurant culture and something I look forward to every time I eat out. It is also a good way to get your veggie fix as Taiwanese cuisine can be heavy and salads are not really a thing.

This cucumber salad is a 涼拌, which translates into “Cold Toss”. Similar in cooking style compared to a green papaya salad — I would say it is a signature “little plate” in Taiwan. I enjoy making this as an appetizer when friends come over. It’s refreshing yet flavourful. The peanuts make it indulgent, the birds-eye chilli gives it a good kick, and one can not eat too many cucumber dishes in summer weather.

Smashed Cucumber Salad 涼拌小黃瓜

Ingredients

5 mini Japanese or Persian cucumbers (around 350 grams)

2 Tbsp Kosher salt

4 red or green Thai chiles, halved lengthwise keeping stem end intact

2 garlic cloves, minced

½ cup unseasoned rice vinegar

2 Tbsp fish sauce

1 Tbsp sugar

Chopped unsalted or salted roasted peanuts

Instructions

Smash cucumbers with a rolling pin or a wine bottle. Careful not to smash too close to the cutting board now, you want some crunch in them. Tear into 2-inch pieces, place in a medium bowl and season with salt. Let sit for 30 minutes.

In the meantime, add chillies, garlic, vinegar, fish sauce and sugar to a medium bowl. Whisk until the sugar dissolves.

Drain cucumbers, rinse with cold water and squeeze to release salty water. Add to bowl with dressing and toss to combine. Chill in the fridge for an hour and serve topped with peanuts.

These cucumbers will keep in the fridge for 2 or 3 days.


Cilantro Salad with Shallot Oil

I had a bunch of cilantro sitting in the fridge leftover from a week of recipe shooting. It felt like a problem waiting for a creative solution. I researched some recipes online and came across the delightful site of Madame Huang, a California native who lived in Taiwan for a number of years.

I love this recipe because I now have a way to use up all my extra cilantro. I also rediscovered a lovely substitute for sesame oil if I ever need something that tastes a little lighter and fragrant —shallot oil.

I grew up eating fried shallots in lots of dishes — a topping over rice noodle soups, folded into steamed turnip cakes or served over vegetables. I usually avoid store brought fried shallots, not trusting the quality of oil they were fried in. A good reason to make one’s own.

This salad calls for an entire bunch of cilantro. Not brown, wilted ones but fresh, vibrant cilantro. I substituted peanuts for cashews and yellow pepper for red since I cannot drop by the grocery store as easily these days. Toasted peanuts on the top of my shopping list next week. 

Shallot Oil

Ingredients

1 cup thinly sliced shallots (around three shallots)
1.5 cup fresh rice bran oil ( sub peanut or grapeseed oil)

*Make this oil at least a day ahead before you want to use it to flavour your dish.

Instructions

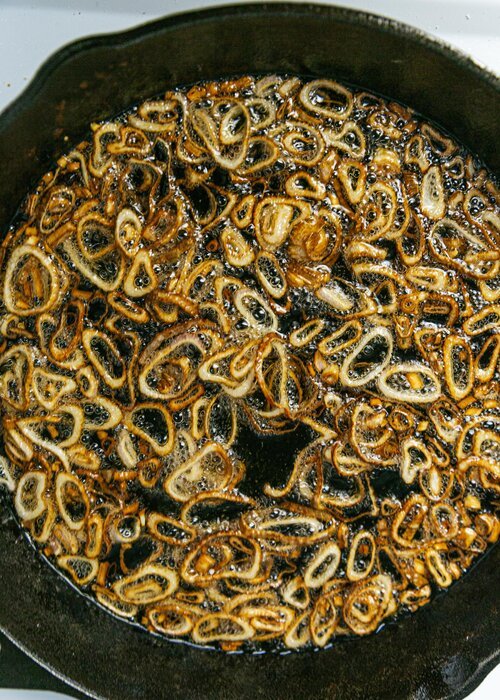
Slice shallots into thin rings, as evenly as you can. Heat oil over medium-high heat in a pan. You can tell the oil is ready when there are small ripples on the surface. Test by inserting a chopstick into the oil, it should be covered in bubbles immediately. Sprinkle in the shallots, reduce heat to medium and fry them until they turn a golden brown. Stir often so they fry evenly. Turn the heat off when they are a light golden brown, and fry with the residue heat.

Strain the shallots over a sieve into a vessel. Reserve the shallots as a topping, and use the oil for stir fry, a sesame oil substitute or in other dishes. Alternatively, you can add the cooled oil back into the shallots and use as a topping over rice, noodles or steamed greens

Cilantro and Peanut Salad

Ingredients

1 bunch fresh cilantro*
½ cup fried or toasted peanuts
½ sweet bell pepper 
1 tsp soy sauce
½ tsp sugar
¼ tsp sea salt
2 tbsp shallot oil (sub sesame oil)
1 tbsp toasted sesame seeds

Instructions

Trim and remove the tough or browned stalks of cilantro. Wash in water, shake dry, cut into 1-inch pieces and transfer to a mixing bowl. Prep the bell pepper and slice into small pieces, around the size of a peanut. Add peppers to the mixing bowl.

Toss cilantro with pepper, peanuts and the rest of ingredients. Taste and add more seasoning if you’d like. I added some fried shallots from the shallot oil. Serve as an appetizer or as a side. Also great as a chilled dish, just toss in the peanuts and dressing before serving. 

*As cilantro is the main ingredient, use the nicest bunch you can find.

Spicy Cucumber Fans

I will call these quarantine cucumber fans, as a cure for worrying — making something is better. They do take some time to produce and is a great way to add veggies to your meal. If you are looking for a simpler recipe with no cooking — my Smashed Cucumber Salad is a great alternative.

This recipe is adapted from Barbara Troops, author of the China Moon Cookbook. I am savouring the pages of her recipes and cooking notes. There is nothing more lovable and inspiring than a tiny American lady, traveling through China, recreating dishes from different regions, and serving them to people who think Sichuan peppercorn is a complete novelty. Give it a read, the recipes will take time to put together and a trip to the Asian grocery store will be needed. I am loving her Sichuan Peppercorn Salt and Hot Chilli Oil, which I am using liberally in my cooking as of the last two weeks. It is also a cookbook that reinforces my dream of getting a gas stove and a smoking hot wok.

This cucumber dish is not quite a salad, but more an appetizer or little dish (小菜) as we call it in Mandarin. I enjoy making this as a side for dumpling nights or simply have in the fridge to add to a heavier meal. You can chop, smash, slice, the cucumber however you please, I do find the fan a delightful change in appearance and texture. Recipe adapted from China Moon Cookbook.

spicy-cucumber-fans.jpeg
spicy-cucumber-fans-recipe.jpeg

Spicy Cucumber Fans 麻辣黃瓜條

Ingredients

Ingredients

  • 5 Persian or Japanese cucumbers

  • 2 tbsp kosher salt

  • 2 wooden chopsticks

Aromatics

Aromatics

  • 1 1/2 tsp finely julienned fresh ginger

  • 1 tbsp minced garlic

  • 1/2 tsp dried red chilli flakes

  • 1/2 tsp Sichuan peppercorns

Seasoning

Sauce

  • 1 tsp soy sauce

  • 2 tbsp unseasoned rice vinegar

  • 3 tbsp sugar

  • 1 tbsp peanut or vegetable oil

  • A few drops of sesame or shallot oil

Instructions

Instructions

  1. Remove the ends from the cucumbers. Set two chopsticks in a V-shape on the cutting board and pin the cucumber inside the point of the V. Cut the cucumber crosswise at 1/8 inch intervals. The chopsticks prevent the knife from cutting all the way into the cucumber, leaving you with a lovely fan shape.

  2. Toss the sliced cucumber with salt and set aside for 30 mins. The salt will soften and drain the cucumber of liquid. Drain the cucumbers, rinse with cold water, squeeze to set aside.

  3. Combine the aromatics in a small dish, combines sauce ingredients in a small bowl.

  4. Heat a skillet over moderate heat until hot. Add the oil, swirl to cover the bottom, reduce heat to low. When the oil is hot enough to sizzle a bit of garlic, add the aromatics. Stir until fragrant, around 10 seconds. Watching the heat so it foams without browning. The smell should be punchy when you take a whiff.

  5. Add the cucumber, toss to combine, then add the sauce. Toss gently to mix and dissolve the sugar. Taste and add more sugar if you’d like. Remove from heat and toss again.

  6. Layer the cucumbers, fan side down in a shallow bowl. Scrape the liquids over top. Seal and chill in the fridge for an hour, or overnight. Do not eat this warm! Serve slightly chilled. The cucumbers are good for a few days in the fridge, although they will lose some of that vibrant color.

Spicy Smashed Roasted Potatoes

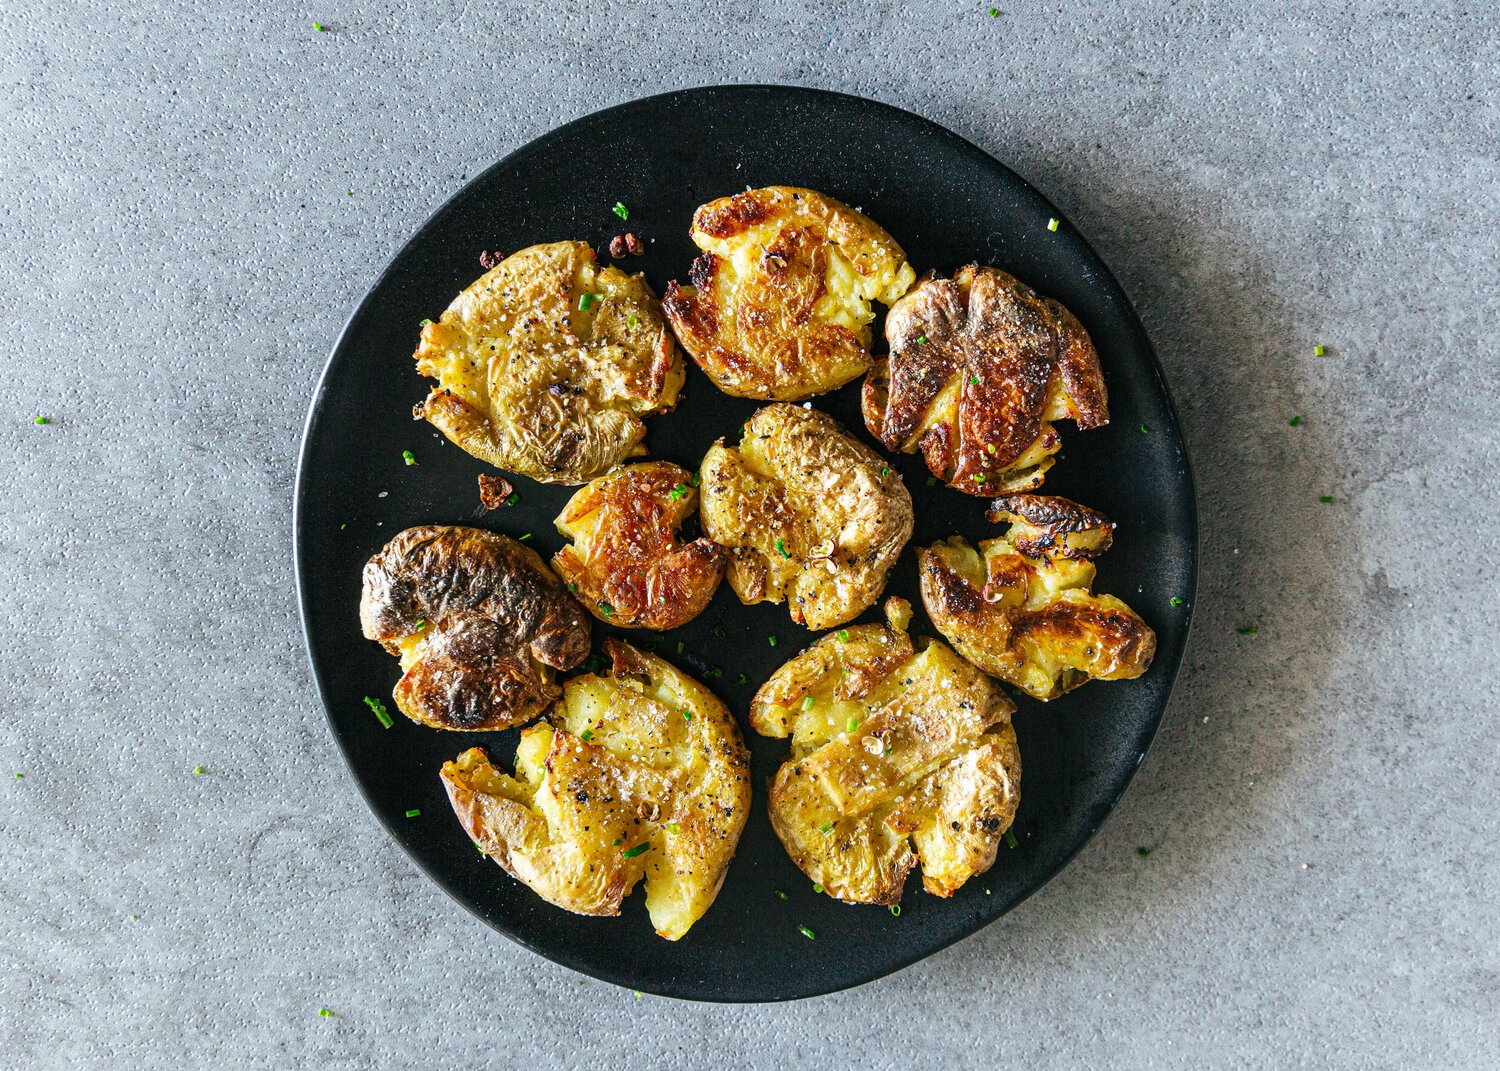
Every day is brunch day when you have smashed roasted potatoes. Crispy and dredged in flavour, these are the perfect size to consume in one bite. They are easy to make, excellent for entertaining, and bring delight to all potato lovers. I had these at a summer potluck and have rarely gone back to normal baked potatoes since.

I highly recommend making these with Sichuan Peppercorn Salt. Sichuan peppercorns add much flavour and a fragrance normal peppercorns do not yield. If you do not have time, normal salt and pepper will do. The trick with potatoes is to roast until they are crispy, on the edge of burning, and eat them while they are hot.

Spicy Smashed Roasted Potatoes

Spicy Smashed Roasted Potatoes

Ingredients
1 pound small potatoes 
3 cloves garlic, peeled and minced
Olive oil
Sichuan Peppercorn Salt
Chives, parsley or green onions

Instructions

Preheat your oven to 425 F. Wash potatoes and put in a large microwaveable bowl. Fill a bowl with water until potatoes are 80% submerged. Cover with saran wrap and poke a few holes in it. Microwave at 5-minute intervals or until potatoes are soft and easily pierced with a fork. Some potatoes may explode, which is to be expected. Drain potatoes and set aside.

On a large baking sheet, spread potatoes evenly and firmly press with your hands or spatula until smashed and flat. Try not to overcrowd the pan. Drizzle with olive oil, peppercorn salt. Roast for 25-30 minutes or until brown and crispy, flipping after the 15-minute mark. For extra crispiness, turn the broiler on high and cook for another 3 minutes, keeping a close eye on them so they do not burn.

Garnish with chopped herbs, sprinkle with more peppercorn salt if you wish. Serve immediately.


Nori Peanut Rice Crisps

In Taiwan, “popcorn trucks” 爆米香 are a thing. You can find them driving through neighbourhoods, parking to sell rice puff squares while blaring “Bao Mi (Popcorn), Bao Mi.” If you stop long enough, you will hear a giant bang followed by a puff of smoke and the aroma of roasted peanuts, job tears and rice. It’s a memory everyone has growing up in Asia. Some versions include sesame seeds and it’s relatively similar to peanut candy, a popular snack among the old folks. I am known to devour these by the bag.

I was re-introduced to puffed rice making granola Glo bars from OhSheGlows before realizing, heck, I need to make my own version of these. I’ve replaced the maltose (麥芽糖) with brown rice syrup, which is terrifically sticky and holds around 2/3 of sweetness compared to honey. I also substituted butter with almond butter, though peanut butter will do just as well. A healthy-westernized version of Bao Mi that is marvelously crunchy. I have a square or two for breakfast and it keeps me surprisingly full. You can add your own flair to these with roasted nuts, chia seeds and completely veer off the path of tradition.

Nori Peanut Rice Crisps 海苔花生爆米香

Ingredients

1/2 cup brown rice syrup (sub honey but it will taste a lot sweeter)
1/2 cup creamy almond butter (sub peanut butter)
3 1/2 cups puffed rice crisps
1 pack toasted nori sheets (17 grams), torn and crumbled into pieces
1/2 cup roasted peanuts (sub any kind of roasted nuts)
I tbsp sesame seeds or chia seeds

Instructions

Line a 9x13 inch baking pan with parchment paper, and aim for one with depth as it yields thicker squares. In a large bowl, combine the dry ingredients — puffed rice, nori, peanuts, sea salt and sesame seeds. Set aside. In a large soup pot, add the brown rice syrup and almond butter and cook on medium-low heat until it bubbles. Keep an eye on it and don’t let it caramelize or harden. Remove pot from the heat source and add in the dry ingredients, stirring furiously to encourage even distribution. The mixture will be very sticky.

Transfer contents from the pot to the baking tray. Scrape the sides with a spatula. Spread it evenly and press down with a spatula or wooden spoon. Set aside until cool and slice into squares or bars with a bread knife. Store cooled in an airtight container. It keeps well at room temperature for a week.

Avocado Chocolate Cake

Growing up in Taiwan, my definition of avocados revolved around the football-sized Choquette avocado sold in fruit shops or juice stalls at the night market. Bred for their intimidating size and mild flavour — the Choquette avocado is used for smoothies with milk, sugar and pudding. Salad culture in Taiwan is slowly catching up to the west, but it was not after moving to Canada that I expanded my worldview on avocados and the many ways one can eat it in salads, guacamole, ice cream and so on.

I have gone through many flourless chocolate cake recipes but this is a new favourite yet. No blender or spiralizer is needed just two perfectly ripe avocados. The raw batter is heavenly and tastes like a thick chocolate pudding. I would make it just to eat the batter. A gluten-free treat you can make vegan by substituting the butter with cashew butter or olive oil. I made a less sweetened version for Mother’s Day and topped it with edible flowers, dried fruit and cashew cream.

Avocado Chocolate Cake

Serves 8/fills a 13-inch baking pan

Wet Ingredients
2 ripe medium-large avocados
4 eggs

Dry Ingredients
1 cup of cocoa powder
1 3/4 cup brown sugar (use 1 1/2 cup for a less sweet version)
4 tablespoons butter, softened at room temperature
2 teaspoons baking powder
2 teaspoons vanilla extract
1/2 teaspoon sea salt
1/2 cup chopped dark chocolate (optional)

Preheat the oven to 325°F. Grease a 10 x 12-inch baking pan with butter or parchment paper. 

In a large mixing bowl, sift the cacao powder with a sieve into a fine powder. Add the brown sugar, baking powder and sea salt. Mix evenly and set aside.

In a medium mixing bowl, mash the avocados, breaking large pieces with a fork as you go. Crack eggs into bowl one by one, add the butter and stir to evenly distribute. Add the wet ingredients into the dry, stirring and scraping the bottom of the bowl from time to time. Pour the mixture into the baking pan and bake for 25-30 minutes. The middle of the cake should be firm while on the edge of gooey. Let the cake come to room temperature before cutting. Top with chopped dark chocolate, sea salt, edible flowers or cashew cream. 

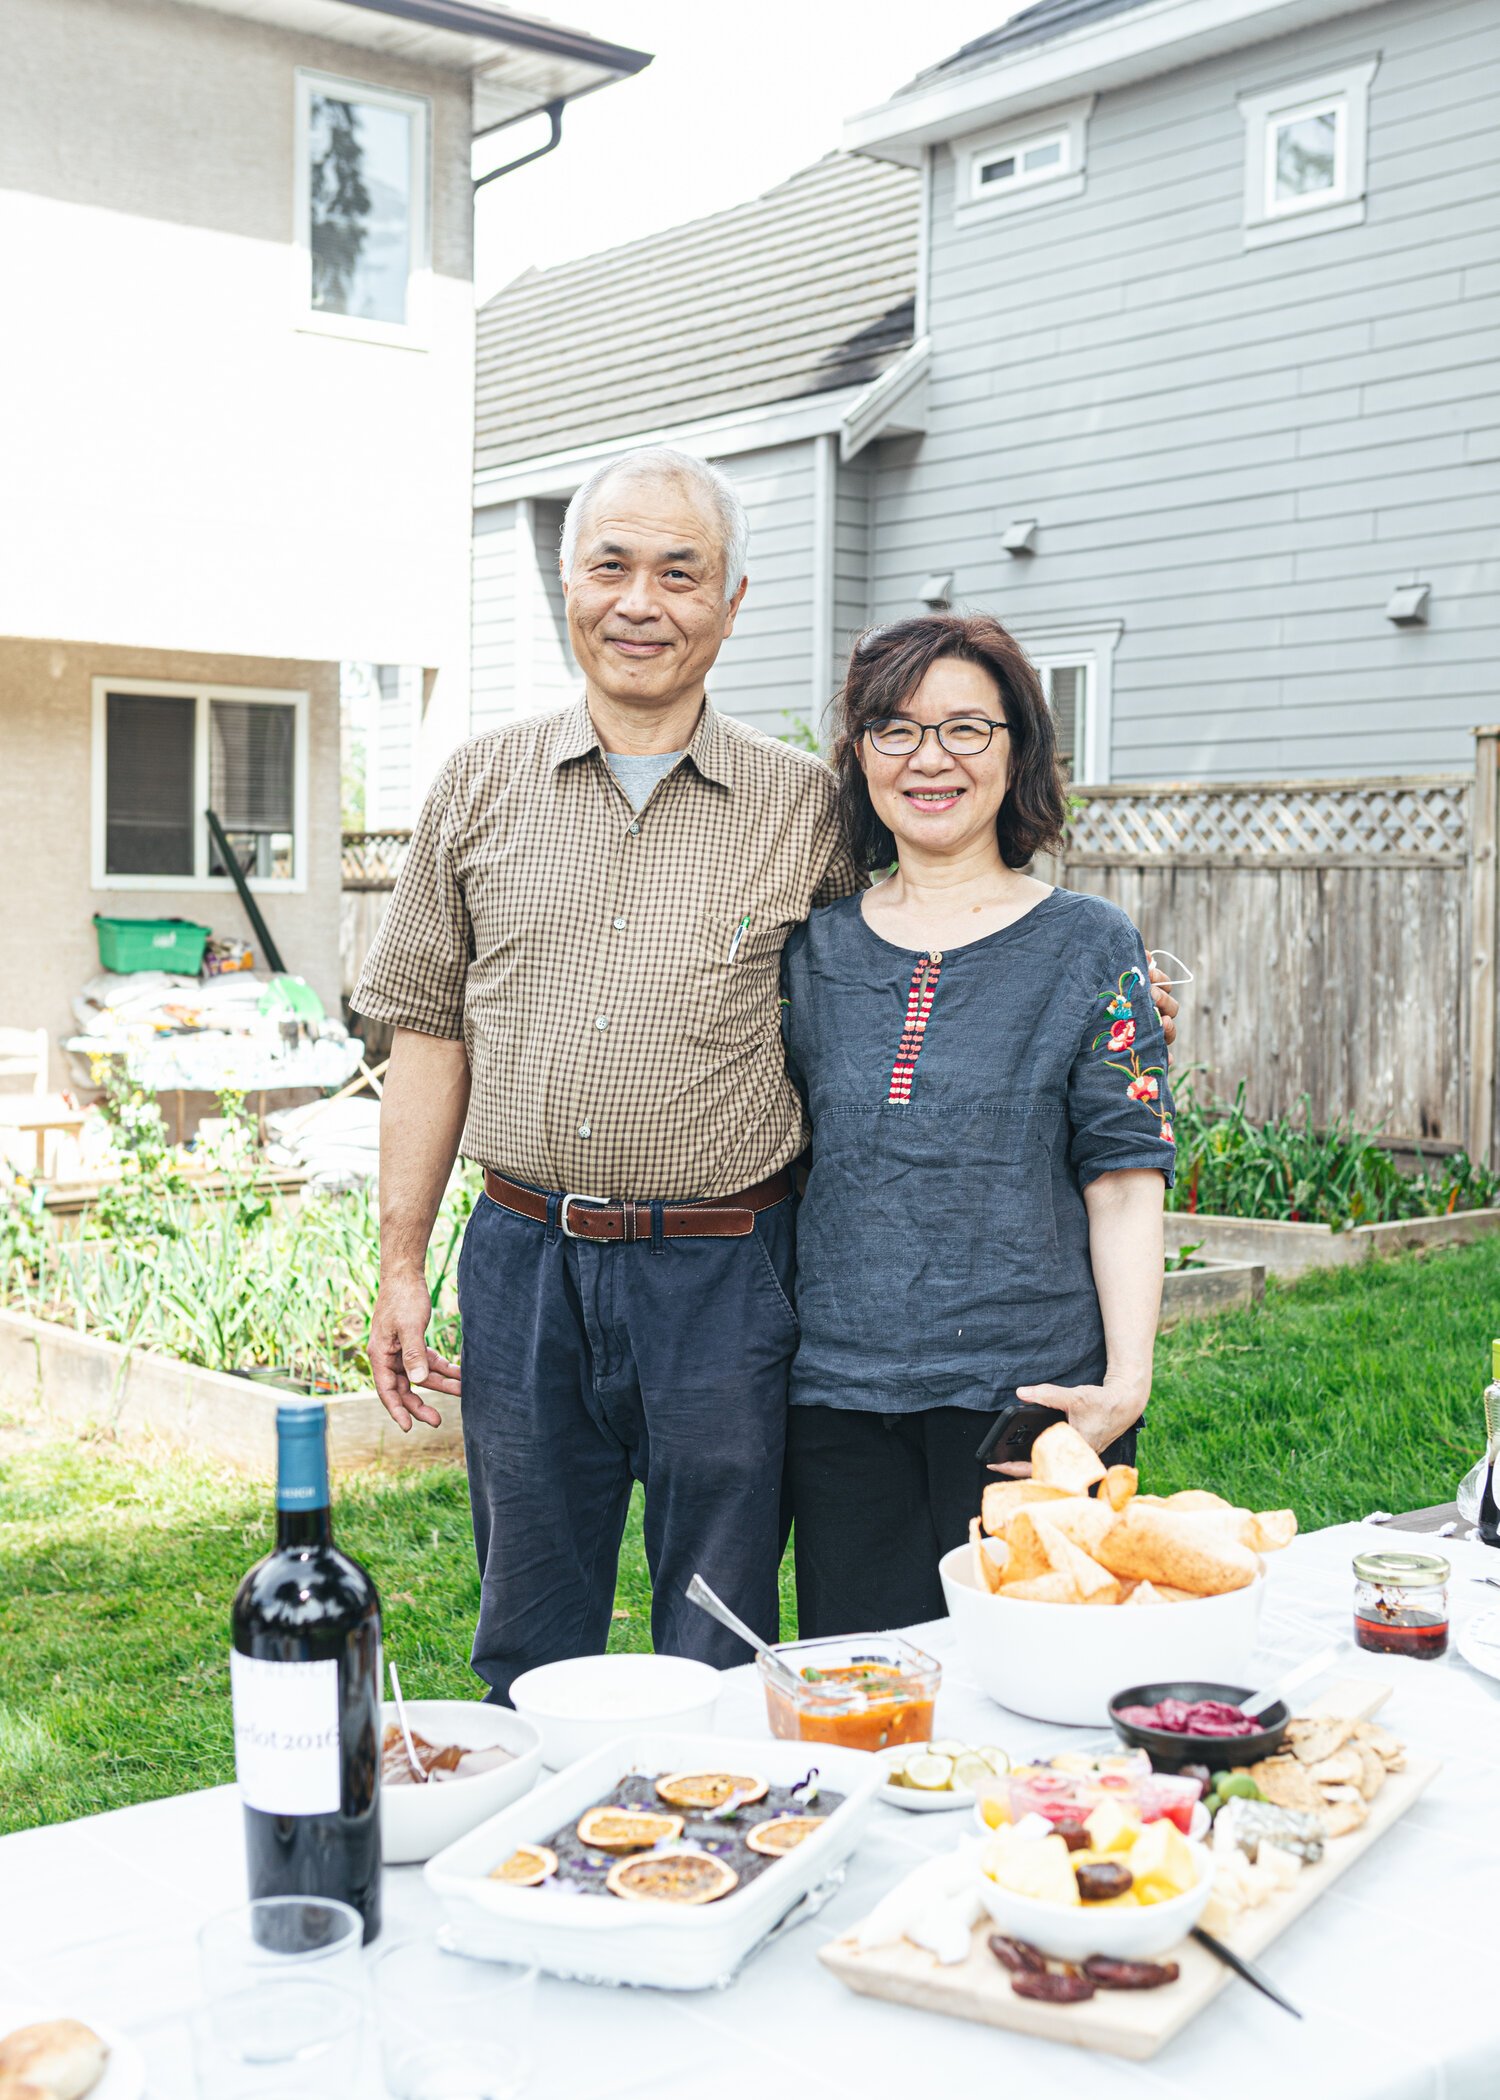
mom, dad and avocado chocolate cake

Bryant Terry’s Amazing Green Rice

I made Bryant Terry’s Amazing Green Rice today and loved the flavour and different ways of cooking rice with pureed vegetables. Food is really for the spirit as well as the body. I have been enjoying the slow-down time and my weekends hunting for organic greens, chopping and cooking away before sitting down to enjoy the few hours of labour.

If you are looking to venture out of your usual way of cooking, Bryant’s new cookbook Vegetable Kingdom features a lot of afro-vegan recipes. Jamaican dishes, Chinese spices. It really opens up a world of cooking with vegetables. I have a list of purees, veggie roasts and dressings I am looking to make. It is a beautiful example of food as a bridge to sharing that personal yet worldly part of ourselves in the kitchen.

I would love to make onigiri this next, perhaps with sushi rice, some preserved cherry blossoms. I used a cast iron pan for this and was rewarded with a crispy bottom. I would also love to experiment with different coloured vegetables, purple rice, yellow rice, orange rice you name it. I threw in soaked cashews I had on hand (you can use coconut cream) with whatever greens and garnishes I found in my fridge.

Bryant Terry’s Amazing Green Rice

Ingredients

Serves 4–6
1 c tightly packed spinach leaves ( sub with any kind of greens)
1 c tightly packed kale leaves, stems removed
1 1/2 c water (sub vegetable stock and omit the stock cube)
1 vegetable stock cube
1/3 c soaked cashews (or sub 2 tbsp of coconut milk)
Sprinkle of sea salt
1 c long grained rice
1 tbsp oil ( I used butter)
1/2 c diced yellow onion
1/2 c diced green peppers
3 cloves garlic, peeled and minced

Instructions

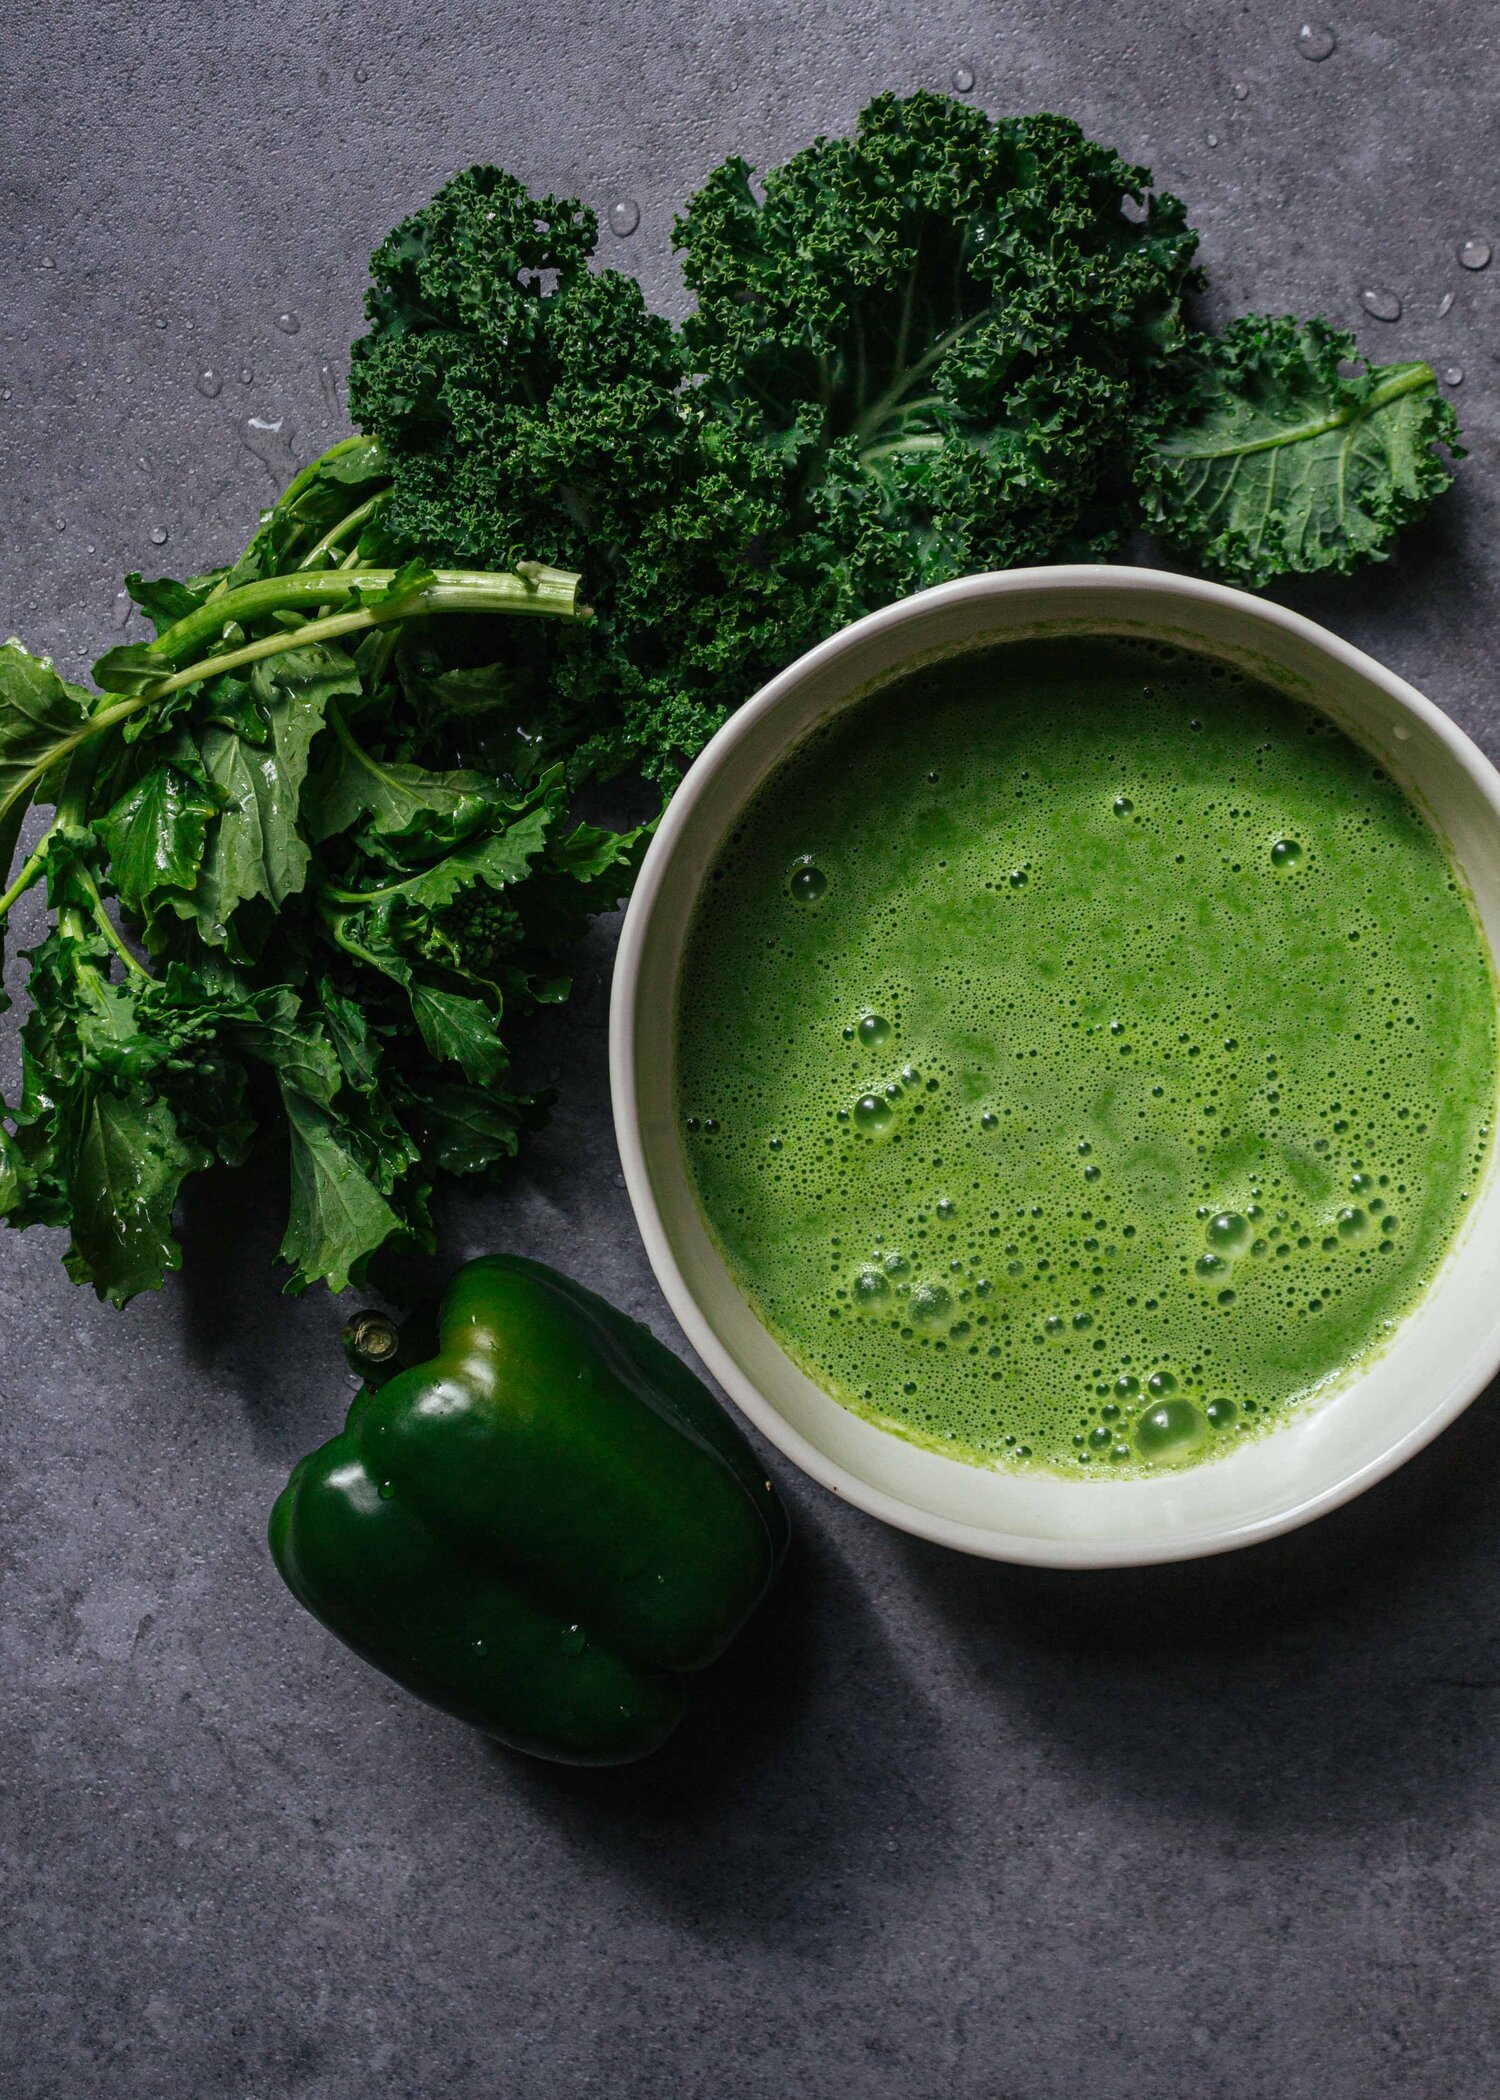
1. In a blender, puree the greens, water, stock cube, soaked cashews, and salt. Blend until frothy and smooth. Set aside.

2. Wash rice in a sieve. Give it a good shake and set aside.

3. In a medium-sized pan (I used my cast iron) heat oil until hot. Add the onion, bell pepper, and sauté until soft. Add minced garlic and cook for another 2 to 3 minutes. Add the rice and stir until the water evaporates and the rice is lightly toasted and aromatic. Pour in the contents from the blender and turn the heat up to high until the whole thing comes to a boil. Reduce heat to low, cover with a lid and simmer for 15 to 20 minutes.
4. Take the pan off the heat and let it sit for 10 minutes or so with the lid on. Fluff the rice with a fork before serving and top with toasted nuts, chopped herbs, fresh ground pepper, or anything to your fancy. I find it really great satisfying paired with an egg, tofu, or served as a main.

Recipe inspired and adapted from Heidi Swanson. Original recipe creator Bryant Terry

Chinese Egg Tarts Recipe (Whole Egg)

I had some leftover pastry shells in the freezer which I have been itching to put to use. Egg tarts. I never realized how easy it was to make these until I tried. All you need is egg, milk, sugar and some patience. This is a “whole egg” egg tart recipe so you don’t have to worry about coming up with creative ways to use your egg whites.

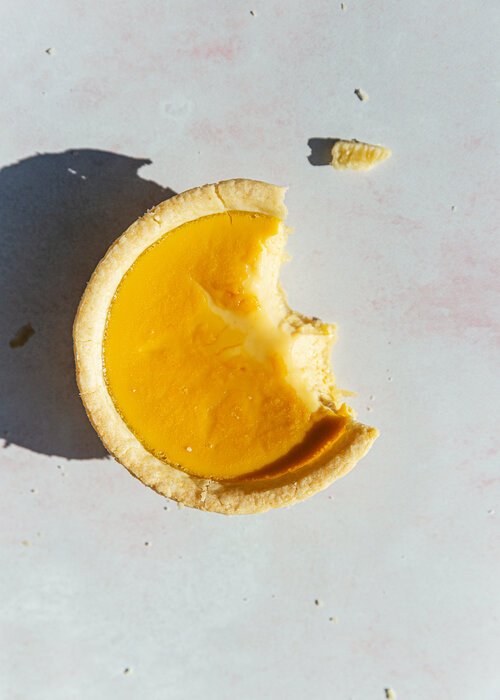
If you’ve ever been to a Chinese bakery, you’ll know that these are the stars of the show. A simplified version of the Portuguese egg tart — these tarts appear in breakfasts, dim sums, potlucks and brighten many faces with their yellow shade.

If you don’t have pastry shells on hand, the filling is great baked in ramekins as well. Make sure to pass some off to friends as soon as they’ve cooled to avoid eating one too many. My highest record is three a day.

Chinese Egg Tarts 全蛋蛋撻

*Makes 6 egg tarts

Ingredients

5 small pastry shells
5 eggs
80 ml milk
165 ml water
80 grams sugar (I used golden sugar)
1/2 tsp vanilla extract

Instructions

Heat oven to 390 F. In a small saucepan, add water and sugar over medium heat. Stir until the sugar dissolves and set aside to cool. In a large mixing bowl, whisk the eggs until the yolk and whites are combined. Add the milk, vanilla extract, sugar water and mix well. Filter the liquid through a sieve to remove chunky pieces of raw egg. Discard the chunky bits. Fill each shell up to 80%.

Bake for 15 minutes, then reduce heat to 350F and bake for another 10 minutes. Turn off heat, prop the oven door open and let the egg tarts sit for 5 minutes or so. Check on the tarts every so often to make sure the egg filling does not get overcooked. The filling should be soft with just the right amount of gooey in the center.