Kanten Jelly (寒天)

I love this refreshing summer treat. It’s basically the simplified version of Japanese Fruit Jelly. You can incorporate these jellies into most cold soupy desserts like sweet tofu, sago soup, sweet bean soups, or bubble tea if you’d like. I love these topped with soybean powder (kinako) with a drizzle of sweet syrup. It’s also really good topped with red beans.

Kanten Jelly (寒天)

Serves 4-6 people

ingredients

  • 2 tsp (4 grams) kanten powder (I buy these at Thai or Asian shops, see note for kanten strips)

  • 2 cups water

  • 2 Tbsp sugar

instructions

  1. In a medium-sized pot, add water, sugar, and kanten powder. Bring to a boil, stirring all the while to dissolve the kanten powder.

  2. Pour the mixture into a square baking tray or heat-resistant container. I use a glass baking pan for mine. Set aside to cool before putting in the refrigerator for 20-30 mins.

  3. After the jelly has been set, run a knife through the edges and invert the jelly onto a cutting board. Cut into desired squares and serve chilled. The jelly will keep in the fridge for 3-4 days.

Recipe notes

• Traditionally, kanten jelly is served in a Japanese summer dessert called Anmitsu. I’ve enjoyed versions of it with red beans and sweet syrup (kuromitsu).

• If using kanten strips, soak in water for 30 mins or overnight before boiling. This will help dissolve the kanten.

Miso Marinated Salmon

This miso-marinated salmon is super easy and full of flavor. Umami — an overly-used word but still sought after — is what I’ll use to describe this dish. You can use pre-cut filets for easy serving, but I like the generous look of a whole filet. I’m currently marinading chicken and tofu with the same recipe, will report back with results.

miso-marinated-salmon-recipe-japanese

Miso Salmon 

Serves 2-3 people

Ingredients

  • 1 skin-on salmon filet (1 pound), bones removed

  • Sesame seeds, for garnish optional)

  • Green onions or cilantro, for garnish (optional)

Marinade 

  • 4 Tbsp ( 68 grams) white miso 

  • 2 Tbsp sake

  • 1 Tbsp mirin

  • 1 tsp sugar

  •  1 tsp soy sauce

Instructions

  1. Add all of the marinade ingredients into a ziplock bag. Using your hands, massage the bag until the ingredients mix together. Pat the salmon fillet dry and add to the bag. Marinate overnight or at least for 4 hours. 

  2. Heat the oven to 375F and line a baking dish with a sheet. 

  3. Remove the salmon from the ziplock bag and bake, skin-side down for 10-15 minutes until done. You may need more or less time depending on the size of your filet. Garnish with sesame seeds and greens onions. Serve immediately.

Cooking Notes:

  • The salmon will keep cooking when you take it out of the oven, don’t overcook it.

  • Alternatively, cook the salmon in a pan or over the grill. 

  • The salmon marinade will last up to 3 days in the fridge if you need to prep ahead of time.

Tuna Onigiri Rice Ball Recipe

how_to_make_tuna_onigiri_rice_ball_5.jpg

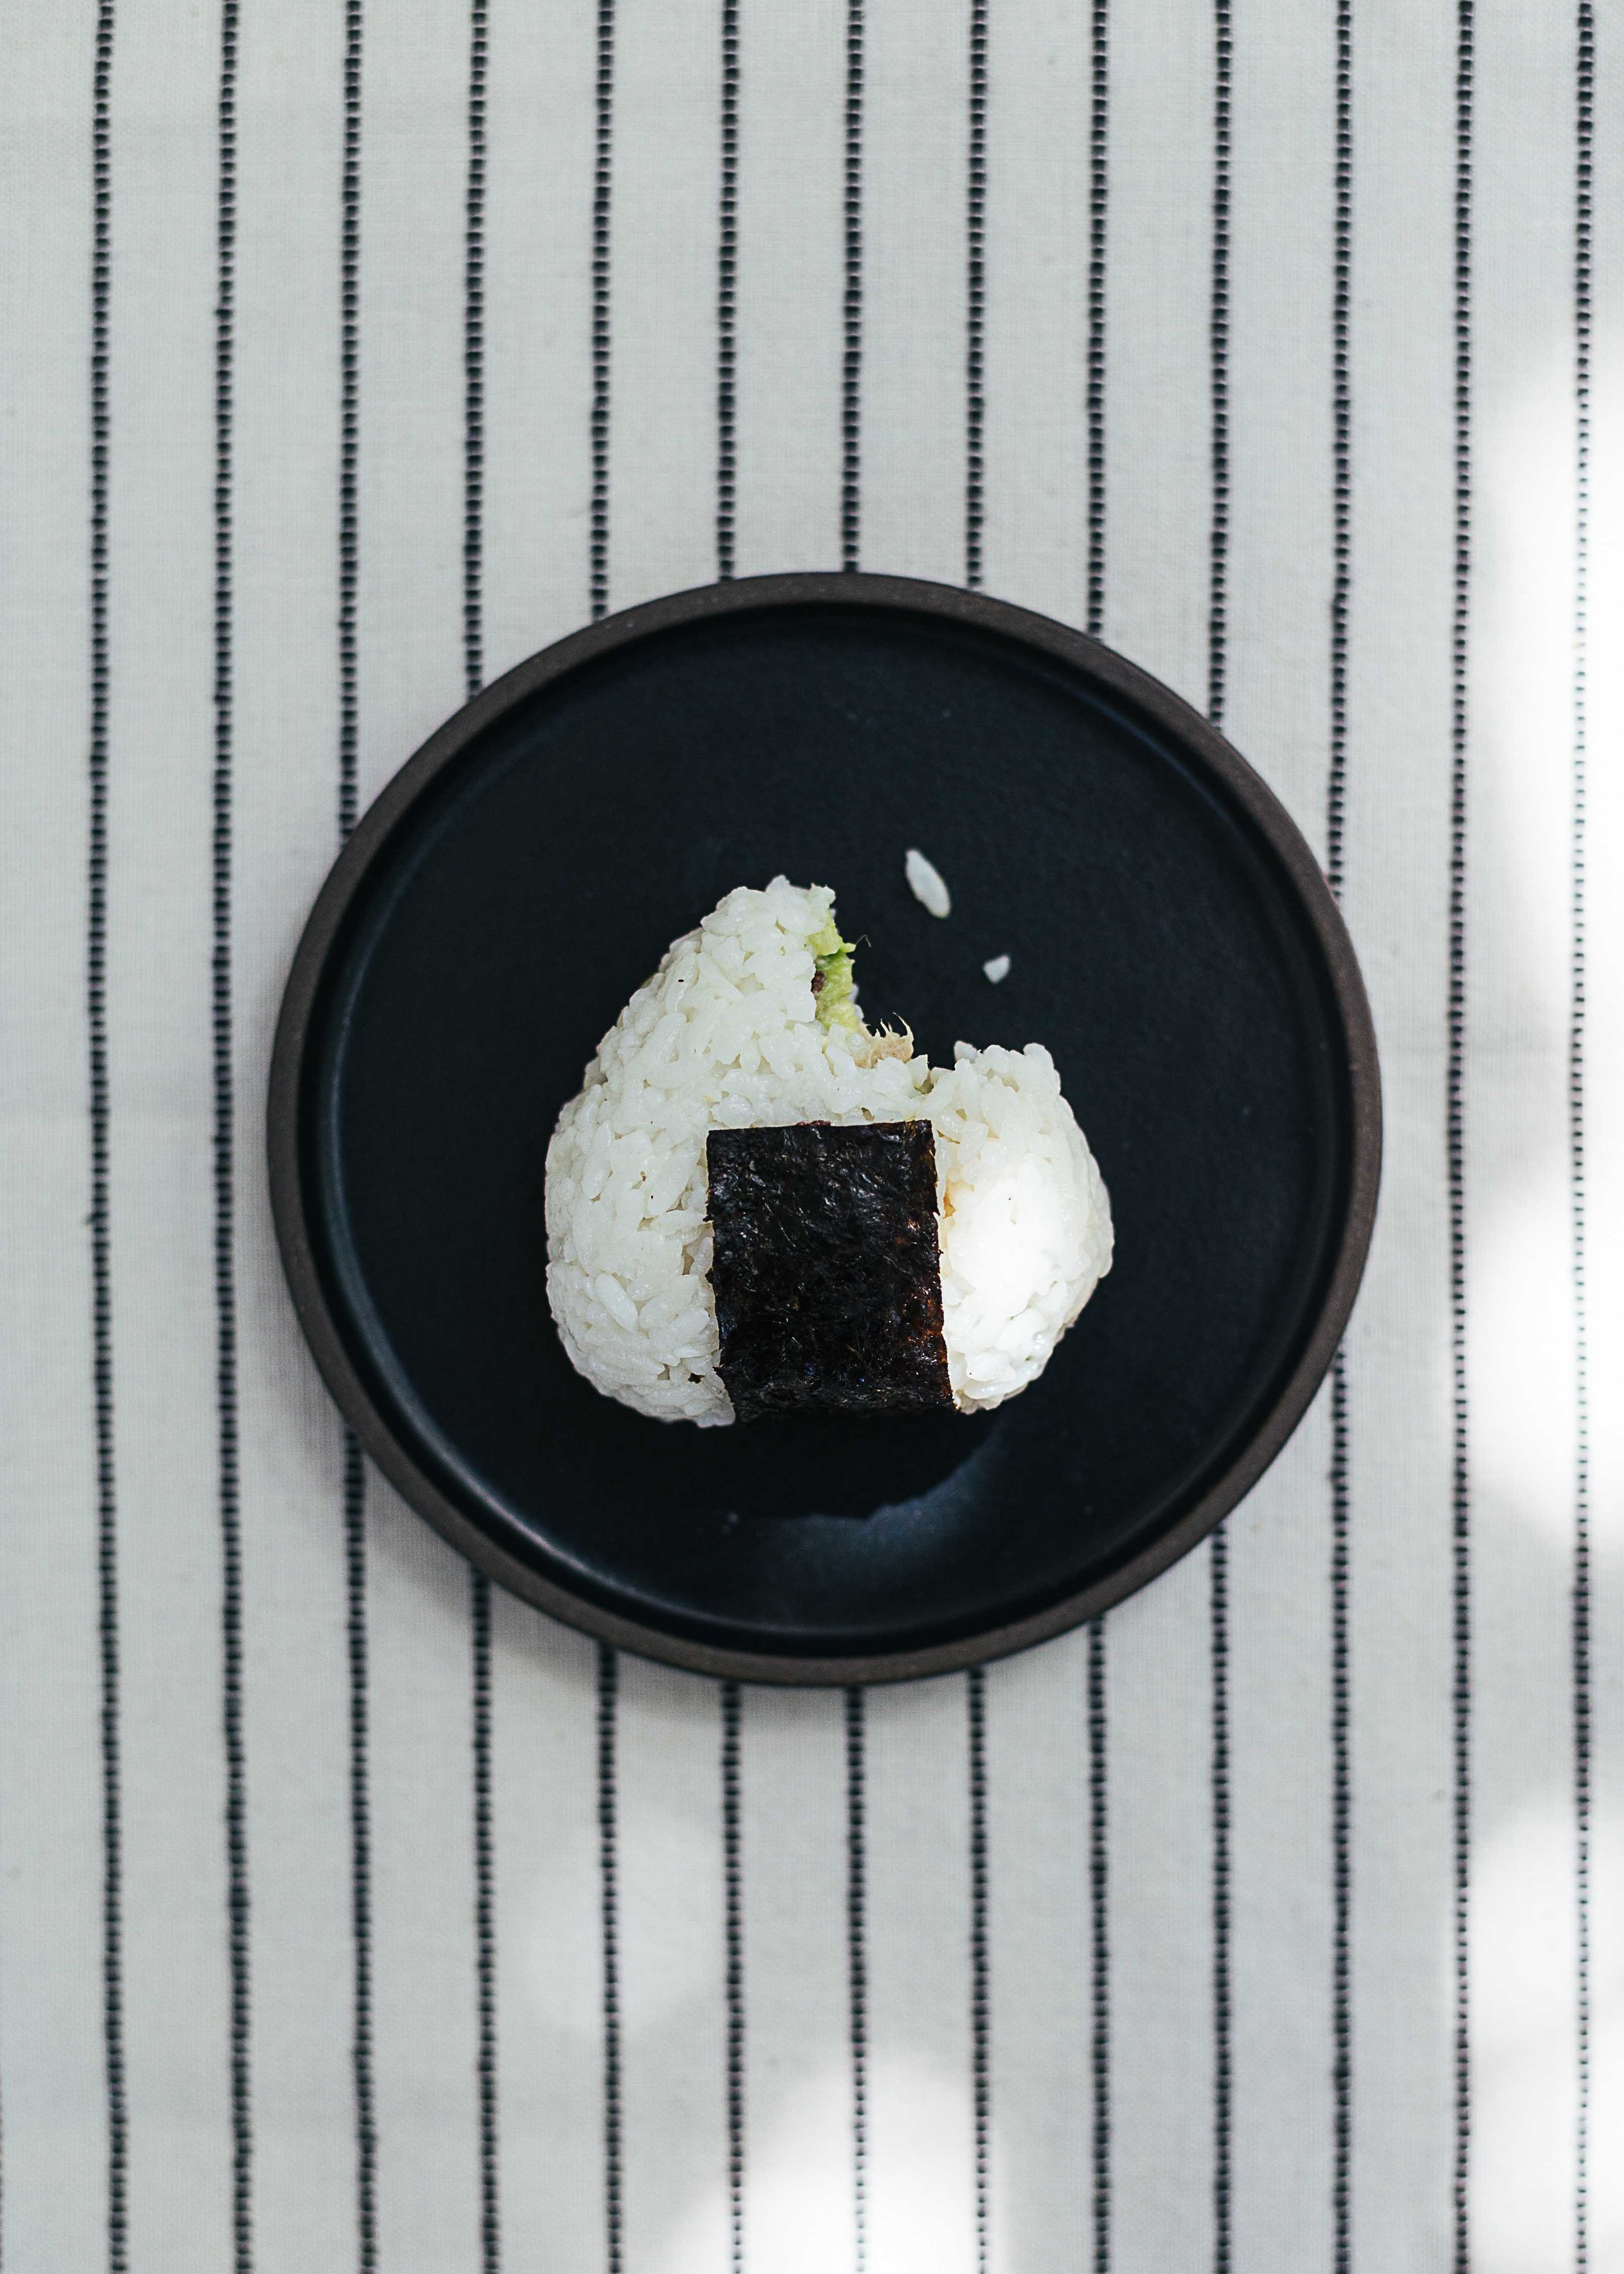
Onigiri! This is a recipe for a little snack that accompanied my childhood years in Taiwan. Found in all of the 7–11 or convenience stores, these triangle-shaped rice balls were many of my breakfast, lunch and late-night snacks.

Even though I have never been to Japan, Taiwanese culture is a culture that is greatly influenced by Japan — who ruled over Taiwan in the 1800s. Some of the influence can be found in old Japanese buildings that are now tea houses or galleries, neat lines at the MRT, my grandpa who spoke Japanese, and a millennial generation that is all about Japanese culture.

These onigiri’s! I remember standing in my school uniform (white collared shirt, pleated skirt, bright orange hat), eagerly choosing my flavour of the day. My favourites — pork floss with mayo, egg, salmon, or chicken teriyaki. Sometimes I would opt out of onigiri’s and go for the traditional Taiwanese rice balls. A heavier version made with sticky rice, fried salty donut, radish pickles, stuffed with pork floss and sprinkled with peanut sugar. They were heavy enough to fill you for hours and go down your tummy very well with a cup of soy milk.

There is something about rolling and shaping warm rice together in your palms. I don’t know if it is the scent of warm rice or act of making onigiri’s that make me want to eat them immediately after. These are great as snacks on the go, picnics, a light meal, or give away and impress your friends.

how_to_make_tuna_onigiri_rice_balls_5-1.jpg
how_to_make_tuna_onigiri_rice_balls.jpg

Tuna Onigiri Rice Balls

Ingredients

1 cup uncooked sushi rice
2 tbs rice wine vinegar
1 tsp sugar
1/2 tsp salt
1 green onion stem, thinly sliced (you can also use cucumber)
1 can of tuna in salted water
1/2 avocado, diced
2 tbs greek yogurt (or mayo)
1 nori sheet, cut into small rectangles

Instructions

  1. Wash rice in a sieve until water is clear. Add 1 cup of water (or refer to amount on rice packaging) and cook until rice is tender. About 15 mins. Let cool.

  2. While rice is cooking, mix can of tuna (squeeze saltwater out with lid when you open the can), avocado, green onions and greek yogurt. Mash and add salt and pepper to taste

  3. Gently fluff rice with a fork. Fold in sugar, rice wine vinegar and salt with a spatula. Don’t over mix.

  4. Place a piece of saran wrap on your hand and measure 1/3 cup of seasoned rice into the wrap. Flatten rice into a flat shape and create an indent in the centre. Spoon in tuna filling and gently form rice into a ball using the saran wrap.

  5. Using your hands, form the rice ball into a triangle. Take off the plastic wrap and wrap a piece of nori around the bottom.

  • The trick to a good onigiri to use rice that is freshly cooked and slightly warm. I felt very Japanese waking up at 7 am to make these for lunch. They will keep for a while in a sealed box in the fridge.

  • The original recipe called for cucumber but I found the green onions to be a nice change.

  • I made these again and mixed in a few spoonfuls of furikake. They were delicious and disappeared very fast at the potluck I brought them to. Enjoy!

how_to_make_tuna_onigiri_rice_balls_1.jpg

Salt-Pickled Cherry Blossoms

salt-pickled-cherry-blossoms-recipe-4.jpg

Spring is a season I can spend outside for as long as I possibly can. I do not fare well with winter. It may be that I’ve always left Vancouver in the last few winters for somewhere warm. Building a home in Vancouver has been an on-going project for the last half-decade. But do I love spring. It is a time when the light shines in longer hours, tiny sprouts appear on your slumbering plants and birds chirp louder than they have for the longest time.

I have been enjoying Nancy Singleton’s book — Preserving the Japanese Way. There is always a part of me that feels convicted with my multi-tasking and my need for accomplishment. Perhaps it is in working with, observing and photographing plants that I feel a certain stillness. They are so beautiful in their own way without trying. It is calming to capture.

salt-pickled-cherry-blossoms-recipe-6.jpg
salt-pickled-cherry-blossoms-recipe-7.jpg
salt-pickled-cherry-blossoms-recipe-5.jpg

Pickled cherry blossoms. Ideally, one should look for buds that have not flowered and trees that have not been sprayed or branches. Try asking a friend! I snipped a few branches from a tree in the ally behind my apartment. If you cannot find cherry blossoms, plum or peach will work as well.

Yae-zakura (Double-layer Cherry Blossom) is the recommended variety for preserving. They have the most pungent, flavourful leaves. I will try working with them next.

Cherry blossoms, removed from their salty home after three days.

Cherry blossoms, removed from their salty home after three days.

Salt-Pickled Cherry Blossoms

Ingredients

  1. 1 cup of cherry blossom buds (select ones that have yet to flower)

  2. Best-quality sea salt

Instructions

  • Find a good tree to harvest flowering branches from. A neighbour, a friend, your parent’s back yard. Make sure that they have not been sprayed.

  • Rinse the flowers with water, dry with paper towels or set them aside to air dry. Pick the buds off, try not to use full blooms as the petals will fall apart.

  • Sprinkle salt to cover the bottom layer of a clean bowl. The amount of salt will depend on the size of your vessel. Carefully layer with cherry blossoms. Top with salt and repeat until the blossoms are fully covered.

  • Cover the bowl with a well-sized plate, and add a weight on top. Allow them to cure for a few days or up to a month. The salt will absorb water from the blossoms.

  • Remove cherry blossoms from salt. Sprinkle blossoms with salt and store them in an airtight container. Add them as a pickle with rice, or fold them into your onigiri rice cakes. The preserves will keep for a couple of months but the colour will fade over time.

* To use for edible flower cookies — remove salt and soak cherry blossoms in a bowl of water overnight. Lay blossoms to dry on a paper towel before placing them on cookies. This will help reduce the saltiness of the pickle.

A tuna-filled onigiri, topped with salted blossoms.

A tuna-filled onigiri, topped with salted blossoms.


Stir Fry Lotus Root

In Chinese culture, lotus root is described as “the lover’s vegetable”. There are strands of fibre that connect every piece as you take a bite. In short, a sentimental vegetable that is unwilling to part with itself. Stewed in broths, thrown in stir-fries and pickled for salads — I’ve loved poking my chopsticks through the holes to eat as a child. It’s a vegetable that is rewarding to work with and fun to introduce to your friends.

Read More

Japanese Onion Salad Dressing (Wafu)

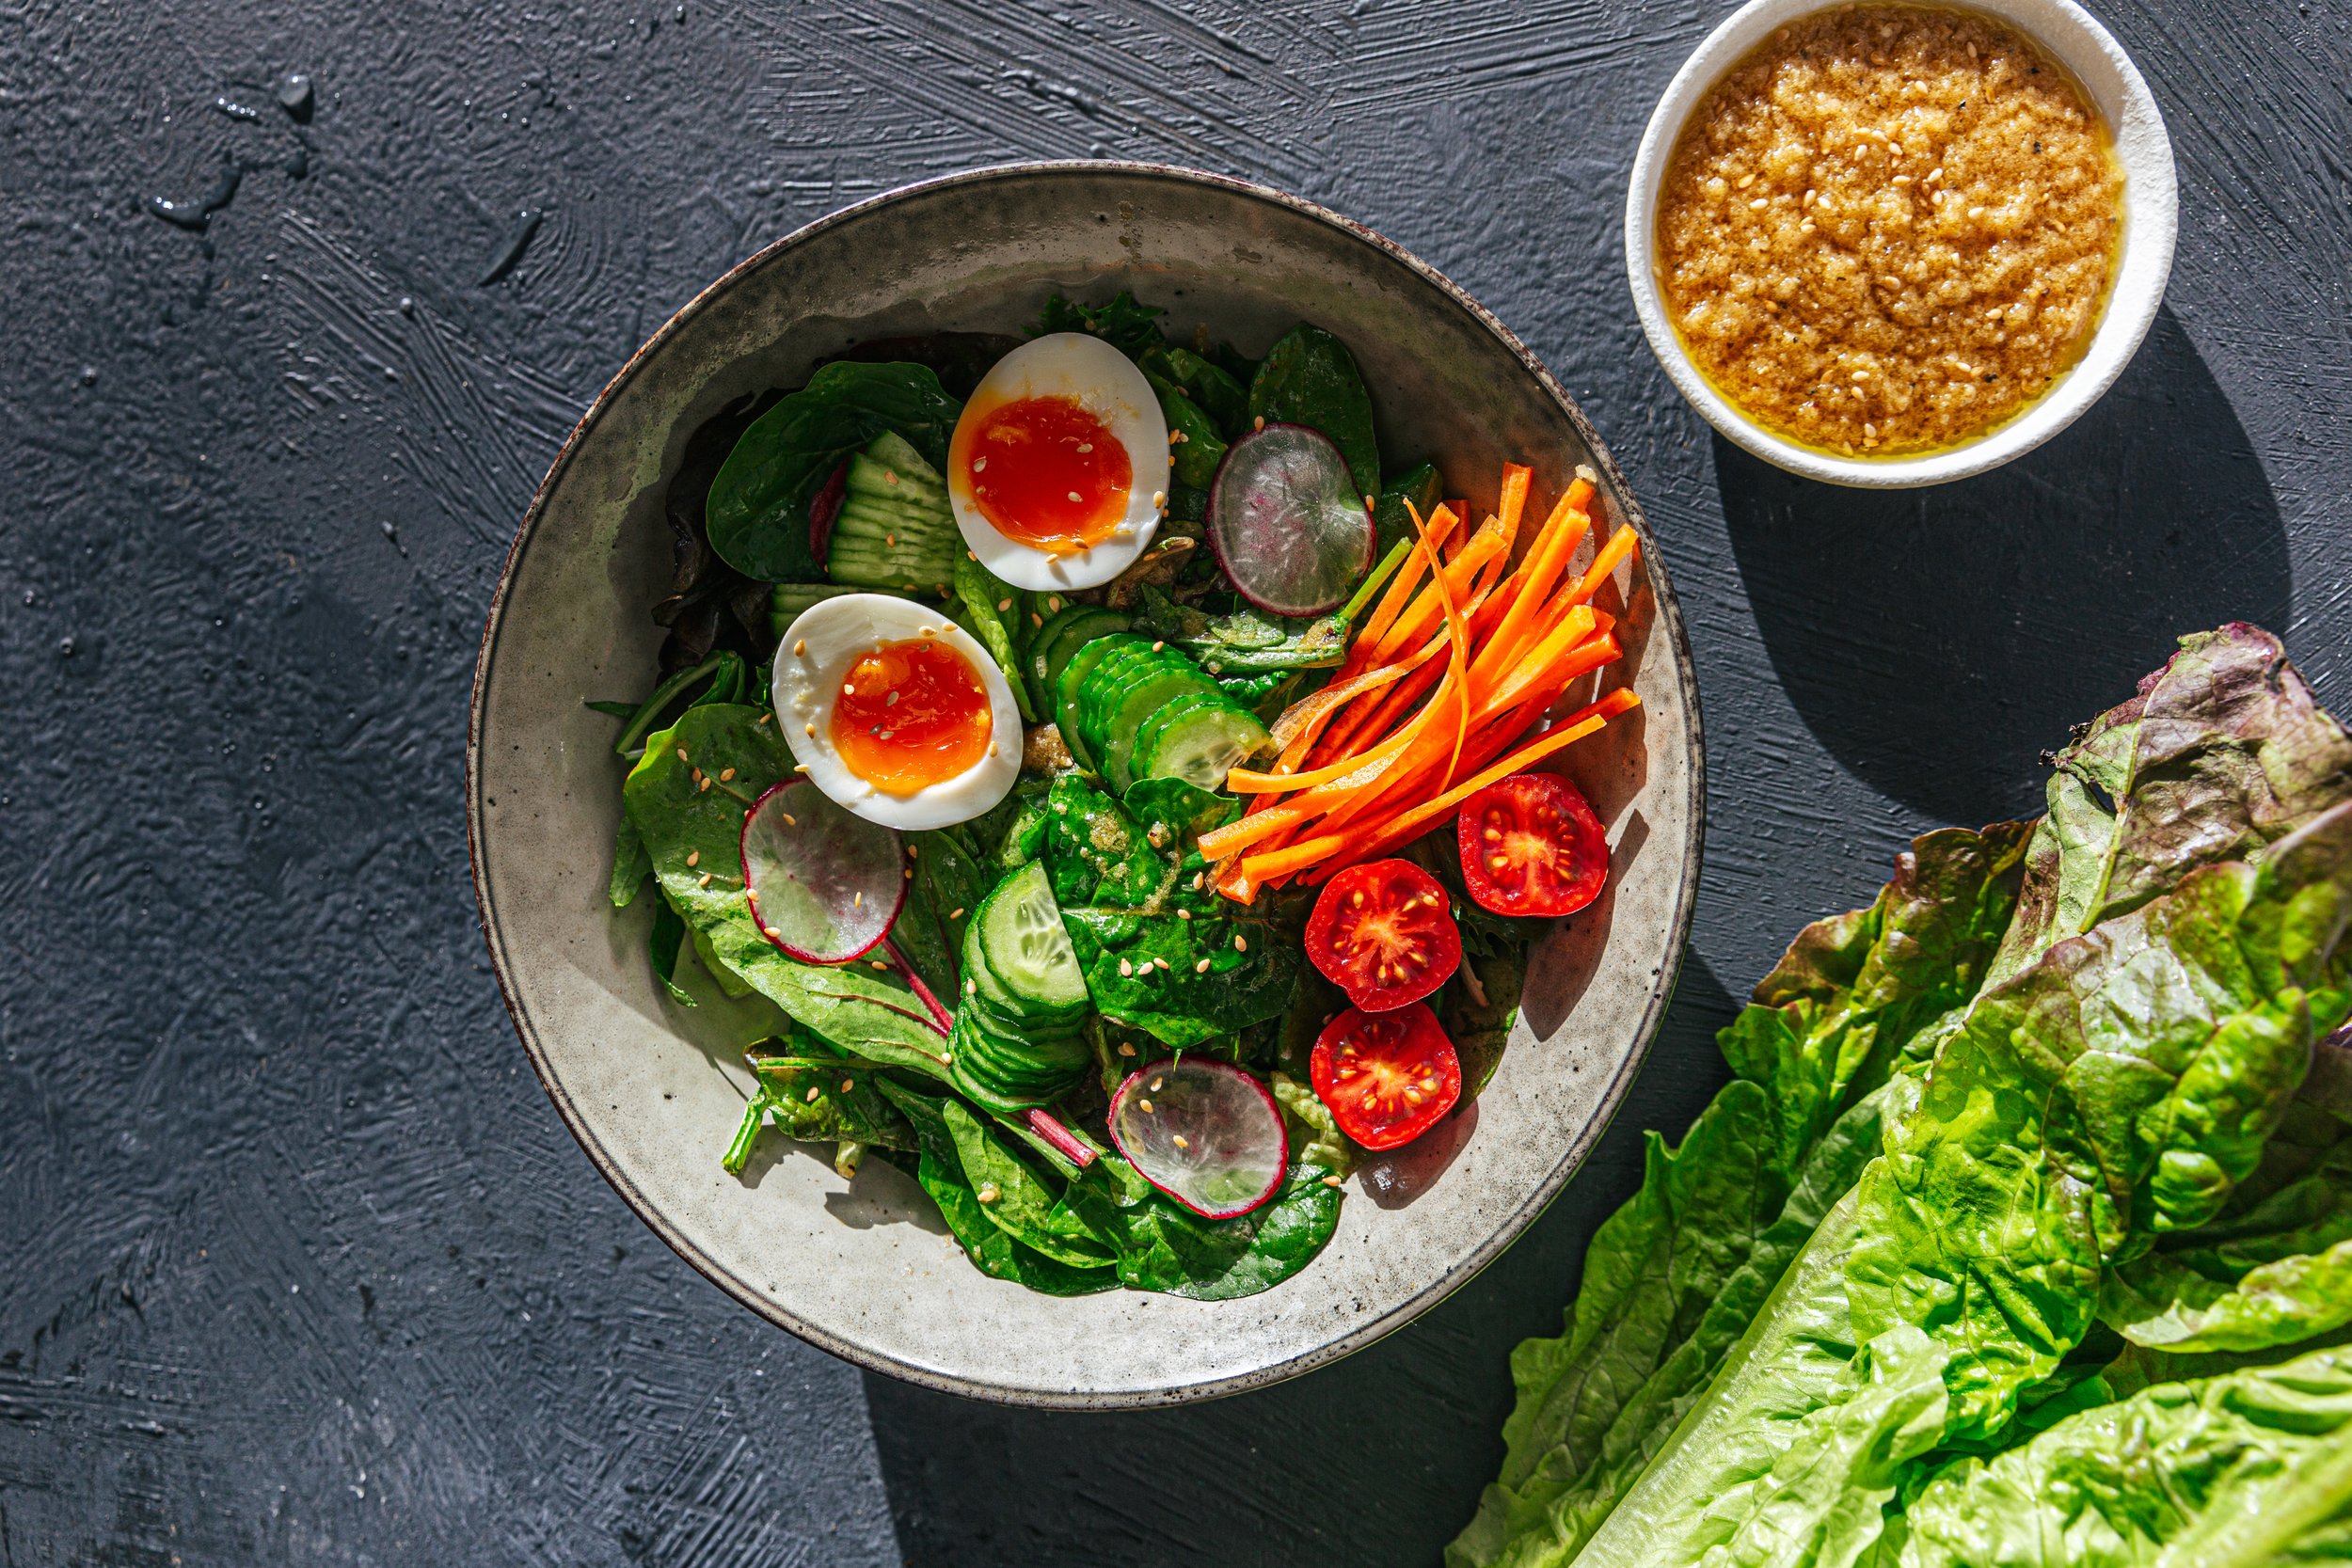
Wafu (和風) is a popular Japanese salad dressing which is basically an onion vinaigrette. It takes 5 ingredients to make and pairs perfectly with greens, lettuce, cucumber for an appetizer or a refreshing side.

This dressing brings me back to my high school days when I worked at Mos Burger — a Japanese chain restaurant that specializes in rice burgers. Boy, I loved everything on the menu — fish fillets, pomelo ice teas, organic rice patties (some of my coworkers used them to make fried rice). It was a memorable and delicious time.

Among their menu, Wafu salad was a bestseller. It had completely slipped my mind until I came across it on Adam Liaw’s social media. Making it brings me back to the school days — walking home after an evening shift, the jasmine-scented gardens of Chang Kai Shek memorial hall, koi fish ponds, and the many meals I shared with my friends. I will be eating lots of Wafu dressing on salads this summer.

Japanese Onion Salad Dressing (Wafu/和風醬)

Ingredients

  1. 1/2 onion, roughly chopped (around 1 cup)

  2. 1 tbsp soy sauce

  3. 2 tbsp rice vinegar (sub-seasoned rice vinegar and omit the sugar)

  4. 1 tbsp cane sugar

  5. 1/2 cup grapeseed oil (sub olive oil)

  6. 1/2 tbsp toasted sesame seeds (optional)

Instructions

  • Add all of the ingredients aside from the oil into a blender or food processor. Pulse and blend into a thick dressing. Don’t overblend.

  • Top with oil of choice and sesame seeds. Seal the jar, and give it a good shake until the ingredients emulsify. Serve over salad or soba/rice noodles. Dressing keeps for 3-4 days in the fridge

Cooking Notes:

• Traditionally, the onions are grated with a Microplane grater to preserve texture. I find the blender method easier with limited time on my hands.

• If making beforehand, give the dressing jar a good shake before serving.

Tuna Onigiri Rice Cakes

Onigiri! This is a recipe for a little snack that accompanied my childhood years in Taiwan. Found in all of the 7–11 convenience stores, these triangle-shaped rice balls were many of my breakfast, lunch, and late-night snacks.

Even though I have never been to Japan, Taiwanese culture is a culture that is greatly influenced by Japan — who ruled over Taiwan in the 1800s. Some of the influence can be found in old Japanese buildings that are now tea houses or galleries, neat lines at the MRT, my grandpa who spoke Japanese, and a millennial generation that is all about Japanese culture.

These onigiris! I remember standing in my school uniform (white collared shirt, pleated skirt, bright orange hat), eagerly choosing my flavor of the day. My favorites — egg, salmon, or chicken teriyaki. Sometimes I would opt out of onigiri’s and go for the traditional Taiwanese rice balls. A heavier version made with sticky rice, fried salty donut, radish pickles, stuffed with pork floss, and sprinkled with peanut sugar. They were heavy enough to fill you for hours and go down your tummy very well with a cup of soy milk.

There is something about rolling and shaping warm rice together in your palms. I don’t know if it is the scent of warm rice or the act of making onigiri’s that make me want to eat them immediately after. These are great as snacks on the go, picnics, a light meal, or give away and impress your friends.

Tuna Onigiri Rice Balls

Ingredients

1 cup uncooked sushi rice
1/2 finely diced mini cucumber
1 can of tuna in salted water
1/4 cup greek yogurt (sub mayo)
1 nori sheet, cut into small rectangles
Saran plastic wrap

Instructions

  1. Wash rice in a sieve until water is clear. Add 1 cup of water (or refer to amount on rice packaging) and cook until rice is tender. About 15 mins. Let cool.

  2. While rice is cooking, mix a can of tuna (squeeze saltwater out with lid when you open the can), avocado, green onions, and greek yogurt. Mash and add salt and pepper to taste

  3. Gently fluff rice with a fork.

  4. Place a piece of saran wrap on your hand and measure 1/3 cup of seasoned rice into the wrap. Flatten rice into a flat shape and create an indent in the center. Spoon in tuna filling and gently form rice into a ball using the saran wrap.

  5. Using your hands, form the rice ball into a triangle. Slip off the plastic wrap and wrap a piece of nori around the bottom.

*The trick to a good onigiri to use rice that is freshly cooked and slightly warm. I felt very Japanese waking up at 7 am to make these for lunch. They will keep for a while in a sealed box in the fridge.

I made these again and mixed in a few spoonfuls of furikake. No filling. They were delicious and disappeared very fast at the potluck I brought them to.

How to make Ramen Egg

how_to_make_ramen_egg.jpg

I realized I cannot post a Totoro soba noodle recipe with ramen egg without providing a ramen egg recipe. So here it is. I do offer a word of caution before making these as they are highly desired and addictive. In fact, I ate so many of them from the first few batches that I was thrown off ramen egg for a while. Also, as appetizing as they are, ramen eggs do not travel well so if you try (like I did) to take them to picnics, you’ll end up with a sad brown mess.

These eggs are incredibly easy to make. As long as you have nailed down the consistency of the 6 minutes and 50 seconds jammy centred egg. Choose eggs that are similar in size, use a pot big enough to accommodate the eggs, and give the water a gentle stir after you pop them in to even the temperature.

Ramen eggs are a brilliant way to add protein to a meal, salad bowl, or eat on its own. I enjoy serving it to friends when they visit and bask in the delight of their oohs and ahhs.

You will need:

6 medium/large size eggs (get the best eggs you can, with orangey centres)
Soy sauce, 1/4 cup
Mirin, 1/4 cup
Water, 1/2 cup
Apple cider vinegar, a dash (optional)

To make:

  1. Bring a big pot of water to boil. Adjust it to simmering and gently lower the eggs into hot water with a slotted spoon. Do this in procession as fast as you can. Immediately set a timer for 6:50. Gently stir the eggs. I like to turn the heat up until it comes to a simmer again.

  2. Prepare a large bowl of iced water. You will need ice cubes. When the timer goes off, lift the eggs out of the water with a spoon into the iced water. As fast as you can. Leave the eggs in iced water for a few minutes until the temperature has cooled.

  3. Peel eggs. Give the eggs a firm tap on the counter and peel away. You’ll have a chewed look to some of the softer ones but they do get better with experience.

  4. Mix soy sauce, mirin, water, apple cider vinegar (if you are using any) and soak the eggs in the marinade using a snug bowl. I like to cover the eggs with plastic wrap (or paper towel) to make sure they are fully submerged. Soak the eggs overnight, or 4-5 hours at least.

  5. Serve sliced in half, add a sprinkle of sea salt, green onions, sesame seeds, or enjoy on its own.

*You can double the egg marinade. I follow the 1:1:2 ratio for soy sauce, mirin, water. It keeps well and you can use it to marinate more than one batch of eggs.

*Omit the apple cider vinegar if you’re not feeling as adventurous. I have come across many recipes that call for 1/4 cup of sake and will try a version with that. I like this recipe as it’s simple to make with basic ingredients from the kitchen.


How to make Totoro Soba Noodles

how_to_make_totoro_soba_noodles-5.jpg

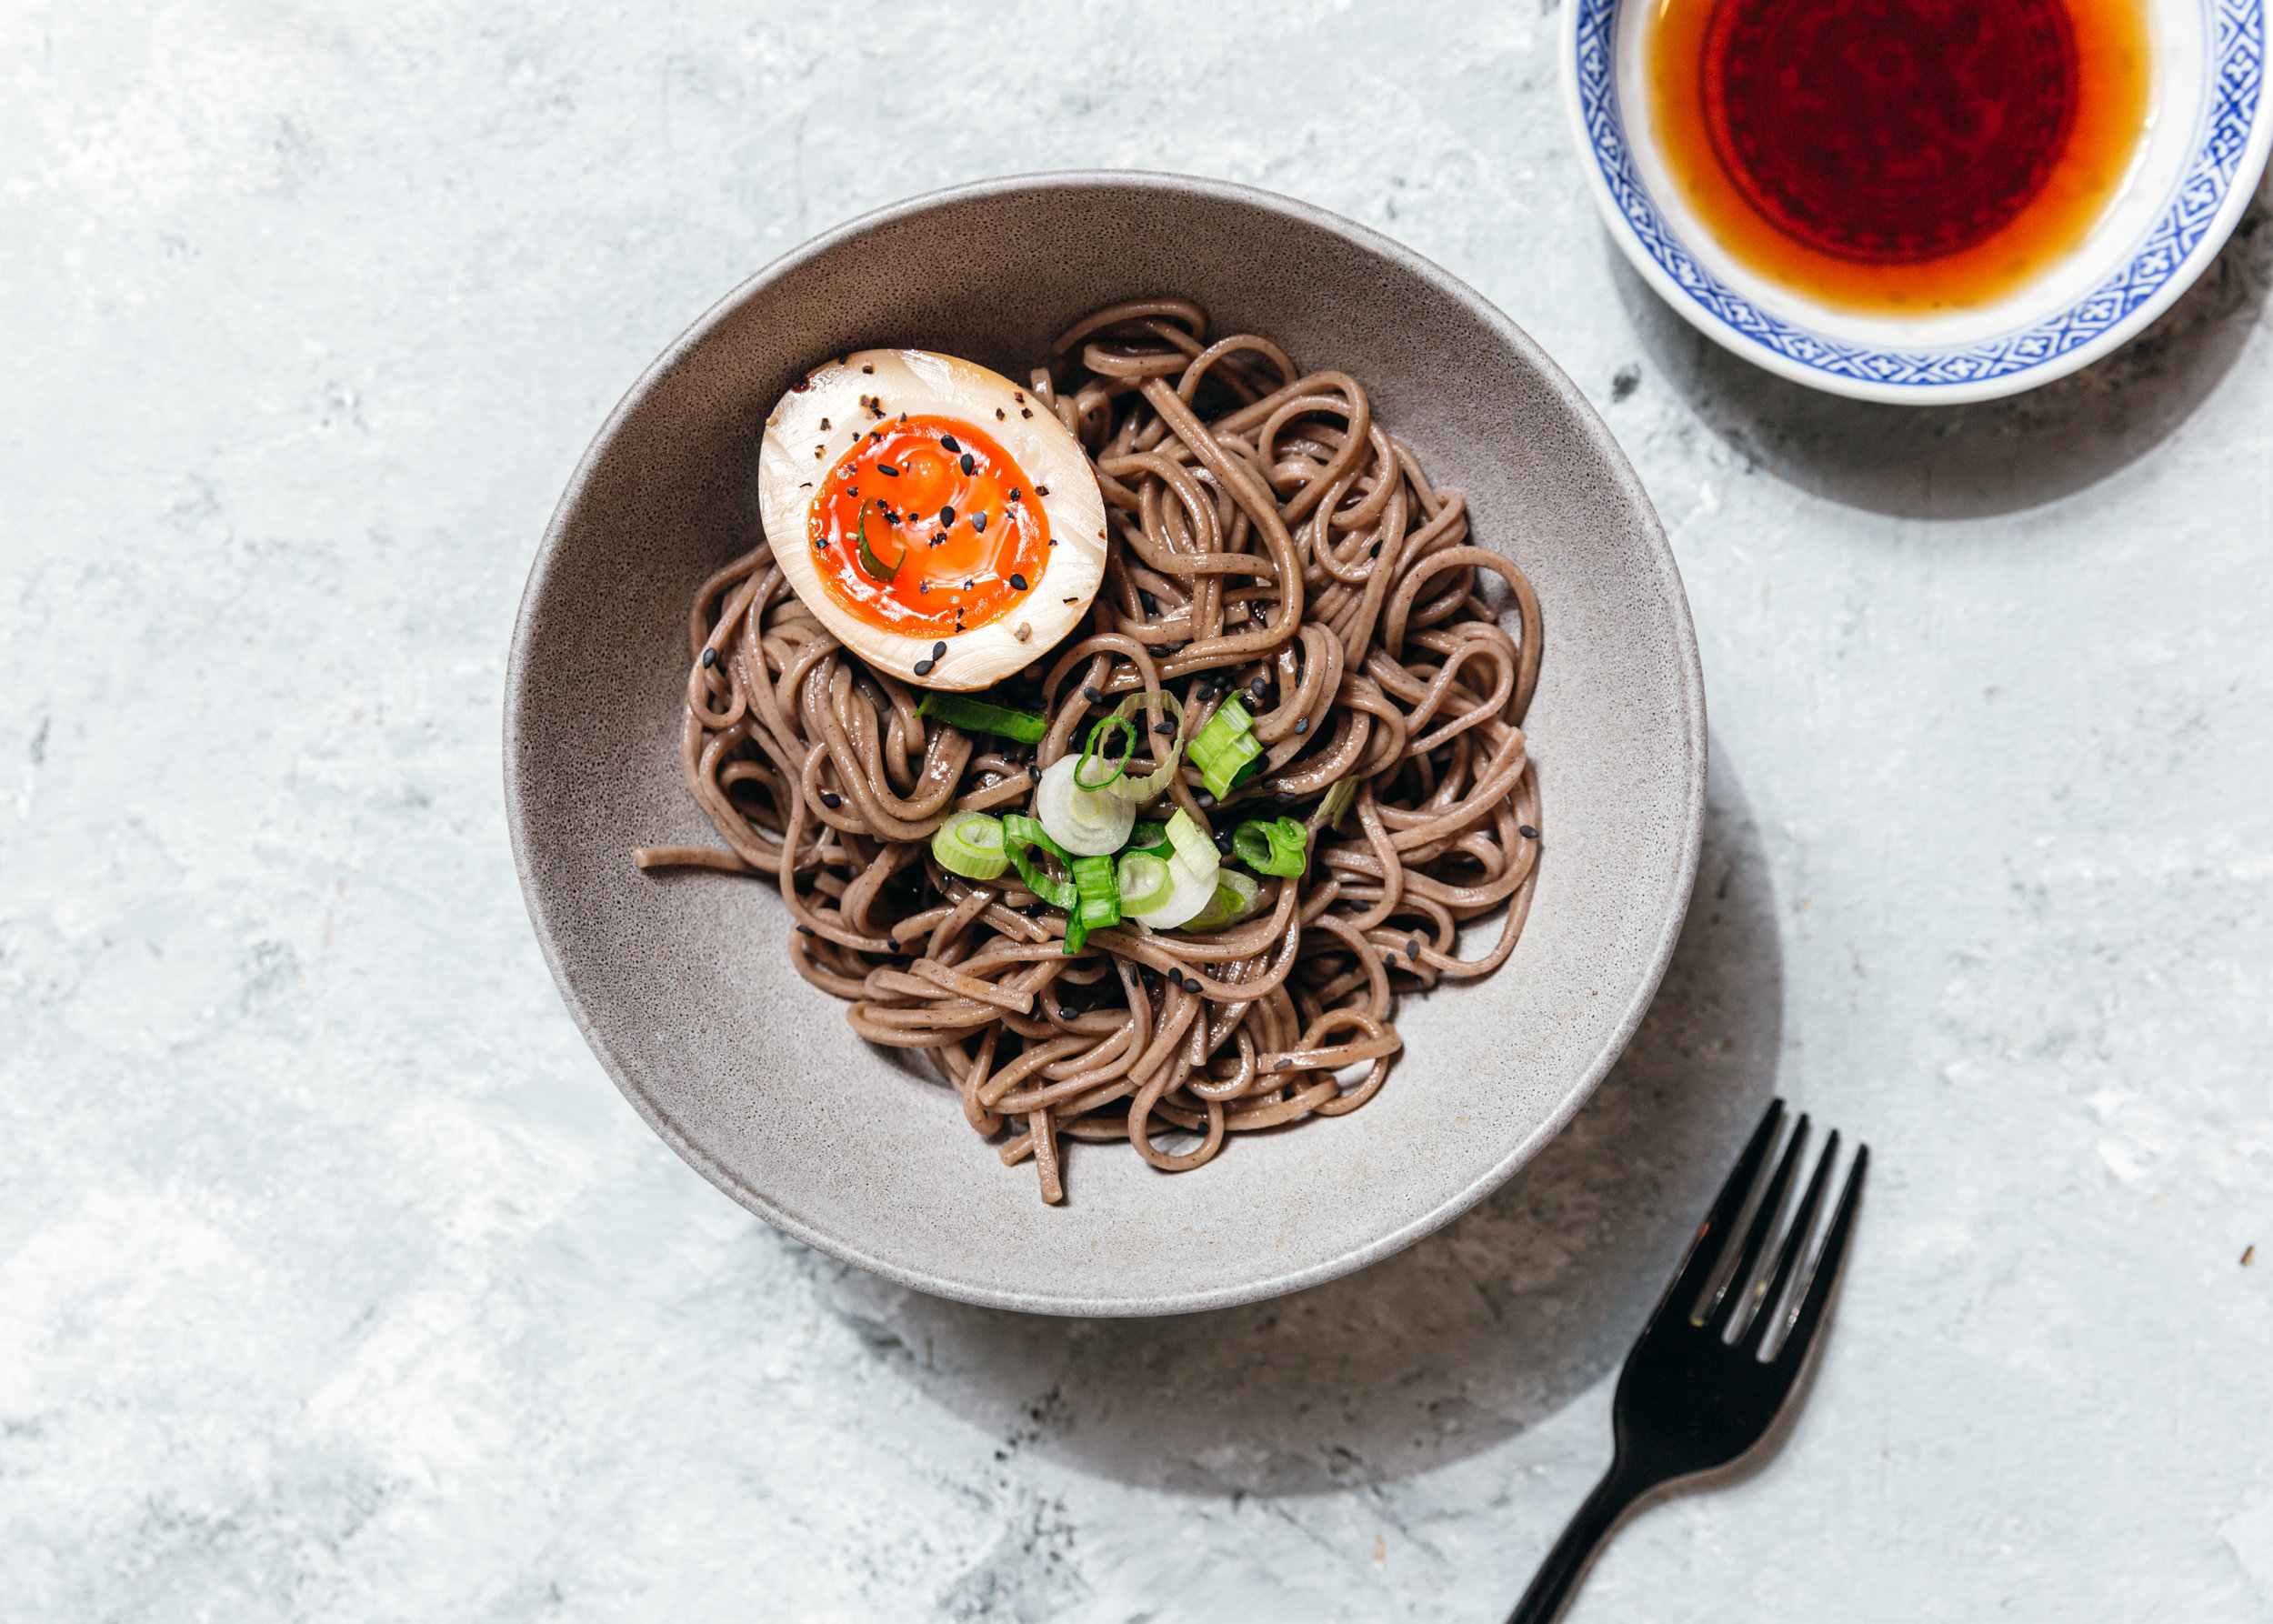
I came across this idea on @iamafoodblog’s post and cannot look at these photos without feeling overwhelming happy on the inside. These Totoro’s were eaten with most reluctance and they were a ton of fun to make. If you’re hosting, it’s a great way to entertain your guests by handing them a pair of scissors, a nori sheet, a slab of mozzarella cheese and setting them to work.

I love the simplicity of Japanese recipes made with few but good ingredients. These soba noodles take less than six ingredients to put together but are so satisfying and light. Paired with ramen egg — it’s going to be a repeat meal in my kitchen.

how_to_make_totoro_soba_noodles.jpg
how_to_make_totoro_soba_noodles-11.jpg
soba_noodles_with_ramen_egg.jpg

Totoro Soba Noodles

You will need:

Noodles/Totoro Body:
Buckwheat soba noodles
White somen noodles
Sliced mozzarella cheese (for eyes)
Nori sheet

Dashi sauce:
Green onions, sliced
Dashi powder 1 tbsp ( i use Hondashi, found in T&T)
Soy sauce 1 tbsp
Water 1/4 cup
Mirin, 1 tsp
Sesame oil, to taste

how_to_make_totoro_soba_noodles-3.jpg

1. Prep the Totoro eyes, nose, whiskers.

2. Cook noodles. Follow cooking instructions on the package or here.

Somen: Bring 6 cups of water to boil. Throw in a bundle of noodles, stir and set the timer for 3 minutes. Taste test them for doneness. Drain hot water with a strainer and rinse repeatedly under cold water until the water runs clear. This will prevent your noodles from sticking together.

Buckwheat soba: Same instructions as somen but set the timer for 6 minutes.

3. Combine and stir dashi powder, soy sauce, water and mirin in a bowl. Taste for flavour. The sauce should be very salty.

4. Form Totoro body with buckwheat noodles, using white somen for the abdomen, cheese for eyes and nori to top.

5. To serve: drizzle dashi sauce over noodles. Add a sprinkle of sesame oil, sesame seeds. Garnish with green onions. Serve with a ramen egg if you have one on hand. Enjoy.

how_to_make_totoro_soba_noodles.jpg

If you have a lot of time on your hands, here is an old recipe for Totoro Rice cakes.

how_to_make_totoro_rice_cakes.jpg

Miso Soup with Yu Choy and Dashi Stock

miso_soup_baby_yu_choy_dashi_stock.jpg

I bought a bag of shiitake mushrooms for vegetarian dumplings the other day and was left with an abundance of dried mushrooms. I have never cooked with shiitake mushrooms till recent and they remind me of street food in Taiwan and a lot of my mother’s cooking.

I remember savouring these explosions of flavour in chicken broths, in the mountains of fried rice noodles grandmother would make when we visit, and in the sticky rice steamed in bamboo leaves during festivals. I also remember being made fun of in elementary school because my classmates told me they looked like tiny slugs. Not to be deceived by looks — these mushrooms are essential to Asian cuisine and can be found in hot pots, stir fry and everything savoury. Something I proudly stock in my pantry nowadays.

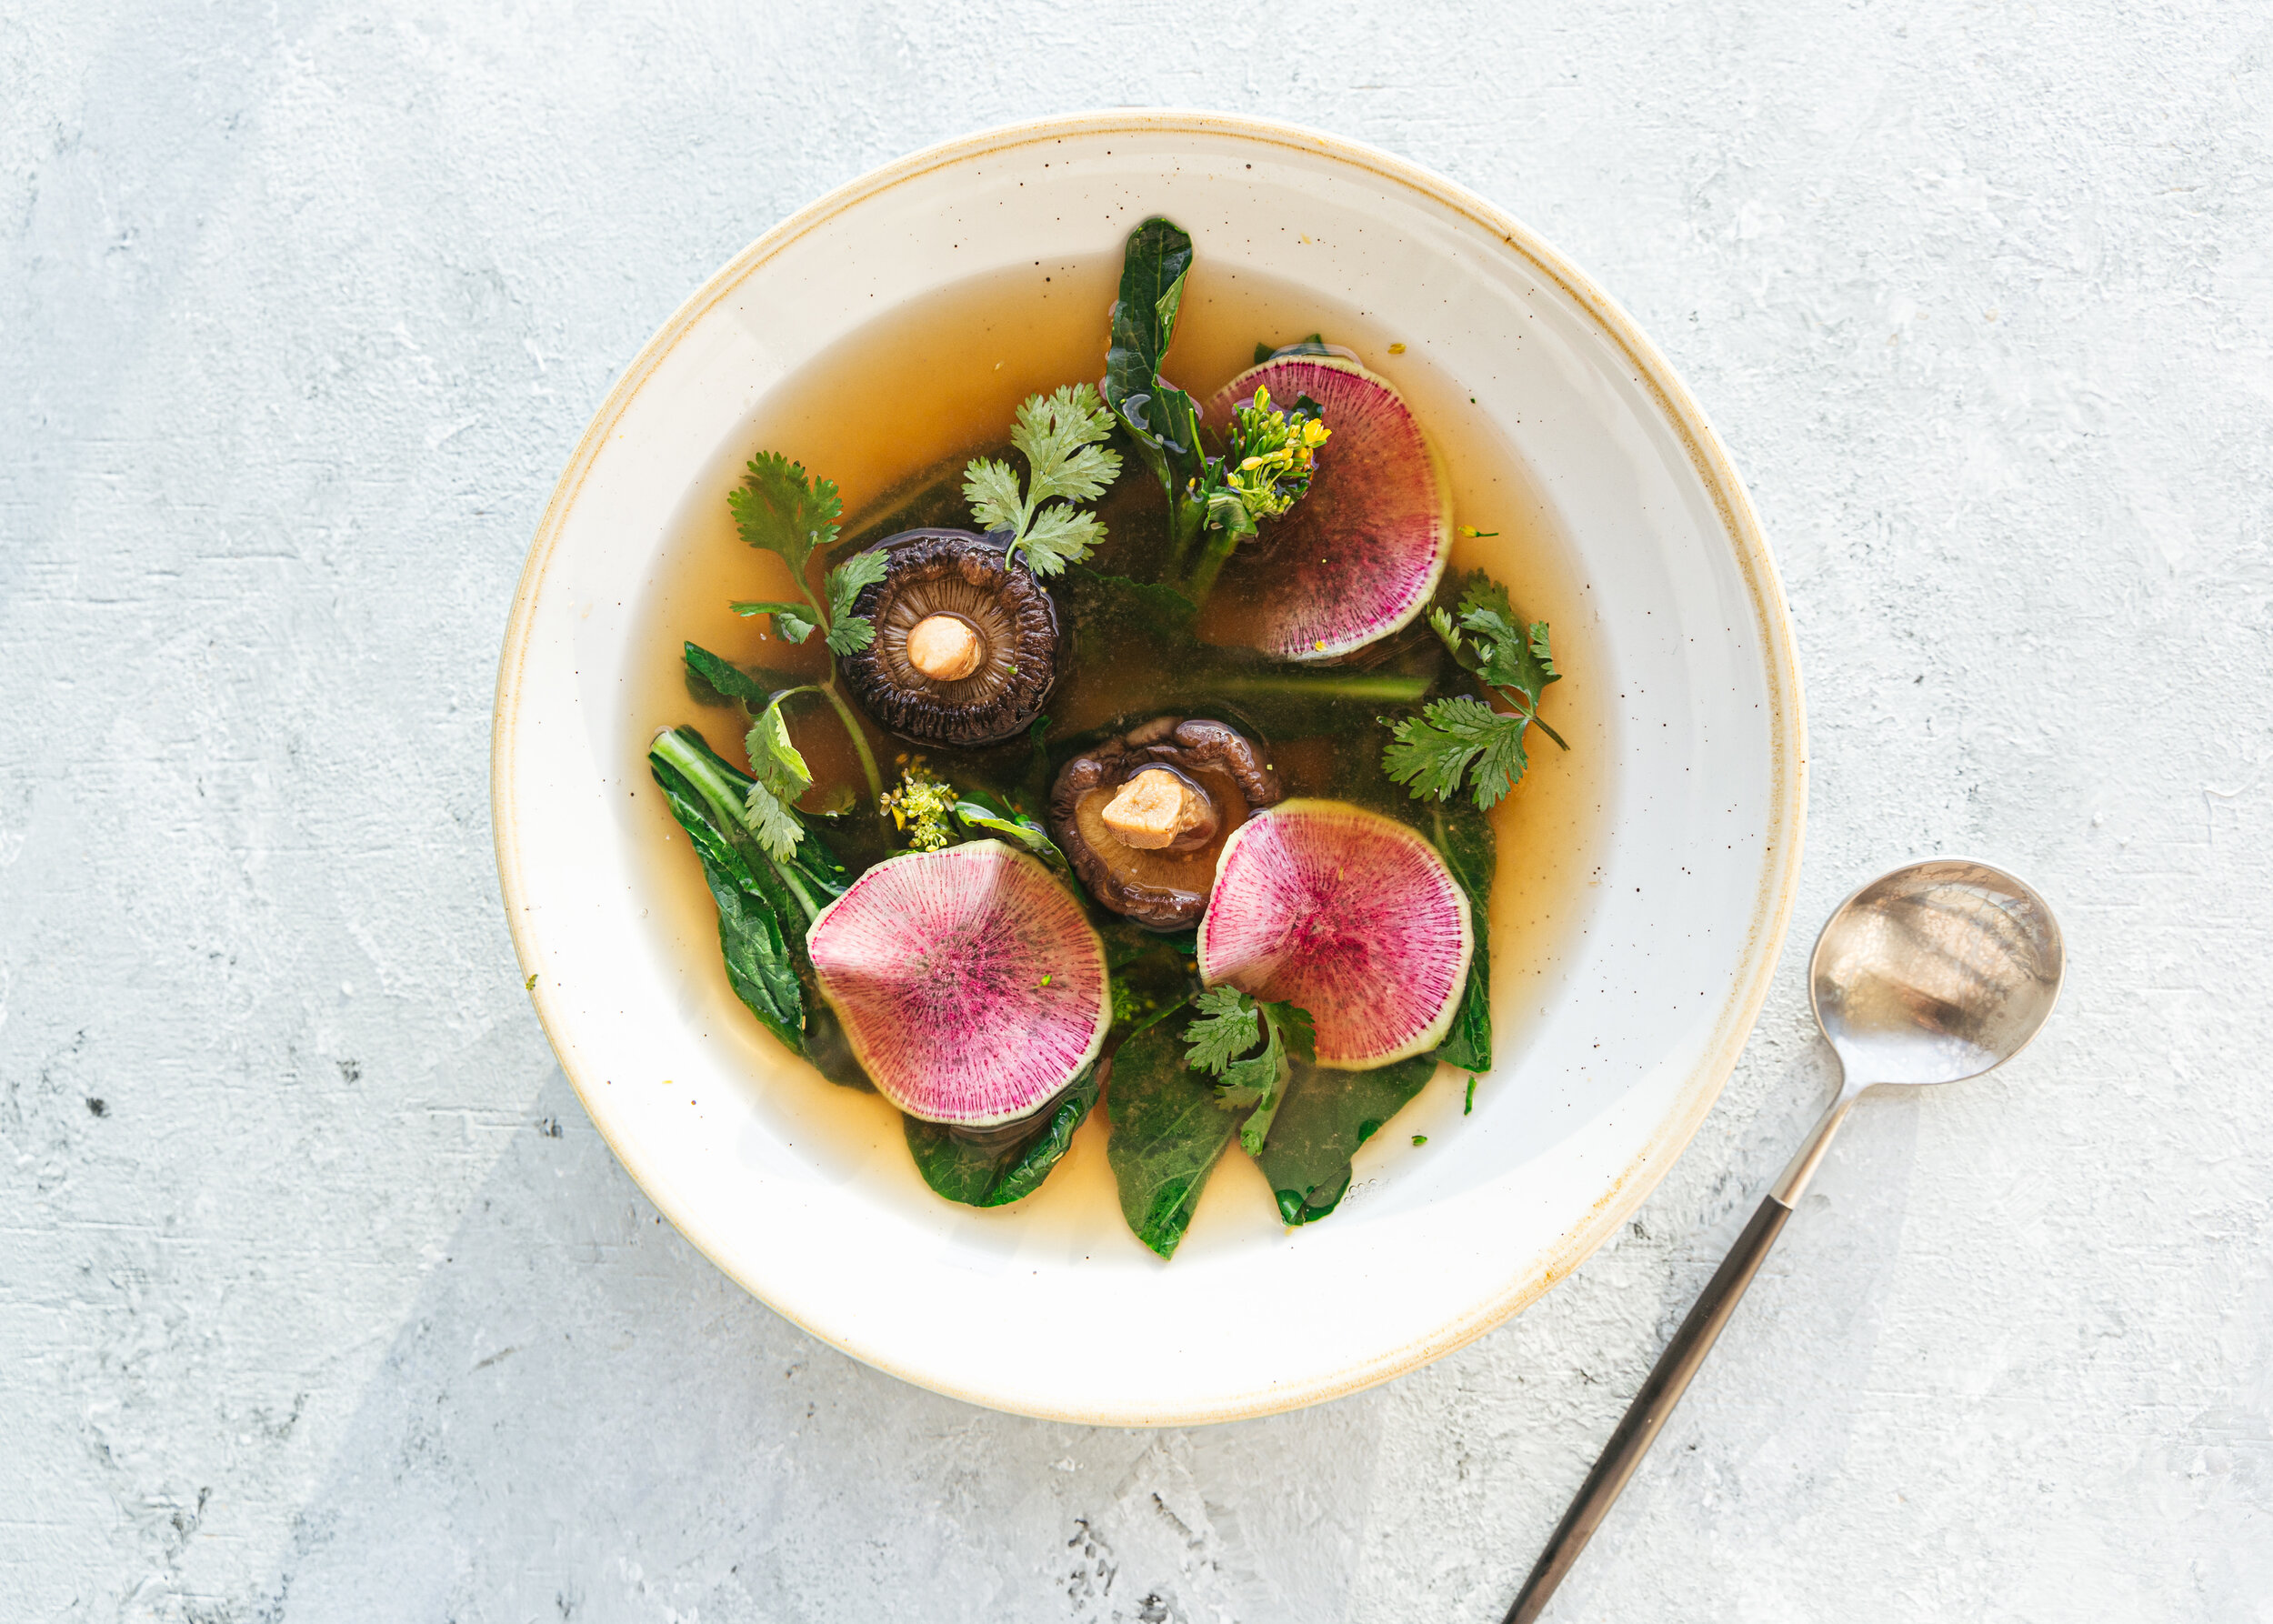
Here is a recipe for miso soup using a very simple dashi stock. The watermelon radish serves more as a garnish but adds such a beautiful touch.

My apologies in advance for the abstractness of this recipe, I hope you taste as you go and refrain from taking too many photos as I’ve let food burn in the process. I enjoy serving this soup as an attractive appetizer or for evenings when I want something light and warm. For friends or myself.

Serves 4

Ingredients:

shiitake_kombu_dashi_recipe
sliced_watermelon_radish_ice_water.jpg

Dashi stock
5–6 Dried shiitake mushrooms
Handful of dried kombu (2-3 slices or half a cup if they are sliced)

1. Lightly rinse shiitake mushrooms. Do not wash kombu as the white residue adds flavour. Wipe kombu with a paper towel if you wish.

2. Fill a jar with two cups of water, soak the mushrooms and kombu. Seal and let sit for a few hours or overnight. The stock keeps well so you can make it a few days in advance

Miso Soup
Medium-firm tofu, one package, cut into blocks
Handful of baby yu choy
Miso paste, 3-4 tablespoons
Ginger, 2 slices
Soy sauce, to taste
Watermelon radish, sliced as thin as possible (use a mandolin)
Coriander or arugula, for garnish

Instructions

1. Remove mushrooms from slice into pieces. Discard the stem if you find them tough. Wash baby yu choy and chop into 2-inch pieces. Save some of the flowering tops for garnish. Cut tofu into small squares.

2. Heat the dashi stock and ginger in a pot till it comes to a simmer. Add miso paste and stir to taste. Add tofu to the pot until it boils. Taste the soup, add a few drops of soy sauce if it needs more flavour. Stir yu choy stems in till it comes to a boil again. Add the leafy parts to the soup at the last possible minute.

3. Garnish with sliced radish and coriander. Serve immediately.

Notes: I have found that arugula is a fantastic addition to miso soup. Feel free to substitute baby yu choy with other greens. I have started adding dried anchovies to the soup though the additional taste of fish may not be for everyone.

The Easiest Kombu Dashi Recipe

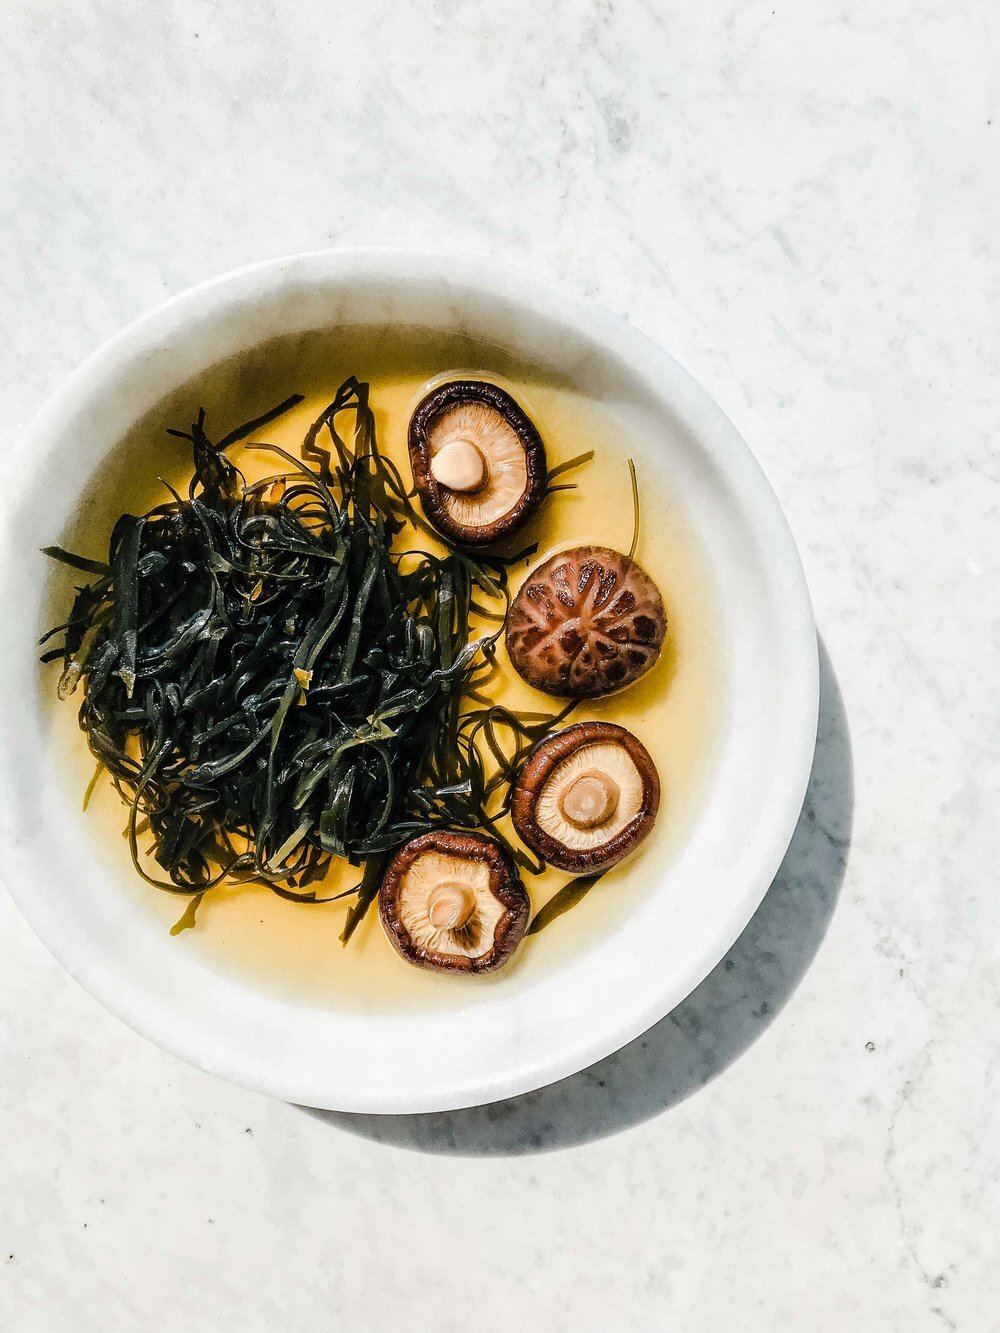
Here is a recipe for a tasty vegetarian broth made from Kombu (kelp) and shitake mushrooms. Kombu is one of those things that are full of minerals and really good for you. Something my mother always tells me to eat. I would use this in place of vegetable stock, add to chawanmushi (steamed egg curd), or use as a base for miso soup.

When I lived in Northern China, I often saw older ladies and aunties harvesting bundles of green seaweed by the sea. They earned the title “Sea Women” from the locals which I found rather amusing. Those trips to the fish market were quite exotic and I remember seeing starfish, the tiniest river lobsters, and spangled-looking fish. I think of those days with fondness, and laugh at how I tried to cook lobsters in my dorm room. Making these recipes make me recall a lot of the shabu-shabu (Japanese hot pot), light broths and dishes I had growing up in Taipei.

Ingredients
5-6 dried shitake mushrooms, rinsed
A handful of Kelp (wipe clean with a paper towel gently, do not rinse)

Instructions
Add ingredients with 2-3 cups of water in jar or container. Leave to soak for a few hours. I keep mine in the fridge overnight. Discard the kombu but you can slice and add the shitake mushrooms into the soup.

*Add bonito flakes for a richer, non-vegetarian broth. I made the mistake of washing my kombu for the first time and realized the white residue on top is what brings the umami flavour to the soup. You can wipe the kombu gently with a paper towel instead of rinsing it.