Tofu Gado Gado

My husband made this Indonesian Tofu Gado Gado for me in the early stages of our relationship. It’s a great example of our mutual love for food — fresh flavors, filling, light, and exotic without being too fiery. A classic you’ll come back to again and again.

I’ve tweaked some ingredients to maximize the use of dried pantry goods. For the salad — feel free to substitute with bean sprouts, julienned carrots, purple cabbage, radishes, or top with crispy shallots. I’ll say that the warm potatoes with crispy napa cabbage are the highlights for me here.

Halve or double the portions depending on the party size you’re serving.

Tofu Gado Gado

Serves 4 people as a main course, 6 as a side dish

Ingredients

Salad

  • 1 tbsp vegetable oil

  • 1 pack of fried tofu*

  • 500 grams potatoes, cubed into 1-inch pieces

  • 4 eggs (omit for vegan)

  • 200 grams green beans, ends trimmed and halved lengthways

  • 200 grams Napa cabbage, washed and finely shredded

  • 1 Persian cucumber or 1/2 cucumber, sliced into thin rounds

  • a handful of coriander leaves, picked and roughly chopped

  • 4 tbsp roasted peanuts, chopped

Spicy Peanut Dressing

  • 50g peanut butter

  • 2 1/2 tbsp soy sauce 

  • 1/2 tbsp honey

  • 1 tbsp fish sauce* (omit for vegan/vegetarian)

  • 1 tbsp cane sugar

  • 1 garlic clove

  • 1-inch piece of ginger

  • 2 fresh or dried red chilies (optional)

  • Juice of 1 lime

  • 75 ml coconut milk

Instructions

  1. Using a large pot, bring 1.5 liters of salted water to a boil. Add the potatoes, and eggs and cook for 9 minutes. While the ingredients are cooking, prepare an ice bath. When the timer goes off, transfer the eggs into the ice bath and chill. Continue cooking the potatoes until fork tender.

  2. Using a blender or food processor — blend all of the peanut dressing ingredients. Adjust the salt and spices to taste. Add more coconut milk or water for desired consistency. Set aside.

  3. When the potatoes from step 1 are almost tender, add the green beans, fried tofu, and boil for 1-2 minutes until tender and bright green. Drain the vegetables, tofu and run under cold water until chilled. Slice the fried tofu into bite-sized pieces.

  4. Peel and cut the chilled eggs in half. Assemble the salad by layering potatoes, green beans, tofu, sliced cucumber, and eggs. Serve immediately with peanut sauce, chopped peanuts, and cilantro.


Cooking Tips:

  1. Substitute fried tofu with firm tofu (cubed and fried) or with tempeh.

Tuna Onigiri Rice Ball Recipe

how_to_make_tuna_onigiri_rice_ball_5.jpg

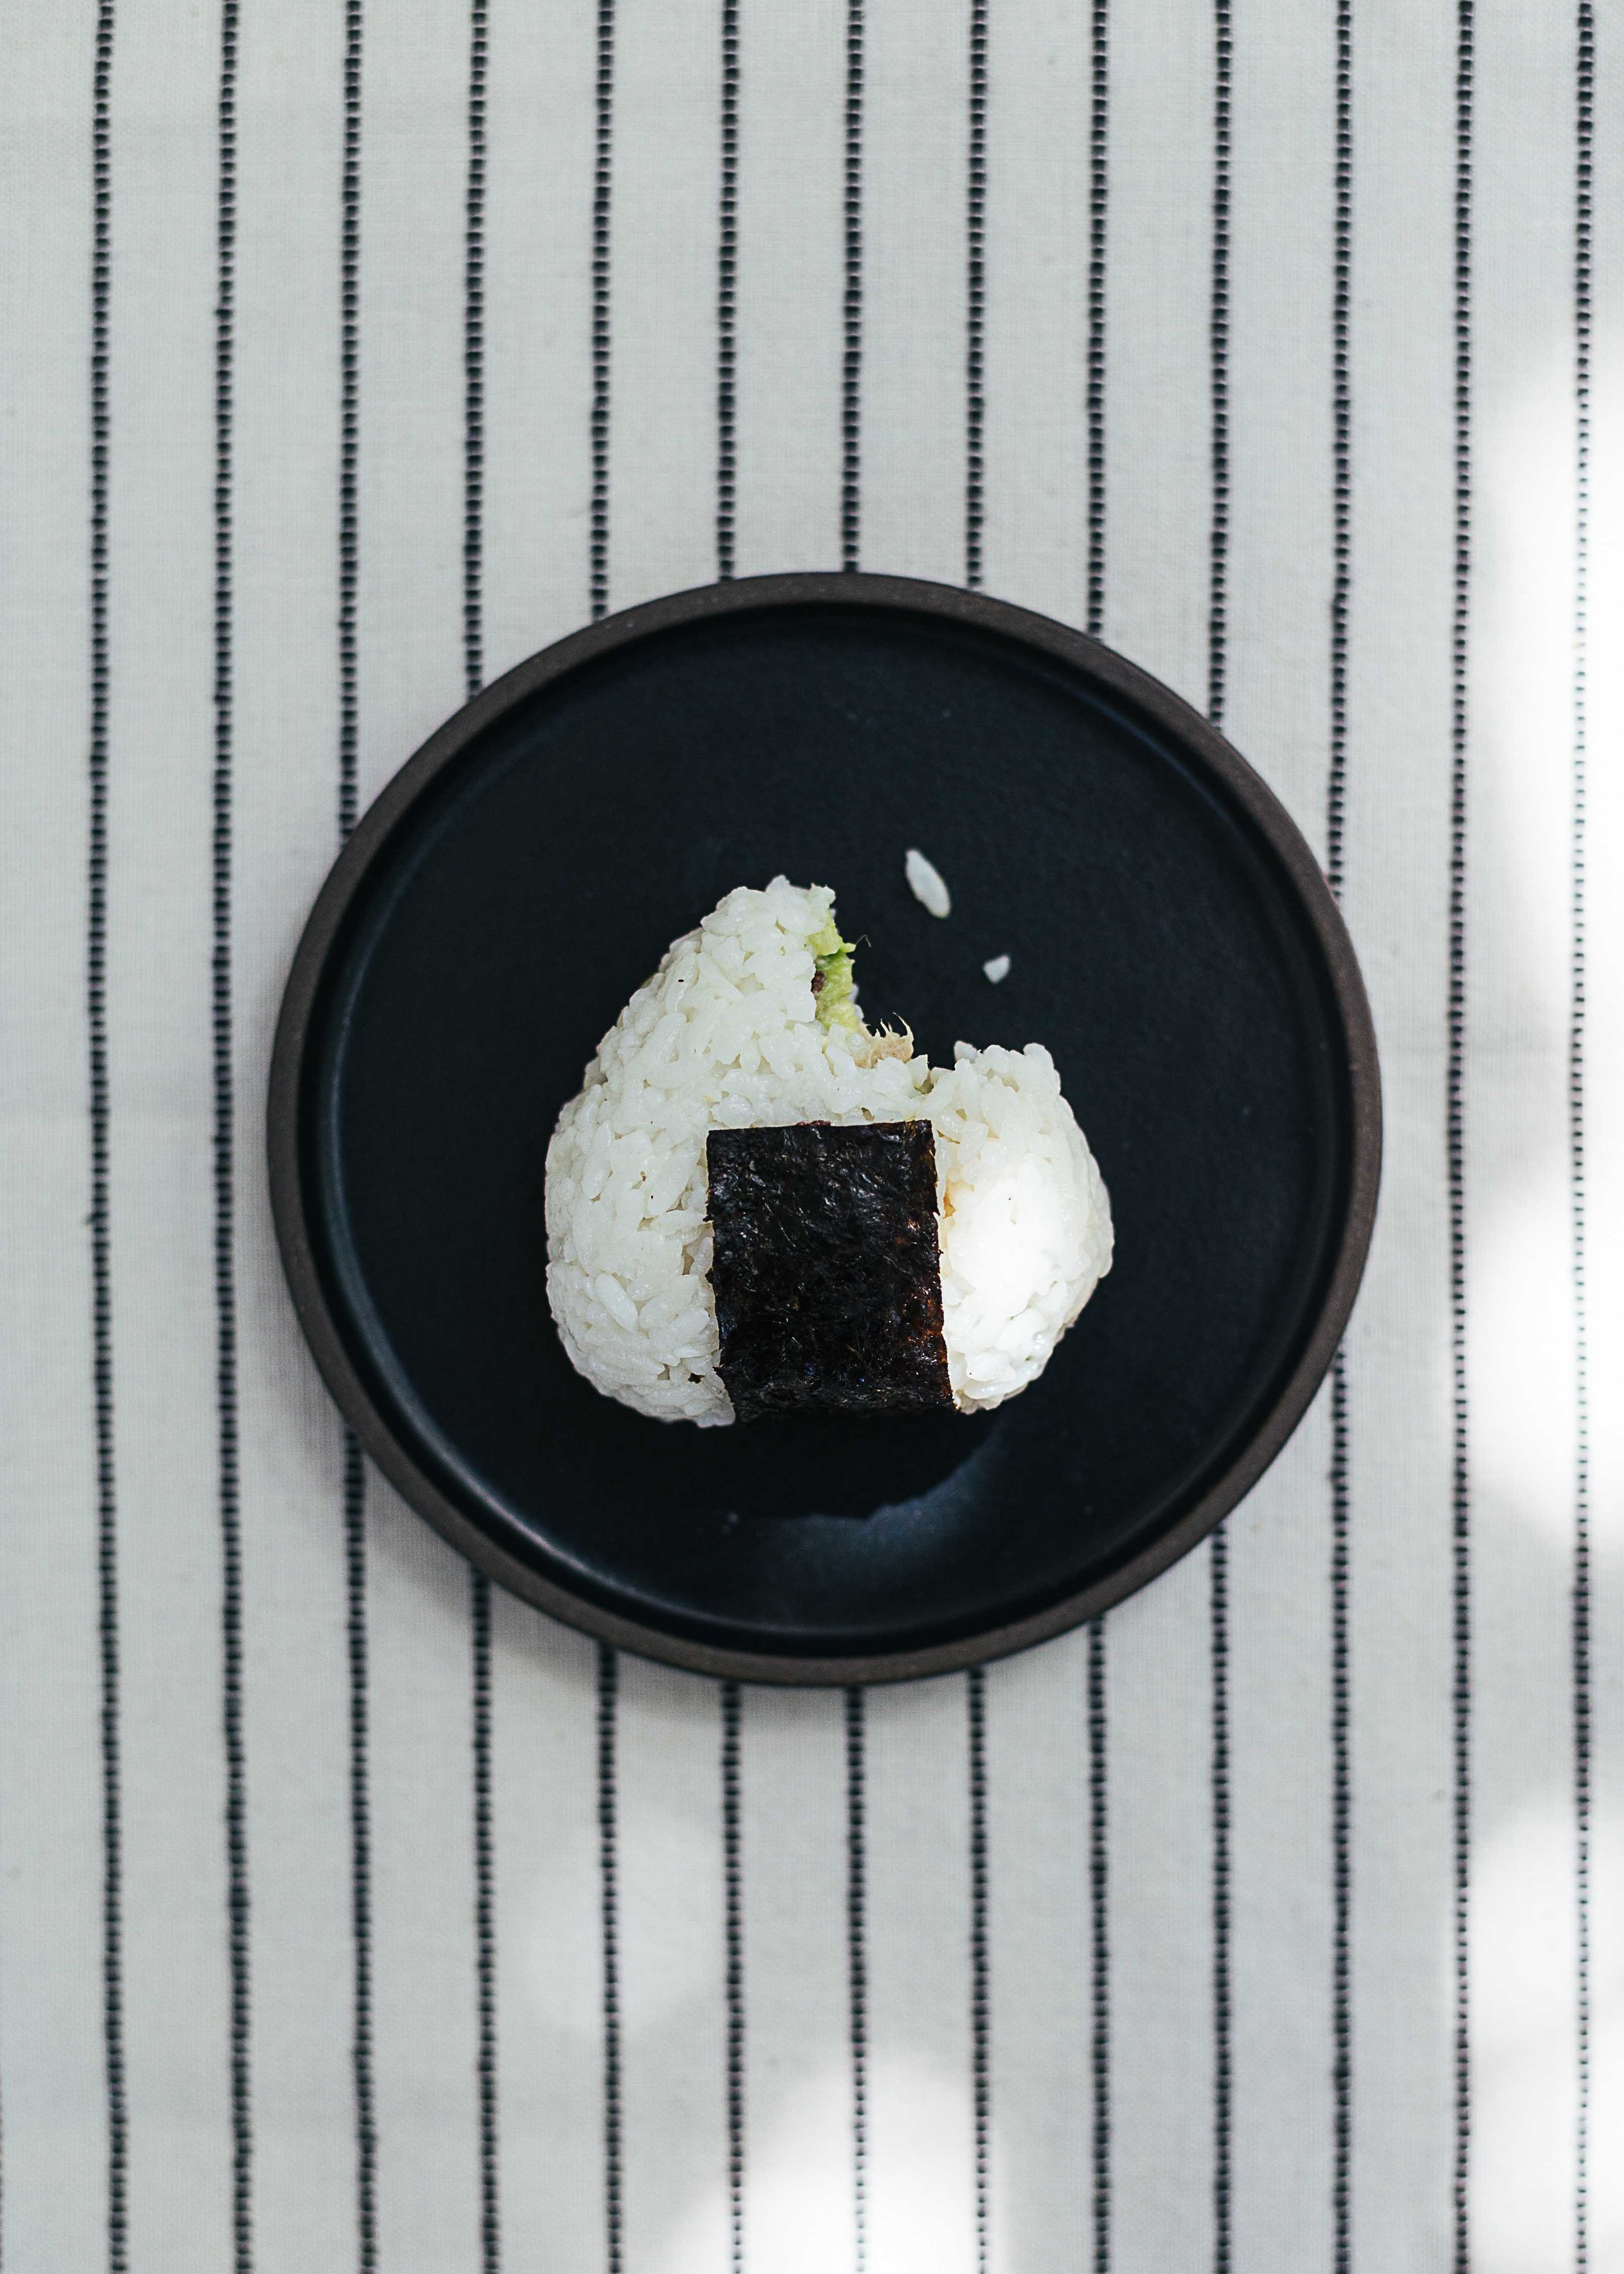
Onigiri! This is a recipe for a little snack that accompanied my childhood years in Taiwan. Found in all of the 7–11 or convenience stores, these triangle-shaped rice balls were many of my breakfast, lunch and late-night snacks.

Even though I have never been to Japan, Taiwanese culture is a culture that is greatly influenced by Japan — who ruled over Taiwan in the 1800s. Some of the influence can be found in old Japanese buildings that are now tea houses or galleries, neat lines at the MRT, my grandpa who spoke Japanese, and a millennial generation that is all about Japanese culture.

These onigiri’s! I remember standing in my school uniform (white collared shirt, pleated skirt, bright orange hat), eagerly choosing my flavour of the day. My favourites — pork floss with mayo, egg, salmon, or chicken teriyaki. Sometimes I would opt out of onigiri’s and go for the traditional Taiwanese rice balls. A heavier version made with sticky rice, fried salty donut, radish pickles, stuffed with pork floss and sprinkled with peanut sugar. They were heavy enough to fill you for hours and go down your tummy very well with a cup of soy milk.

There is something about rolling and shaping warm rice together in your palms. I don’t know if it is the scent of warm rice or act of making onigiri’s that make me want to eat them immediately after. These are great as snacks on the go, picnics, a light meal, or give away and impress your friends.

how_to_make_tuna_onigiri_rice_balls_5-1.jpg
how_to_make_tuna_onigiri_rice_balls.jpg

Tuna Onigiri Rice Balls

Ingredients

1 cup uncooked sushi rice
2 tbs rice wine vinegar
1 tsp sugar
1/2 tsp salt
1 green onion stem, thinly sliced (you can also use cucumber)
1 can of tuna in salted water
1/2 avocado, diced
2 tbs greek yogurt (or mayo)
1 nori sheet, cut into small rectangles

Instructions

  1. Wash rice in a sieve until water is clear. Add 1 cup of water (or refer to amount on rice packaging) and cook until rice is tender. About 15 mins. Let cool.

  2. While rice is cooking, mix can of tuna (squeeze saltwater out with lid when you open the can), avocado, green onions and greek yogurt. Mash and add salt and pepper to taste

  3. Gently fluff rice with a fork. Fold in sugar, rice wine vinegar and salt with a spatula. Don’t over mix.

  4. Place a piece of saran wrap on your hand and measure 1/3 cup of seasoned rice into the wrap. Flatten rice into a flat shape and create an indent in the centre. Spoon in tuna filling and gently form rice into a ball using the saran wrap.

  5. Using your hands, form the rice ball into a triangle. Take off the plastic wrap and wrap a piece of nori around the bottom.

  • The trick to a good onigiri to use rice that is freshly cooked and slightly warm. I felt very Japanese waking up at 7 am to make these for lunch. They will keep for a while in a sealed box in the fridge.

  • The original recipe called for cucumber but I found the green onions to be a nice change.

  • I made these again and mixed in a few spoonfuls of furikake. They were delicious and disappeared very fast at the potluck I brought them to. Enjoy!

how_to_make_tuna_onigiri_rice_balls_1.jpg

How to make Ramen Egg

how_to_make_ramen_egg.jpg

I realized I cannot post a Totoro soba noodle recipe with ramen egg without providing a ramen egg recipe. So here it is. I do offer a word of caution before making these as they are highly desired and addictive. In fact, I ate so many of them from the first few batches that I was thrown off ramen egg for a while. Also, as appetizing as they are, ramen eggs do not travel well so if you try (like I did) to take them to picnics, you’ll end up with a sad brown mess.

These eggs are incredibly easy to make. As long as you have nailed down the consistency of the 6 minutes and 50 seconds jammy centred egg. Choose eggs that are similar in size, use a pot big enough to accommodate the eggs, and give the water a gentle stir after you pop them in to even the temperature.

Ramen eggs are a brilliant way to add protein to a meal, salad bowl, or eat on its own. I enjoy serving it to friends when they visit and bask in the delight of their oohs and ahhs.

You will need:

6 medium/large size eggs (get the best eggs you can, with orangey centres)
Soy sauce, 1/4 cup
Mirin, 1/4 cup
Water, 1/2 cup
Apple cider vinegar, a dash (optional)

To make:

  1. Bring a big pot of water to boil. Adjust it to simmering and gently lower the eggs into hot water with a slotted spoon. Do this in procession as fast as you can. Immediately set a timer for 6:50. Gently stir the eggs. I like to turn the heat up until it comes to a simmer again.

  2. Prepare a large bowl of iced water. You will need ice cubes. When the timer goes off, lift the eggs out of the water with a spoon into the iced water. As fast as you can. Leave the eggs in iced water for a few minutes until the temperature has cooled.

  3. Peel eggs. Give the eggs a firm tap on the counter and peel away. You’ll have a chewed look to some of the softer ones but they do get better with experience.

  4. Mix soy sauce, mirin, water, apple cider vinegar (if you are using any) and soak the eggs in the marinade using a snug bowl. I like to cover the eggs with plastic wrap (or paper towel) to make sure they are fully submerged. Soak the eggs overnight, or 4-5 hours at least.

  5. Serve sliced in half, add a sprinkle of sea salt, green onions, sesame seeds, or enjoy on its own.

*You can double the egg marinade. I follow the 1:1:2 ratio for soy sauce, mirin, water. It keeps well and you can use it to marinate more than one batch of eggs.

*Omit the apple cider vinegar if you’re not feeling as adventurous. I have come across many recipes that call for 1/4 cup of sake and will try a version with that. I like this recipe as it’s simple to make with basic ingredients from the kitchen.