Stir-fried Tomato and Egg / 番茄炒蛋

Amongst all my memories of delicious childhood dishes — this is by far my favorite + most classic of all. Everything Chinese family has a version. My dad makes it, my grandma makes it, all the lunch bento spots we ate at as students make it. It’s ridiculously comforting and easy to make with minimal ingredients. The sweet-sour tang of tomatoes makes the dish so full of umami flavor and brings depth to a simple egg dish. A classic away-from-home dish to make during my years as a college student and while living abroad.

Ripe juicy tomatoes, a handful of eggs, green onions and cornstarch is all you need. Let’s get cooking

Note: If I am making this dish for one— I halve the recipe.

Tomato Fried Egg

Serves 2–3, recipe adapted from Adam Liaw

Ingredients
3 ripe medium-sized tomatoes, roughly chopped
1/2 cup water
2 tbsp vegetable oil
½ tsp salt
¼ tsp sugar
2 spring onions, cut into 5cm lengths
½ tsp cornstarch, mixed with a little cold water
5 eggs, beaten

Instructions

  1. Heat a medium pan over medium-high heat and add a tablespoon of oil. When the oil is hot, add the tomatoes and fry until they are soft around 2 minutes.

  2. Add the salt, sugar, 1/2 cup water, and green onions. When the green onions soften, slowly add the cornstarch mixture, stirring as you go. The tomato mixture will thicken into a saucy slurry. Taste and add more salt or sugar as desired. Remove the tomato mixture from the pan and rinse the pan.

  3. Return the pan to heat and add the remaining tablespoon of oil. Add the beaten eggs and stir every 15 seconds until the eggs resemble the texture of a loose omelet. Add the tomato mixture to the eggs and stir to combine. Taste and adjust seasoning, garnish with more green onions if desired. Serve immediately.

Basic Chinese Congee

This is a basic Stovetop recipe for Chinese congee. One thing to remember is the 1:10 rice to water ratio. For a thicker consistency — use 8 cups of water. For runnier congee, use 12 cups. I like something in between :)

Ingredients

  • 1 cup white rice (I prefer jasmine, but any short grain rice will do), rinsed until the water runs clear

  • 10 cups water, chicken, or vegetable stock 

  • 1/2 teaspoon kosher or sea salt, plus more for seasoning

  • One-inch knob of ginger, peeled and sliced thin

  • Two whole cloves of garlic, peeled

Instructions

  1. In a large pot over medium heat — add stock, rice, and ginger. Bring the mixture to a boil, then reduce the heat to a low simmer. Stirring occasionally so that the rice doesn’t burn at the bottom.

  2. Simmer the congee for about 1 hour or until the congee is thickened and creamy. Add salt to taste. Serve straight from the pot.

Note: Congee thickens as it cools. If not consuming all at once, add additional stock or water to create the desired consistency.

Topping ideas

I like mine with a simple fried egg in the mornings. Soy sauce, pickled vegetables, savoury dishes. Sliced green onions are also great. 

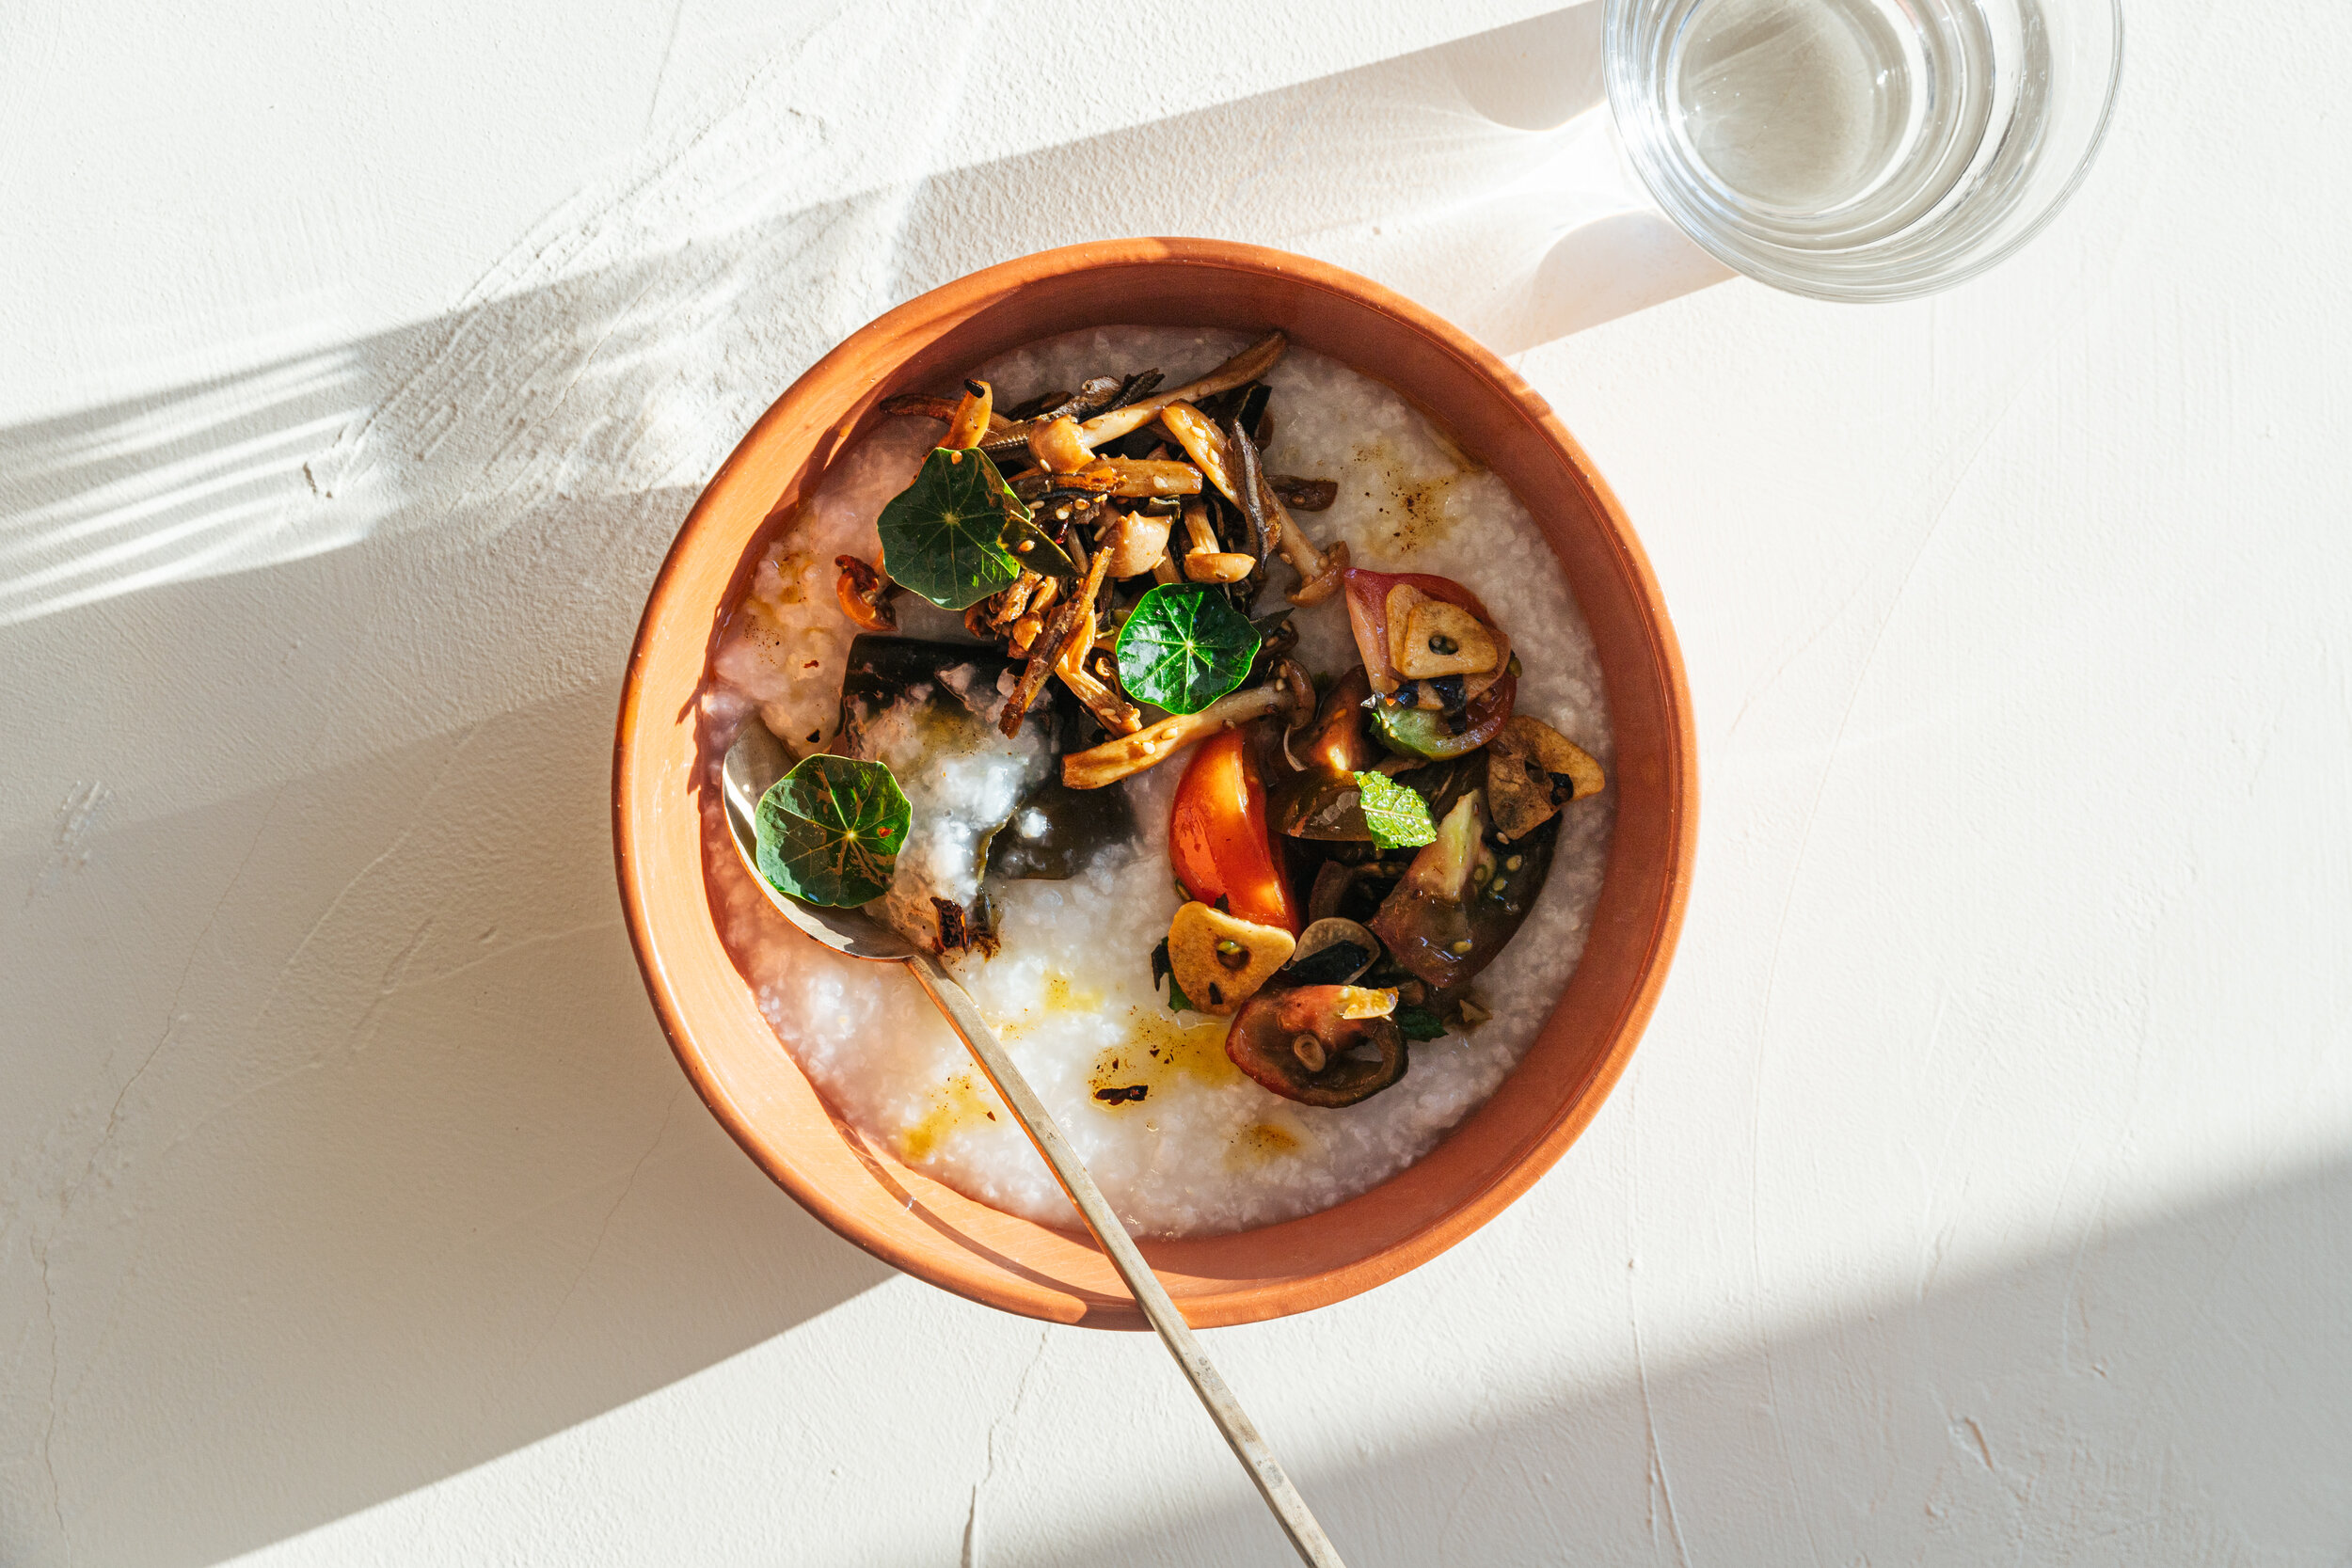
Stir-fried Anchovy with Mushrooms (Myeolchi bokkeum)

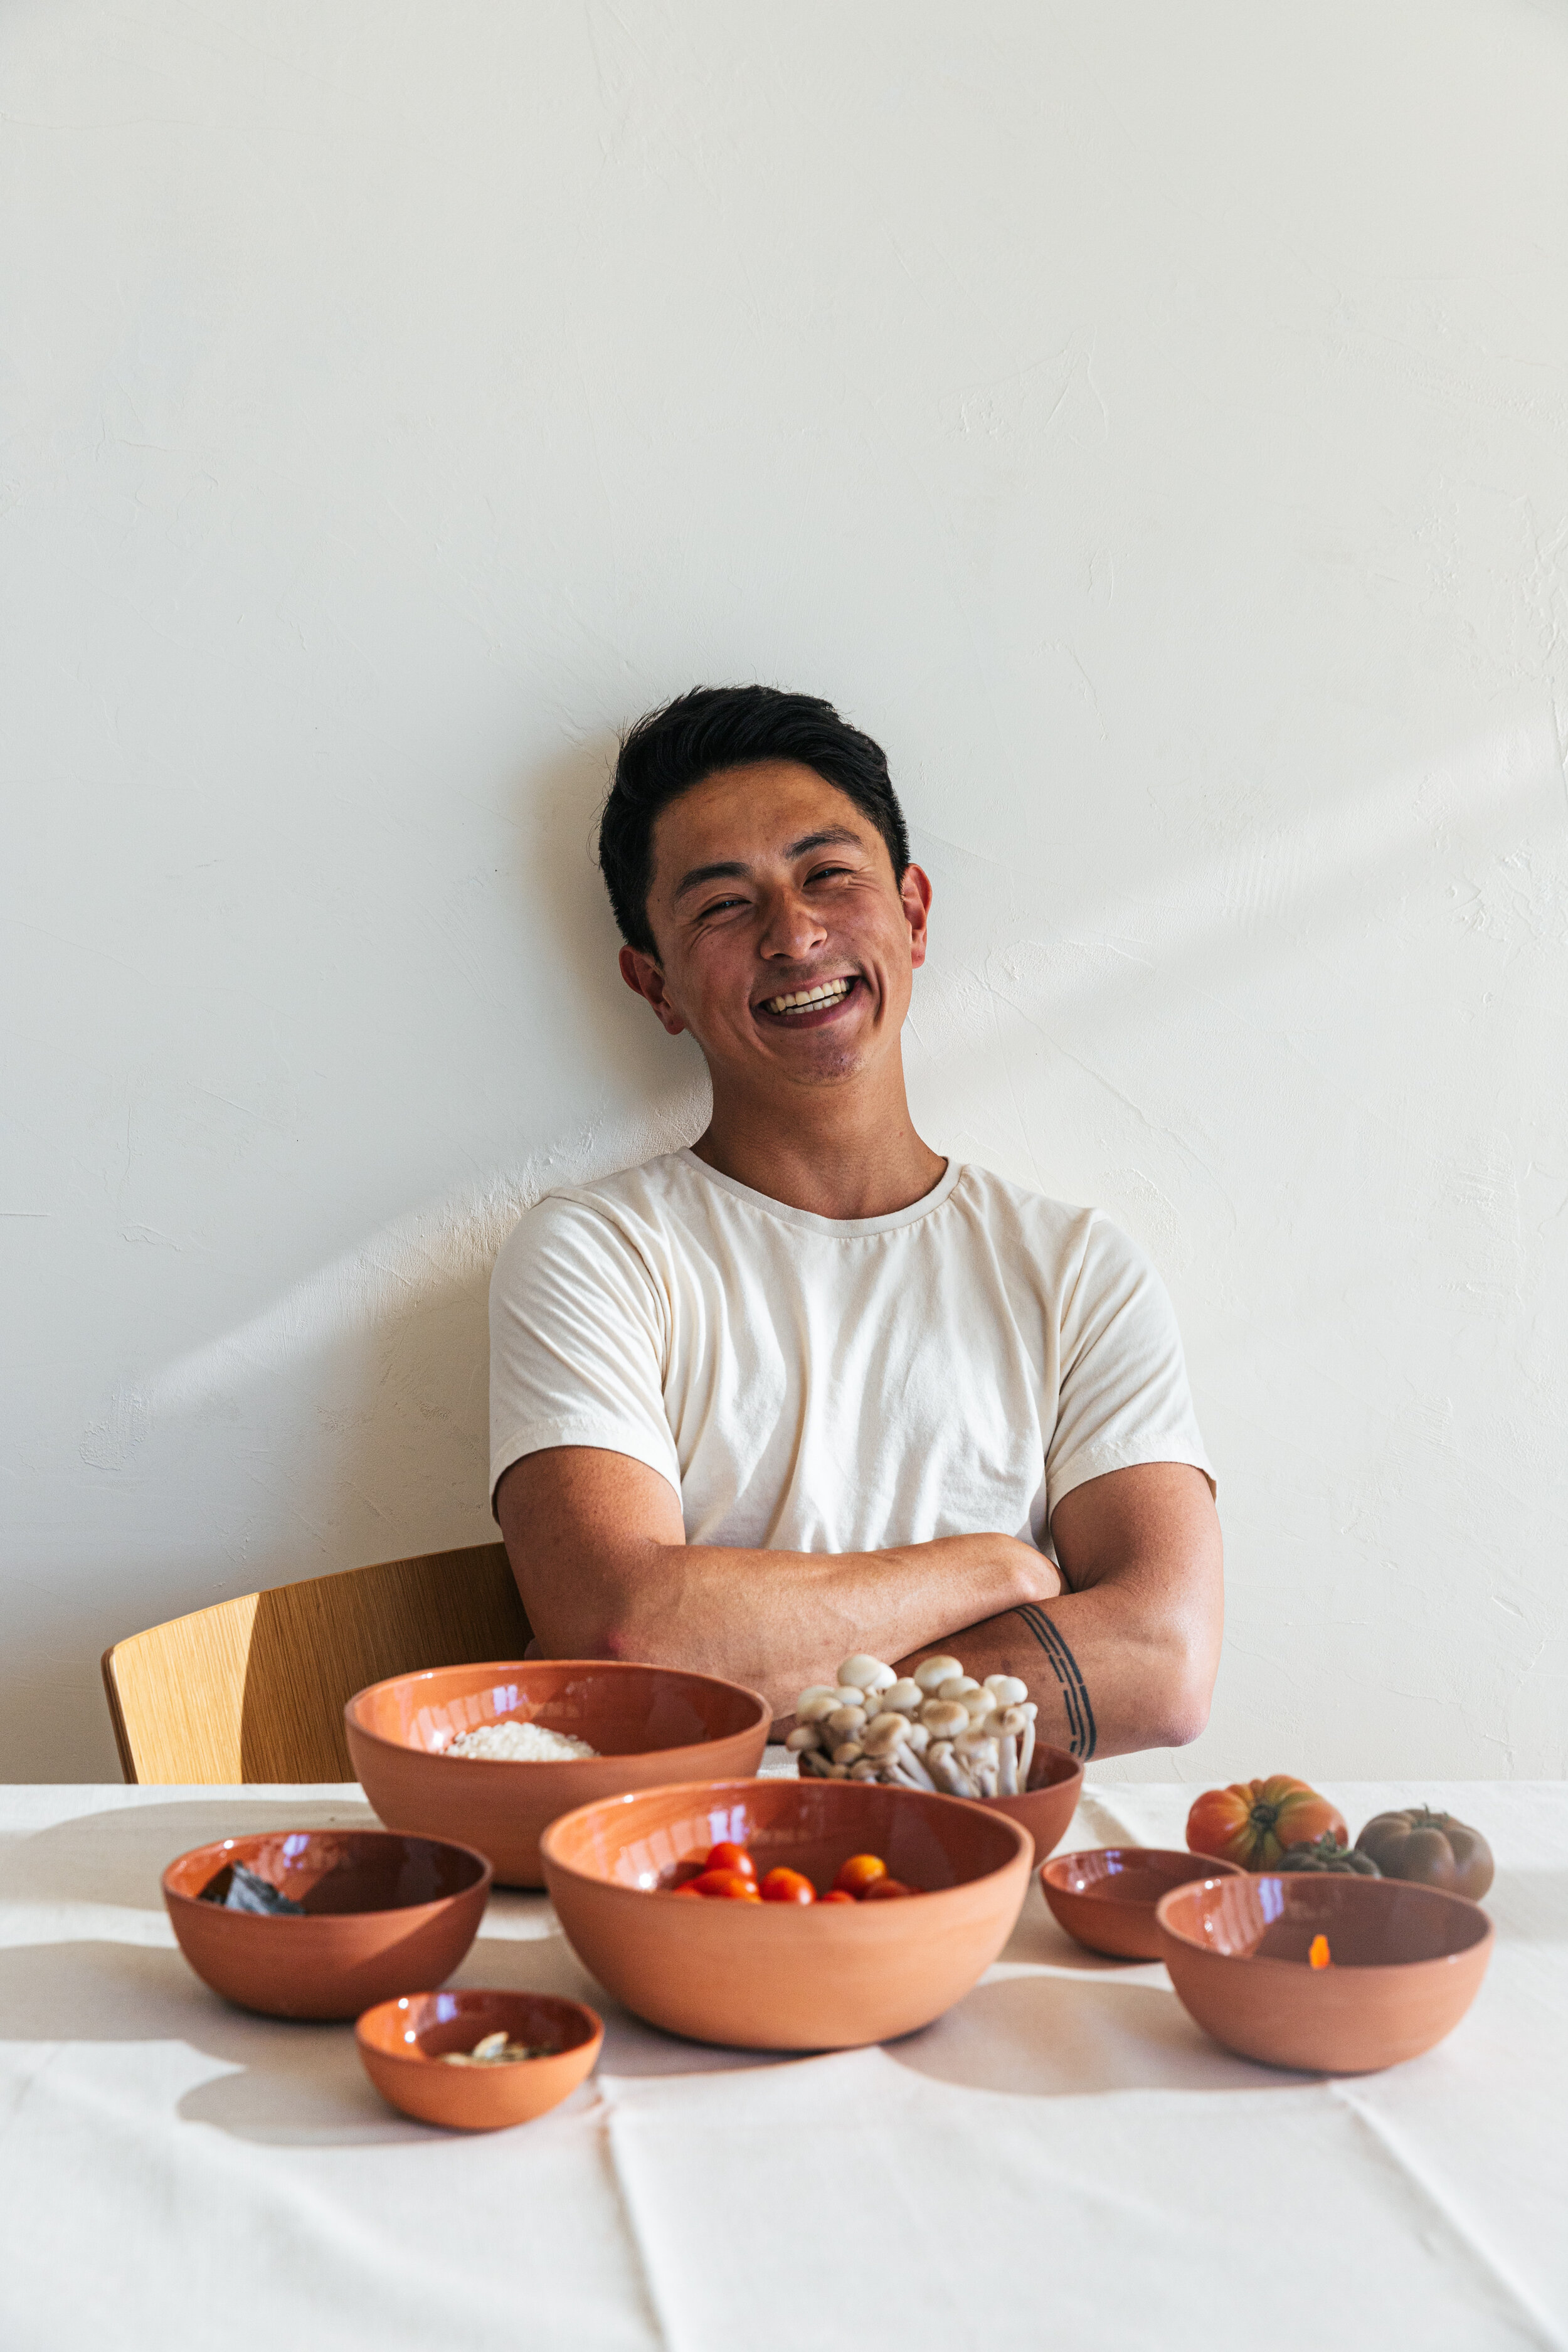
Have you noticed that some of the best conversations occur around a dinner table? I am convinced that there is magic in food that melts barriers and form bridges. It truly is the most approachable and simple form of art.

I had the pleasure of inviting chef Taeyoung Chang over for dinner. Over jook (the Korean word for congee) — we discussed our Asian upbringing, the challenges, the dual-identities we re-embrace as adults, and the heritage we are able to express through cooking.

This dish is inspired by the anchovy banchan dish Myeolchi bokkeum (멸지 볶음 ). Banchan is a collective name for small side dishes served along with cooked rice in Korean cuisine. I love how a bowl of congee is like a canvas where you can add your dishes of choice. It can be as simple as a fried egg with soy sauce or elaborate with fried puffed kombu, anchovies, and garlic oil.

Stir-fried Anchovy with Mushrooms

Serves 2-3. Recipe by Taeyoung

Ingredients

  • 1.5 cups shimeji mushrooms, ends removed and separated into pieces

  • 2 tbsp dried anchovy (12–15 pieces) 

  • A handful of Dasima kombu (8 pieces) *See note

  • 1 tbsp butter 

  • 1 tbsp oil 

  • Juice from half a lemon 

  • TT Black Pepper 

  • TT kosher salt

Instructions

  1. Over medium-high heat, pan-fry the kelp in canola oil until bubbles appear. Remove from pan and set aside.

  2. In the same pan and oil, sear the mushrooms — keep in a single layer and be sure to not overcrowd the pan.

  3. Add in your butter and toss in your anchovies, add 2–3 cracks of black pepper.

  4. When golden brown, remove from heat, season with salt, and a squeeze of lemon. Serve with Basic Chinese Congee or Sweet Potato Congee.

*Note: The correct type of kombu to use here is Dasima, not just soup kombu. If you have trouble finding Dasima kombu, omit it from the recipe.


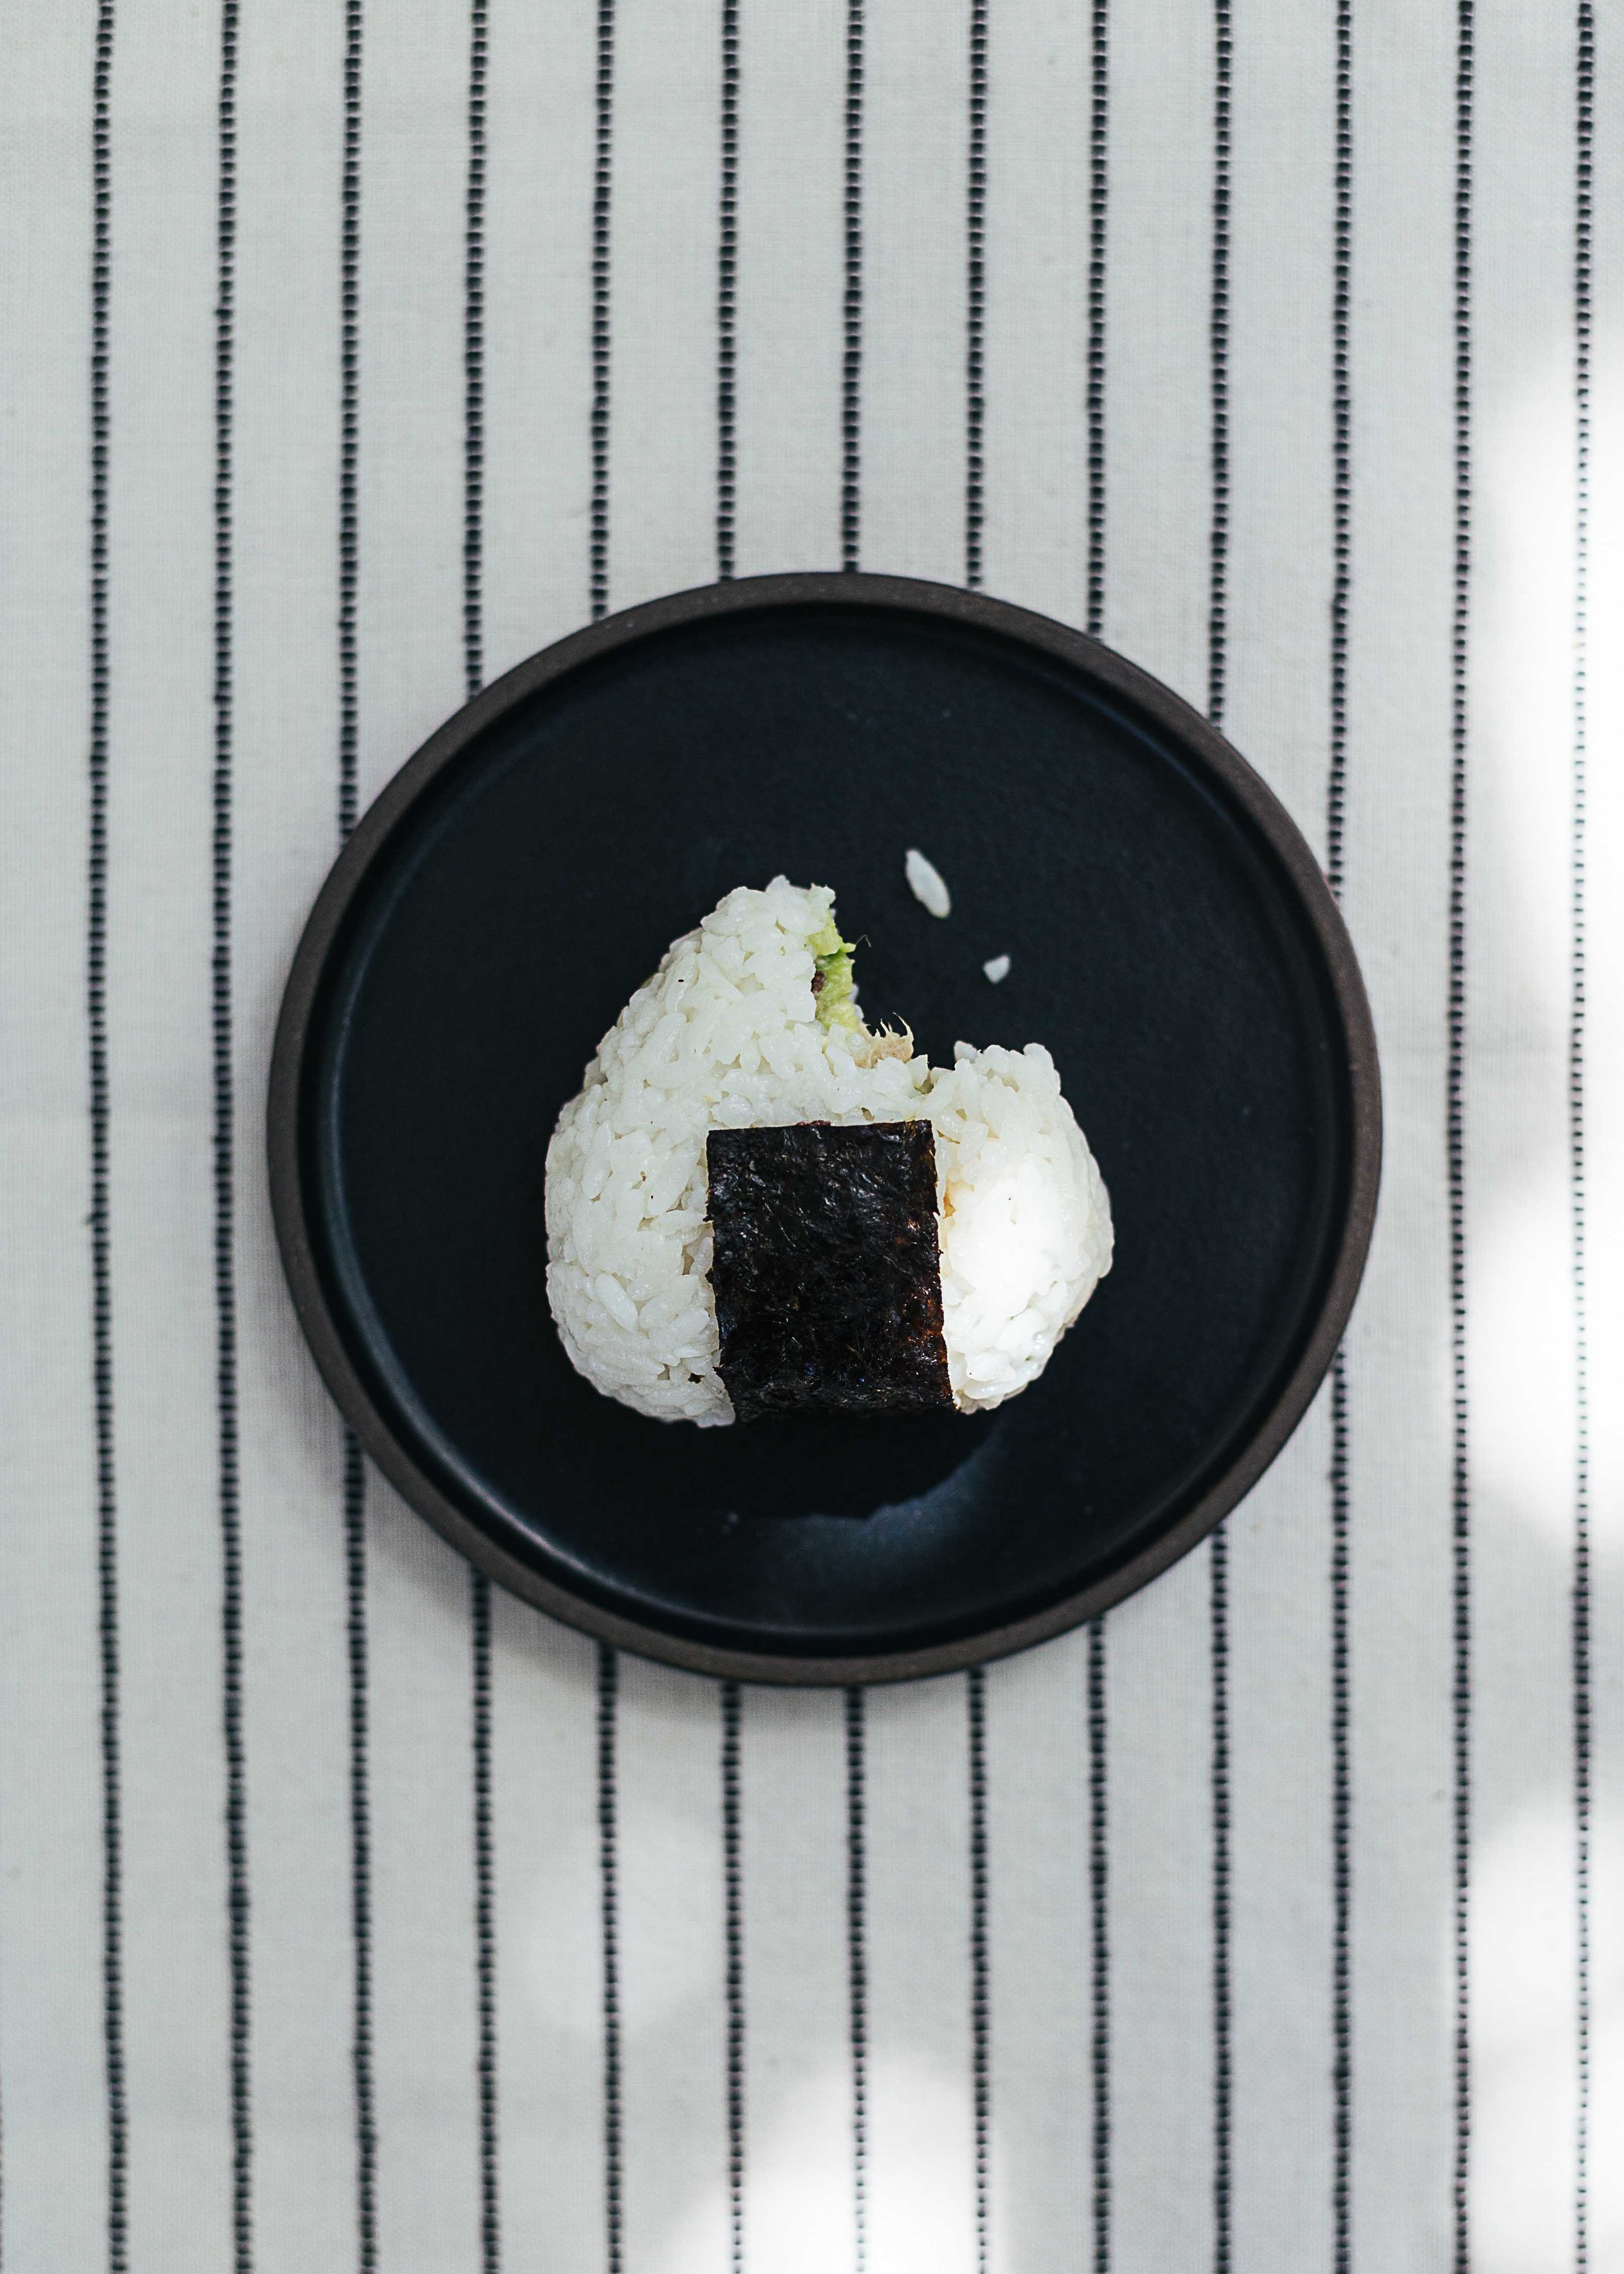
Tuna Onigiri Rice Ball Recipe

how_to_make_tuna_onigiri_rice_ball_5.jpg

Onigiri! This is a recipe for a little snack that accompanied my childhood years in Taiwan. Found in all of the 7–11 or convenience stores, these triangle-shaped rice balls were many of my breakfast, lunch and late-night snacks.

Even though I have never been to Japan, Taiwanese culture is a culture that is greatly influenced by Japan — who ruled over Taiwan in the 1800s. Some of the influence can be found in old Japanese buildings that are now tea houses or galleries, neat lines at the MRT, my grandpa who spoke Japanese, and a millennial generation that is all about Japanese culture.

These onigiri’s! I remember standing in my school uniform (white collared shirt, pleated skirt, bright orange hat), eagerly choosing my flavour of the day. My favourites — pork floss with mayo, egg, salmon, or chicken teriyaki. Sometimes I would opt out of onigiri’s and go for the traditional Taiwanese rice balls. A heavier version made with sticky rice, fried salty donut, radish pickles, stuffed with pork floss and sprinkled with peanut sugar. They were heavy enough to fill you for hours and go down your tummy very well with a cup of soy milk.

There is something about rolling and shaping warm rice together in your palms. I don’t know if it is the scent of warm rice or act of making onigiri’s that make me want to eat them immediately after. These are great as snacks on the go, picnics, a light meal, or give away and impress your friends.

how_to_make_tuna_onigiri_rice_balls_5-1.jpg
how_to_make_tuna_onigiri_rice_balls.jpg

Tuna Onigiri Rice Balls

Ingredients

1 cup uncooked sushi rice
2 tbs rice wine vinegar
1 tsp sugar
1/2 tsp salt
1 green onion stem, thinly sliced (you can also use cucumber)
1 can of tuna in salted water
1/2 avocado, diced
2 tbs greek yogurt (or mayo)
1 nori sheet, cut into small rectangles

Instructions

  1. Wash rice in a sieve until water is clear. Add 1 cup of water (or refer to amount on rice packaging) and cook until rice is tender. About 15 mins. Let cool.

  2. While rice is cooking, mix can of tuna (squeeze saltwater out with lid when you open the can), avocado, green onions and greek yogurt. Mash and add salt and pepper to taste

  3. Gently fluff rice with a fork. Fold in sugar, rice wine vinegar and salt with a spatula. Don’t over mix.

  4. Place a piece of saran wrap on your hand and measure 1/3 cup of seasoned rice into the wrap. Flatten rice into a flat shape and create an indent in the centre. Spoon in tuna filling and gently form rice into a ball using the saran wrap.

  5. Using your hands, form the rice ball into a triangle. Take off the plastic wrap and wrap a piece of nori around the bottom.

  • The trick to a good onigiri to use rice that is freshly cooked and slightly warm. I felt very Japanese waking up at 7 am to make these for lunch. They will keep for a while in a sealed box in the fridge.

  • The original recipe called for cucumber but I found the green onions to be a nice change.

  • I made these again and mixed in a few spoonfuls of furikake. They were delicious and disappeared very fast at the potluck I brought them to. Enjoy!

how_to_make_tuna_onigiri_rice_balls_1.jpg

Sweet Potato Congee

sweet potato congee with house edible flowers

sweet potato congee with house edible flowers

I hope it’s been a good June for everyone. It’s been particularly cold in Vancouver so I have been firing up the stove for a lot of congee. For those who are new to congee — congee is the Asian version of chicken soup, for the soul, and so much more. A warm and nourishing meal known to boost your chi — congee is the remedy food for colds, flu, stomach aches, and bad days. It’s also a popular breakfast food for all ages and served in multiple flavors at congee noodle restaurants in Vancouver. 

This sweet potato congee is sentiment to Taiwan — the beautiful island I call home. Geographically shaped like a sweet potato — the Taiwanese take pride in what we call a “sweet potato spirit / 番薯精神”. A spirit determined to take root and bear fruit wherever we are planted, even in the harshest environments. A life force that propelled the island to prosperity in the early farming days.

In Taiwanese, one of the few words I know is “Muai” which means congee — a breakfast item I would request every time I visited grandma in South Taiwan. Cooked from leftover rice and served with a humble fried egg, soy sauce, and pickled vegetables — it was a breakfast to wake up to.

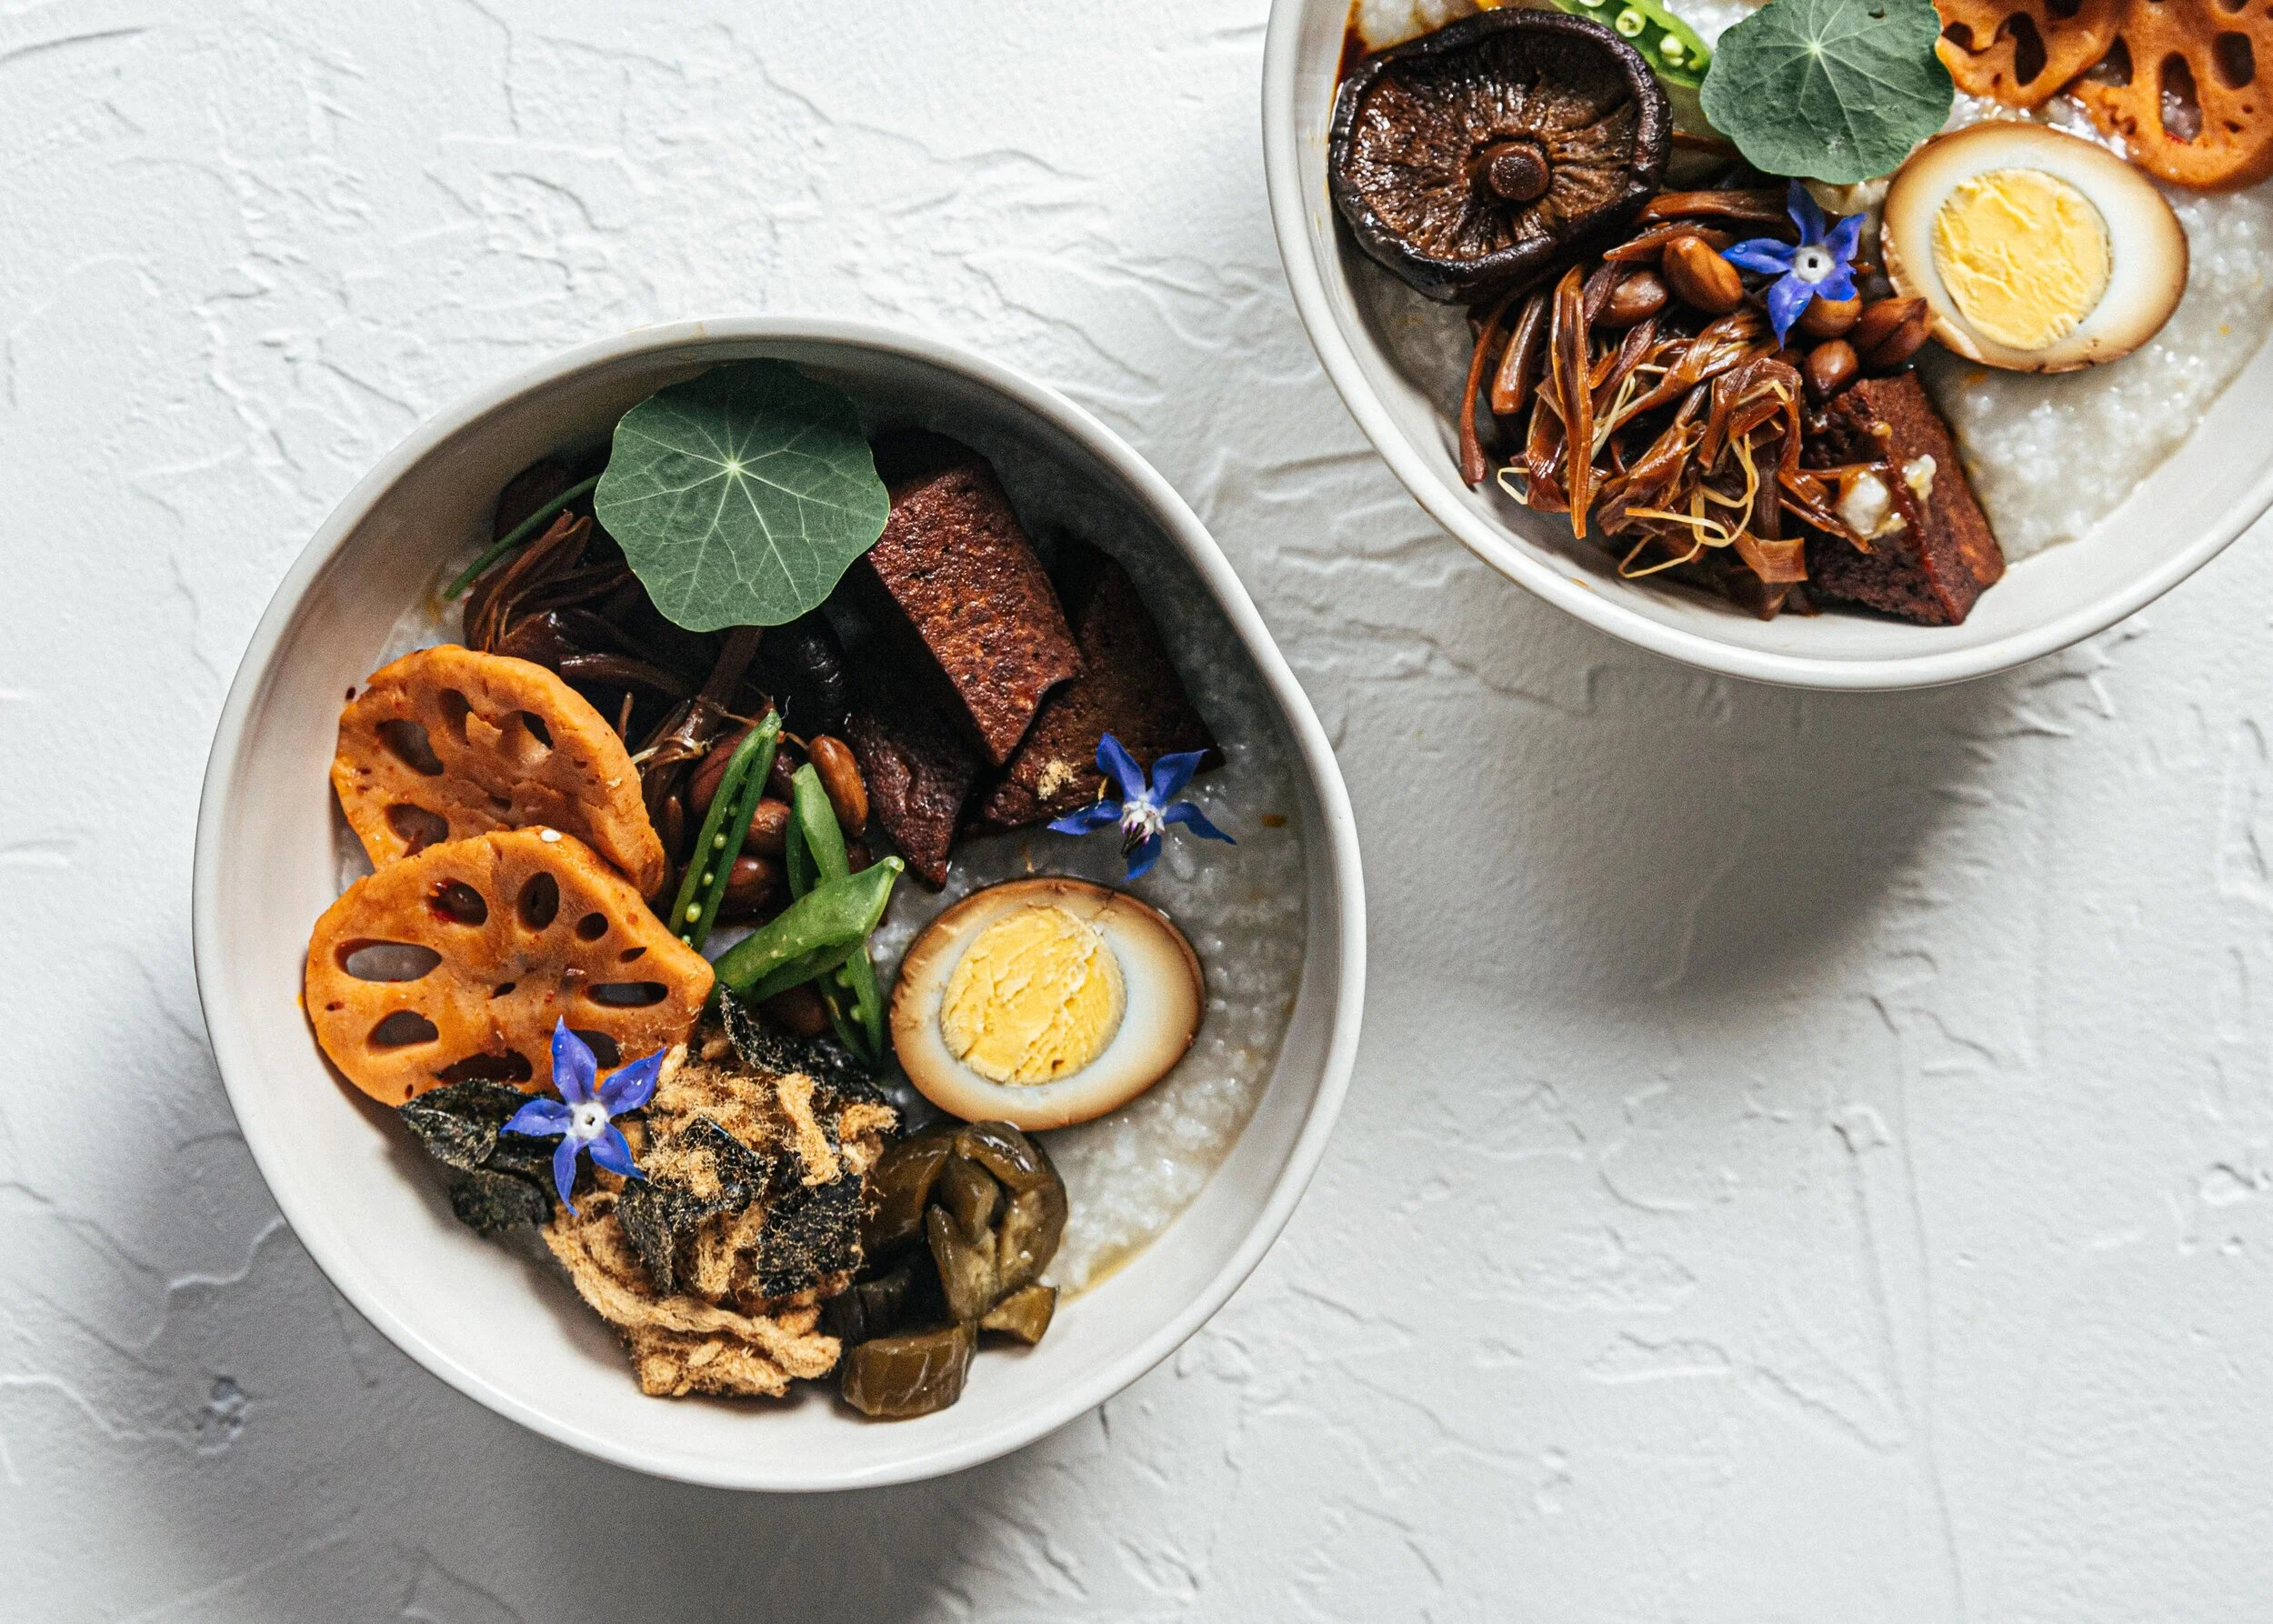
In Taiwan, there are plenty of restaurants that serve plain congee with a wide selection of dishes known as “清粥小菜” meaning “light congee, little dishes”. To make a congee spread — top with anything you like to eat. The possibilities are endless. 

Ideas for congee toppings:

  • Fried eggs, or eggs any way

  • Stir-fried vegetables

  • Spicy cucumber fans

  • Stir-fry lotus root

  • Furikake

  • Pork floss

  • Braised tofu and vegetables in soy sauce

  • Pickled cucumbers(I like 金蘭 Kamlan brand from T&T)

Congee bowl topped with everything I like to eat — spicy lotus root, braised tofu, egg and vegetables in soy sauce, pickled cucumbers and fresh greens

Congee bowl topped with everything I like to eat — spicy lotus root, braised tofu, egg and vegetables in soy sauce, pickled cucumbers and fresh greens

My idea of a congee feast — furikake, pork floss(for the meat-eaters), pickled watermelon radish, fried egg, stir-fried vegetables, and tofu

My idea of a congee feast — furikake, pork floss(for the meat-eaters), pickled watermelon radish, fried egg, stir-fried vegetables, and tofu

Sweet Potato Congee Recipe

Serves 2 to 3 people

Ingredients

  • 1 cup rice (short grain rice or jasmine rice for extra flavor)

  • 10 cups water

  • 1 medium-sized sweet potato, peeled and chopped into 1-inch pieces. 

Instructions

Rinse 1 cup of rice until the water runs clear. Soak for 1-hour or overnight. Drain and set aside. Peel and chop 1 medium sweet potato into 1-inch pieces. Set aside.

  1. Bring 10 cups of water to a boil, add the rice, cook and bring to a boil again. Adjust the heat to simmer and cook for 45 mins to 1-hour. Stirring the bottom of the pot constantly. Cook until the rice is mushy, softened, but still retains its shape.

  2. Add the sweet potato and bring it to a boil for 5 mins. Cover the pot with a lid, turn off the heat and let sit for 20 minutes. The heat from the rice will cook the sweet potato while keeping its shape, we don’t want it to get mushy here.

  3. Serve and enjoy the congee while it’s hot. This sweet potato congee keeps in the fridge for 2–3 days.

Caramelized Black Pepper Chicken

A chicken rice dish. One of the first chicken recipes on the blog. I don’t cook a lot of meat these days but dating an Australian boy means meat is bound to show up on the table at least once a week. I am also excited to share Dad’s two-ingredient chicken soup over here at some point.

I attended a Thai cooking class in Australia last winter and loved the chef’s observation of the Asian versus North American diet. The average meat portion in America being 120 grams/person while being 30 grams or so in Thailand. I like the idea — small amounts, shared plates. Growing up, my parents didn’t get to eat a lot of meat as it is more expensive. Mom would get a single hard-boiled egg (dyed pink) on her birthday as a special treat. Oftentimes a meal would be soy sauce with lard poured over a bowl of rice. But if you were to attend any meal hosted by family or friends, you can be sure there will be at least one meat dish on the table

This dish is delicious and easy to whip up. I added some purple onions to give it colour and will try adding vegetables next. Substitute the chicken with tofu or whatever protein you have. Hold back on the red chilies if you need them, they were the perfect amount of almost-too-spicy for me.

Vietnamese Black Pepper Chicken

Serves 2

Ingredients

  • 1 pound chicken breast, cut into 1-inch pieces (sub chicken thigh or protein of choice)

  • 2 tbsp oil

  • Sprinkle of salt

  • 1/2 cup dark brown sugar

  • 1/4 cup fish sauce

  • 1/4 cup water

  • 3 tbsp rice vinegar

  • 1 medium shallot, thinly sliced into rings

  • 1/2 purple onion, sliced thinly(optional)

  • 1 tsp fresh ginger, finely chopped

  • 1-2 cloves garlic, minced

  • 2 dried red chiles (sub fresh Thai chilli, chopped into pieces)

  • 1 tsp freshly ground black pepper

  • Cilantro for garnish

  • Steamed jasmine rice for serving

Instructions

  1. In a bowl, combine chicken, half of the oil, and a sprinkle of salt. Mix to combine. 

  2. In a small saucepan, add the water, rice vinegar, fish sauce, and brown sugar. Give it a stir. Heat until the sugar dissolves, and then turn it down to a simmer.

  3. In a skillet, heat the remaining oil over medium heat. Add the shallots (and onion, if you are using any) and cook for one minute. Add the ginger, then garlic, and fry until aromatic or until the shallot is lightly caramelized. Add the chicken, red chile, and cook for two minutes, flipping the chicken halfway.

  4. Add 3/4 of the fish sauce from the saucepan into the chicken along with the black pepper. Cook over medium-high heat for another 6-8 minutes, until the sauce reduces and the chicken is done. Taste and add more fish sauce if you’d like. If you do, bring the skillet to a simmer again. 

  5. Transfer contents of skillet to a bowl, serve over rice with cilantro.

*Recipe adapted from Charles Phan

Nori Peanut Rice Crisps

In Taiwan, “popcorn trucks” 爆米香 are a thing. You can find them driving through neighbourhoods, parking to sell rice puff squares while blaring “Bao Mi (Popcorn), Bao Mi.” If you stop long enough, you will hear a giant bang followed by a puff of smoke and the aroma of roasted peanuts, job tears and rice. It’s a memory everyone has growing up in Asia. Some versions include sesame seeds and it’s relatively similar to peanut candy, a popular snack among the old folks. I am known to devour these by the bag.

I was re-introduced to puffed rice making granola Glo bars from OhSheGlows before realizing, heck, I need to make my own version of these. I’ve replaced the maltose (麥芽糖) with brown rice syrup, which is terrifically sticky and holds around 2/3 of sweetness compared to honey. I also substituted butter with almond butter, though peanut butter will do just as well. A healthy-westernized version of Bao Mi that is marvelously crunchy. I have a square or two for breakfast and it keeps me surprisingly full. You can add your own flair to these with roasted nuts, chia seeds and completely veer off the path of tradition.

Nori Peanut Rice Crisps 海苔花生爆米香

Ingredients

1/2 cup brown rice syrup (sub honey but it will taste a lot sweeter)
1/2 cup creamy almond butter (sub peanut butter)
3 1/2 cups puffed rice crisps
1 pack toasted nori sheets (17 grams), torn and crumbled into pieces
1/2 cup roasted peanuts (sub any kind of roasted nuts)
I tbsp sesame seeds or chia seeds

Instructions

Line a 9x13 inch baking pan with parchment paper, and aim for one with depth as it yields thicker squares. In a large bowl, combine the dry ingredients — puffed rice, nori, peanuts, sea salt and sesame seeds. Set aside. In a large soup pot, add the brown rice syrup and almond butter and cook on medium-low heat until it bubbles. Keep an eye on it and don’t let it caramelize or harden. Remove pot from the heat source and add in the dry ingredients, stirring furiously to encourage even distribution. The mixture will be very sticky.

Transfer contents from the pot to the baking tray. Scrape the sides with a spatula. Spread it evenly and press down with a spatula or wooden spoon. Set aside until cool and slice into squares or bars with a bread knife. Store cooled in an airtight container. It keeps well at room temperature for a week.

Bryant Terry’s Amazing Green Rice

I made Bryant Terry’s Amazing Green Rice today and loved the flavour and different ways of cooking rice with pureed vegetables. Food is really for the spirit as well as the body. I have been enjoying the slow-down time and my weekends hunting for organic greens, chopping and cooking away before sitting down to enjoy the few hours of labour.

If you are looking to venture out of your usual way of cooking, Bryant’s new cookbook Vegetable Kingdom features a lot of afro-vegan recipes. Jamaican dishes, Chinese spices. It really opens up a world of cooking with vegetables. I have a list of purees, veggie roasts and dressings I am looking to make. It is a beautiful example of food as a bridge to sharing that personal yet worldly part of ourselves in the kitchen.

I would love to make onigiri this next, perhaps with sushi rice, some preserved cherry blossoms. I used a cast iron pan for this and was rewarded with a crispy bottom. I would also love to experiment with different coloured vegetables, purple rice, yellow rice, orange rice you name it. I threw in soaked cashews I had on hand (you can use coconut cream) with whatever greens and garnishes I found in my fridge.

Bryant Terry’s Amazing Green Rice

Ingredients

Serves 4–6
1 c tightly packed spinach leaves ( sub with any kind of greens)
1 c tightly packed kale leaves, stems removed
1 1/2 c water (sub vegetable stock and omit the stock cube)
1 vegetable stock cube
1/3 c soaked cashews (or sub 2 tbsp of coconut milk)
Sprinkle of sea salt
1 c long grained rice
1 tbsp oil ( I used butter)
1/2 c diced yellow onion
1/2 c diced green peppers
3 cloves garlic, peeled and minced

Instructions

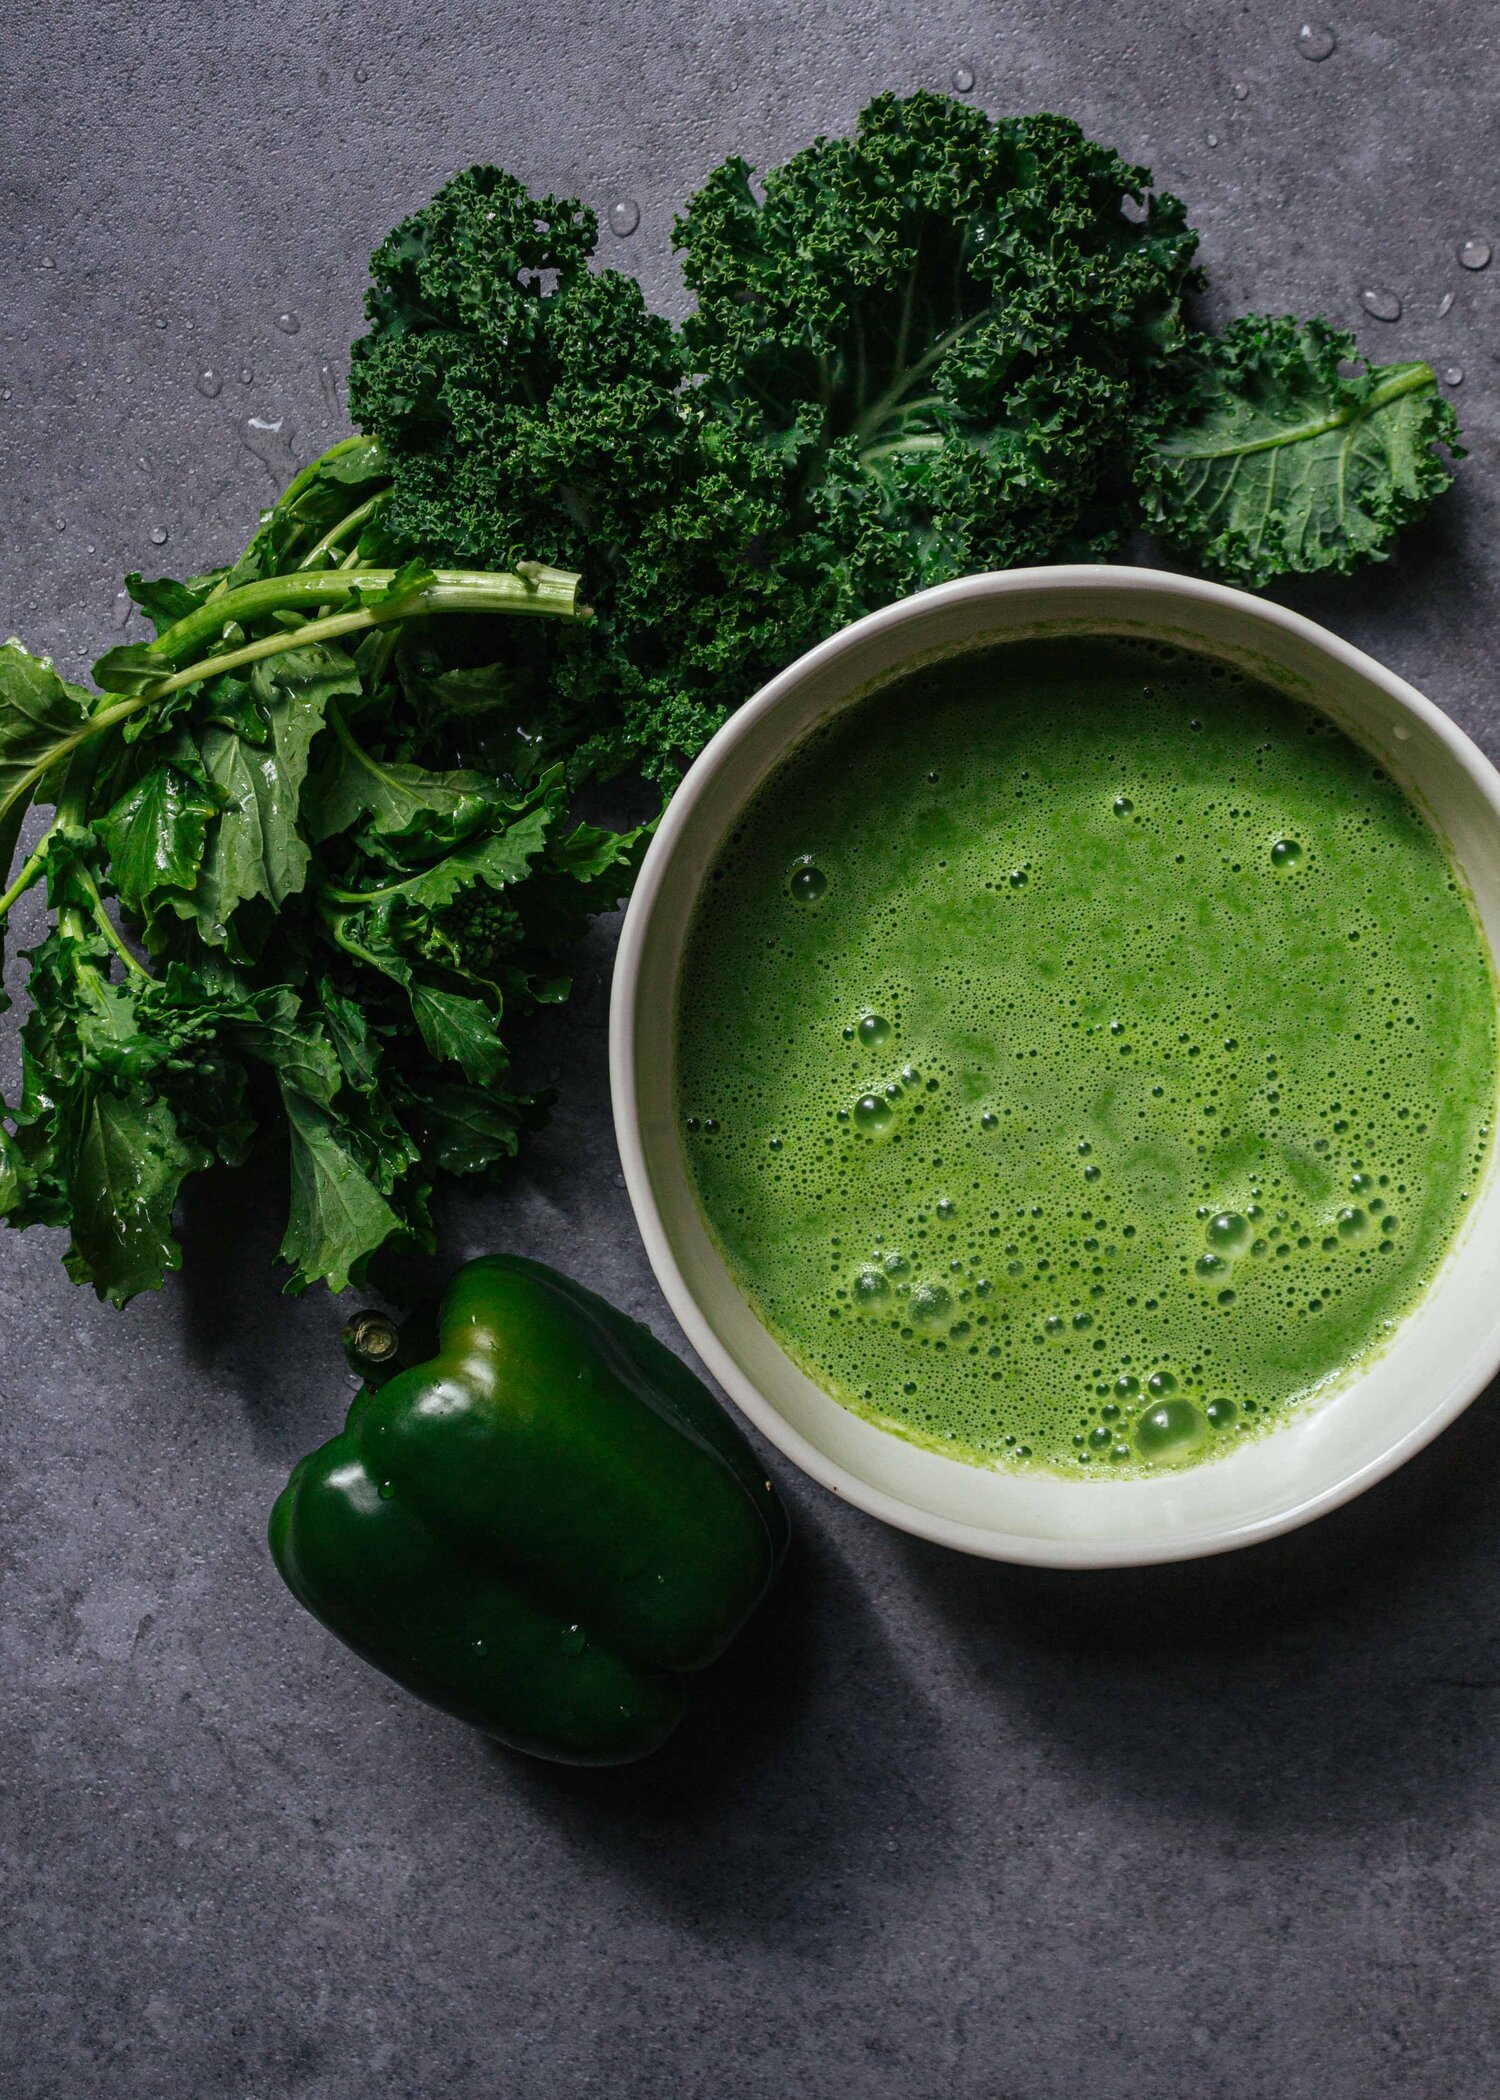
1. In a blender, puree the greens, water, stock cube, soaked cashews, and salt. Blend until frothy and smooth. Set aside.

2. Wash rice in a sieve. Give it a good shake and set aside.

3. In a medium-sized pan (I used my cast iron) heat oil until hot. Add the onion, bell pepper, and sauté until soft. Add minced garlic and cook for another 2 to 3 minutes. Add the rice and stir until the water evaporates and the rice is lightly toasted and aromatic. Pour in the contents from the blender and turn the heat up to high until the whole thing comes to a boil. Reduce heat to low, cover with a lid and simmer for 15 to 20 minutes.

4. Take the pan off the heat and let it sit for 10 minutes or so with the lid on. Fluff the rice with a fork before serving and top with toasted nuts, chopped herbs, fresh ground pepper, or anything to your fancy. I find it really great satisfying paired with an egg, tofu, or served as a main.

Recipe inspired and adapted from Heidi Swanson. Original recipe creator Bryant Terry

Tuna Onigiri Rice Cakes

Onigiri! This is a recipe for a little snack that accompanied my childhood years in Taiwan. Found in all of the 7–11 convenience stores, these triangle-shaped rice balls were many of my breakfast, lunch, and late-night snacks.

Even though I have never been to Japan, Taiwanese culture is a culture that is greatly influenced by Japan — who ruled over Taiwan in the 1800s. Some of the influence can be found in old Japanese buildings that are now tea houses or galleries, neat lines at the MRT, my grandpa who spoke Japanese, and a millennial generation that is all about Japanese culture.

These onigiris! I remember standing in my school uniform (white collared shirt, pleated skirt, bright orange hat), eagerly choosing my flavor of the day. My favorites — egg, salmon, or chicken teriyaki. Sometimes I would opt out of onigiri’s and go for the traditional Taiwanese rice balls. A heavier version made with sticky rice, fried salty donut, radish pickles, stuffed with pork floss, and sprinkled with peanut sugar. They were heavy enough to fill you for hours and go down your tummy very well with a cup of soy milk.

There is something about rolling and shaping warm rice together in your palms. I don’t know if it is the scent of warm rice or the act of making onigiri’s that make me want to eat them immediately after. These are great as snacks on the go, picnics, a light meal, or give away and impress your friends.

Tuna Onigiri Rice Balls

Ingredients

1 cup uncooked sushi rice
1/2 finely diced mini cucumber
1 can of tuna in salted water
1/4 cup greek yogurt (sub mayo)
1 nori sheet, cut into small rectangles
Saran plastic wrap

Instructions

  1. Wash rice in a sieve until water is clear. Add 1 cup of water (or refer to amount on rice packaging) and cook until rice is tender. About 15 mins. Let cool.

  2. While rice is cooking, mix a can of tuna (squeeze saltwater out with lid when you open the can), avocado, green onions, and greek yogurt. Mash and add salt and pepper to taste

  3. Gently fluff rice with a fork.

  4. Place a piece of saran wrap on your hand and measure 1/3 cup of seasoned rice into the wrap. Flatten rice into a flat shape and create an indent in the center. Spoon in tuna filling and gently form rice into a ball using the saran wrap.

  5. Using your hands, form the rice ball into a triangle. Slip off the plastic wrap and wrap a piece of nori around the bottom.

*The trick to a good onigiri to use rice that is freshly cooked and slightly warm. I felt very Japanese waking up at 7 am to make these for lunch. They will keep for a while in a sealed box in the fridge.

I made these again and mixed in a few spoonfuls of furikake. No filling. They were delicious and disappeared very fast at the potluck I brought them to.