Flourless Chocolate Brownie With Edible Flowers

This recipe is an update from a favourite. The fudgy-ist and the most satisfying chocolate recipe I have ever had. I have taken these brownies to many a social gathering, now passing them off in packets while social distancing. They never fail to please. I keep a stack handy in the freezer when I have a chocolate craving.

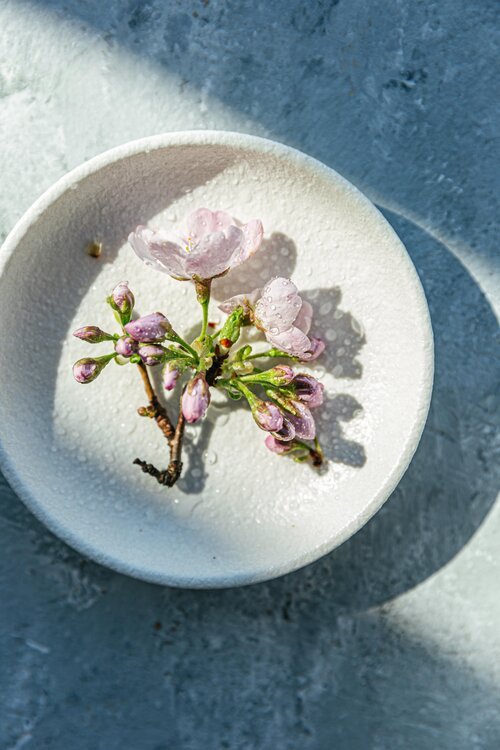
Cherry blossoms are beautiful. They are also edible. I am making Cherry Blossoms Preserves with their buds but making the most out of these fully blossomed buds. I love watching peoples eye’s light up before they take a bite. If you are curious about which flowers are edible, I have a list here. Just make sure they have not been sprayed with chemicals. I source most of mine from my parent’s yard.

Edible Flowers

Nasturcians
Rose
Forget-me-nots
Chive flowers (these smell like onions so use in savoury dishes)
Carnation petals
Pansies
Marigolds

I like my treats to be less sweet and have lowered the 150 grams of brown sugar to 120 grams and 100 grams. It seems to work without breaking the structure of the brownie.

These brownies taste rich, decadent but light without the flour. Please try it and let me know the results. Please also share them.

Flourless Chocolate Brownie With Cherry Blossoms

140g dark chocolate
155g (1/2 c) unsalted butter
120g brown sugar
3 large eggs, lightly beaten
50g (1/2 c) cocoa powder, sifted
1/4 tsp salt
11/2 tsp vanilla extract
1/4 c walnuts, chopped (substitute any kind of nuts)
Maldon sea salt for garnish (optional)

  1. Preheat oven to 350 F. Line a baking pan or sheet with parchment paper.

  2. In 15-30 second intervals, melt chocolate and butter in the microwave and stir until smooth. Set aside too cool. Add brown sugar, cocoa powder, salt, vanilla, and eggs. In that order. Mix but do not over-mix. Transfer batter to baking pan or sheet with a spatula. Top with walnuts.

  3. Bake for 20-30 minutes or until brownie is set and firm in the center. Time will vary depending on container size. Let sit until cool before cutting into pieces. Top with cherry blossoms, buds, and a sprinkle of flaky sea salt.

These are very delicious eaten cool or slightly warmed. They also keep well in the fridge for up to a week. If they last that long.

Avocado Chocolate Cake

Growing up in Taiwan, my definition of avocados revolved around the football-sized Choquette avocado sold in fruit shops or juice stalls at the night market. Bred for their intimidating size and mild flavour — the Choquette avocado is used for smoothies with milk, sugar and pudding. Salad culture in Taiwan is slowly catching up to the west, but it was not after moving to Canada that I expanded my worldview on avocados and the many ways one can eat it in salads, guacamole, ice cream and so on.

I have gone through many flourless chocolate cake recipes but this is a new favourite yet. No blender or spiralizer is needed just two perfectly ripe avocados. The raw batter is heavenly and tastes like a thick chocolate pudding. I would make it just to eat the batter. A gluten-free treat you can make vegan by substituting the butter with cashew butter or olive oil. I made a less sweetened version for Mother’s Day and topped it with edible flowers, dried fruit and cashew cream.

Avocado Chocolate Cake

Serves 8/fills a 13-inch baking pan

Wet Ingredients
2 ripe medium-large avocados
4 eggs

Dry Ingredients
1 cup of cocoa powder
1 3/4 cup brown sugar (use 1 1/2 cup for a less sweet version)
4 tablespoons butter, softened at room temperature
2 teaspoons baking powder
2 teaspoons vanilla extract
1/2 teaspoon sea salt
1/2 cup chopped dark chocolate (optional)

Preheat the oven to 325°F. Grease a 10 x 12-inch baking pan with butter or parchment paper. 

In a large mixing bowl, sift the cacao powder with a sieve into a fine powder. Add the brown sugar, baking powder and sea salt. Mix evenly and set aside.

In a medium mixing bowl, mash the avocados, breaking large pieces with a fork as you go. Crack eggs into bowl one by one, add the butter and stir to evenly distribute. Add the wet ingredients into the dry, stirring and scraping the bottom of the bowl from time to time. Pour the mixture into the baking pan and bake for 25-30 minutes. The middle of the cake should be firm while on the edge of gooey. Let the cake come to room temperature before cutting. Top with chopped dark chocolate, sea salt, edible flowers or cashew cream. 

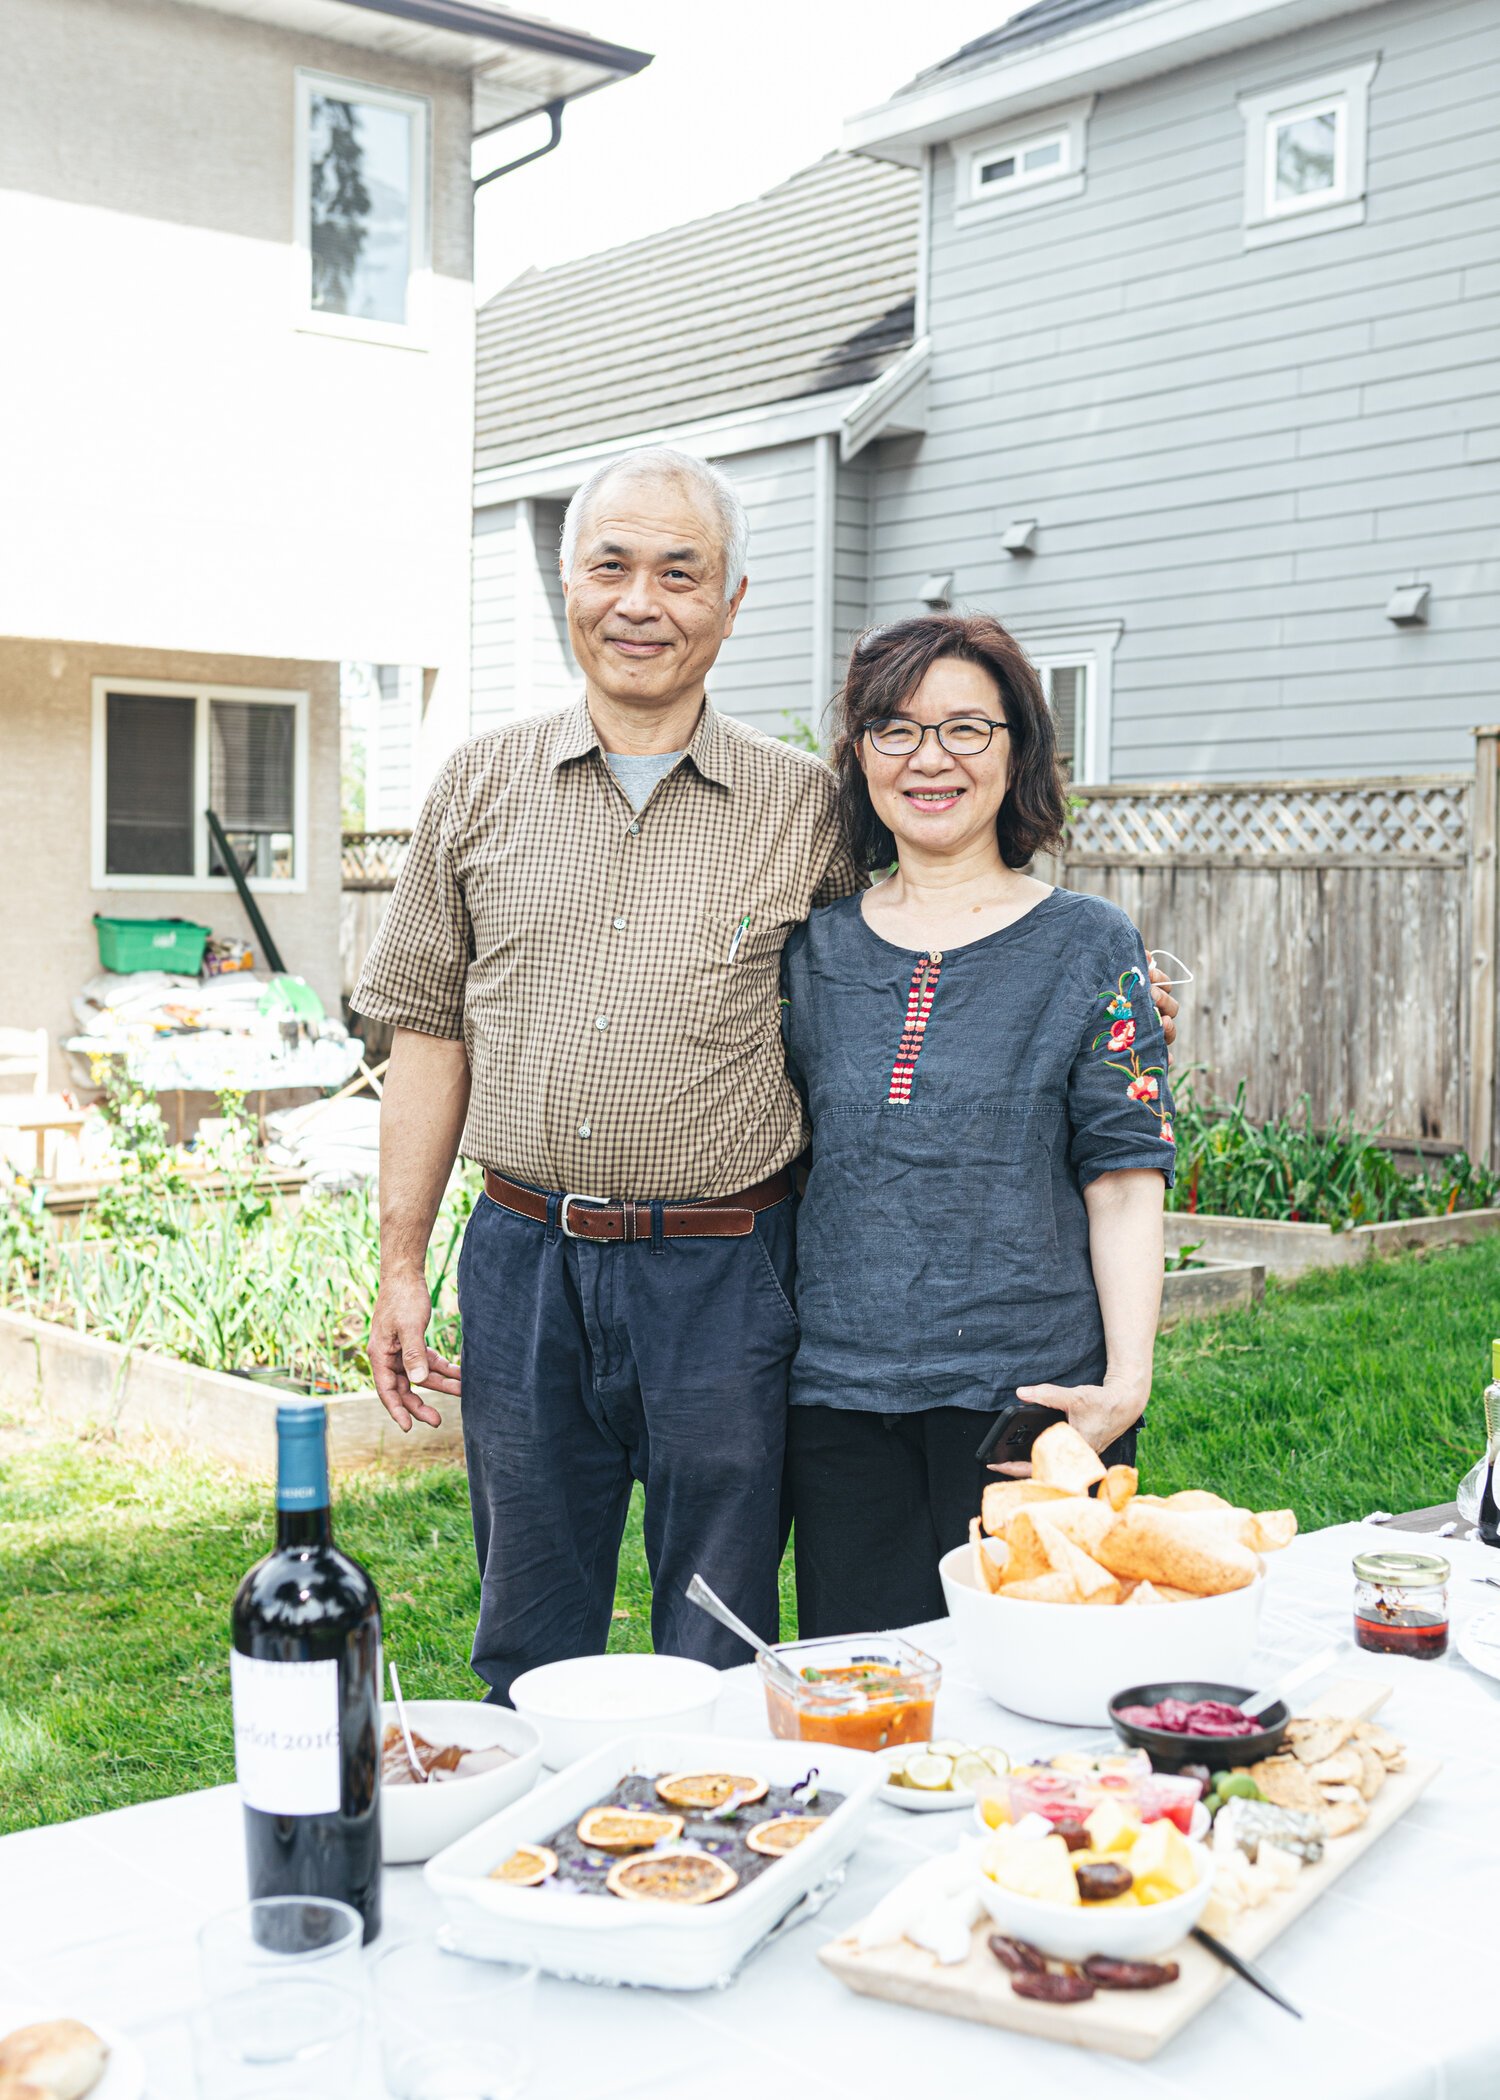
mom, dad and avocado chocolate cake

Flourless Chocolate Brownies With Sea Salt

A few of my proudest accomplishments this year include: landed an in-house photography job, tried out and stayed on a sports team this spring (the last time I played in competitive sports was elementary school), signed a lease on an apartment (cannot wait to move in next month), committing to put down roots in this transitional city of Vancouver, and the creation of these fabulous flourless chocolate brownies. 

On days when I feel doubt about trading my freelance life for a nine to five — I make brownies and take them into the office. It is simply impossible to eat more than 3 pieces of these brownies and having coworkers to share them with is a very ideal situation. These will never fail to hit the spot when you need a decadent treat in hope that you can stop at three pieces. A timeless brownie recipe.

You know you have created an excellent brownie when both of the recipe developers at work ask you for the recipe. I first had these at a ladies night and immediately asked my friend for the recipe. I am pretty sure the original creator is Nicole Spiridakis. Here is my version with reduced sugar, roasted nuts and sprinkled with Maldon sea salt

Ps: I finally ordered a cooking scale off the internet. It really is worth it when you want to use up the many dark Trader Joe chocolate bars sitting in your cupboard and not worry about fitting them into measuring cups. 

flourless_chocolate_brownies_sea_salt_-6-1.jpg
flourless_chocolate_brownies_sea_salt_sophia_hsin.jpg

Flourless Chocolate Brownies With Sea Salt and Nuts

140g dark chocolate
155g (1/2 cup) unsalted butter
120g brown sugar
3 large eggs, lightly beaten
50g (1/2 cup) cocoa powder, sifted
1/4 tsp salt
11/2 tsp vanilla extract
1/3 cup almond or walnuts, chopped
Maldon sea salt for garnish (optional)

  1. Preheat oven to 350 F. Line a baking pan or sheet with parchment paper.

  2. In 15-30 second intervals, melt chocolate and butter in the microwave and stir until smooth. Set aside too cool. Add brown sugar, cocoa powder, salt, vanilla, and eggs. In that order. Mix but do not over-mix. Transfer batter to baking pan or sheet with a spatula. Top with walnuts.

  3. Bake for 20-30 minutes or until brownie is set and firm in the centre. Time will vary depending on container size. Let sit until cool before cutting into pieces. Top with a sprinkle of flaky sea salt.

These are very delicious eaten cool or slightly warmed. They also keep well in the fridge up to a week. If they last that long.

Dog Shaped Cookies for Dog Lovers | A Recipe

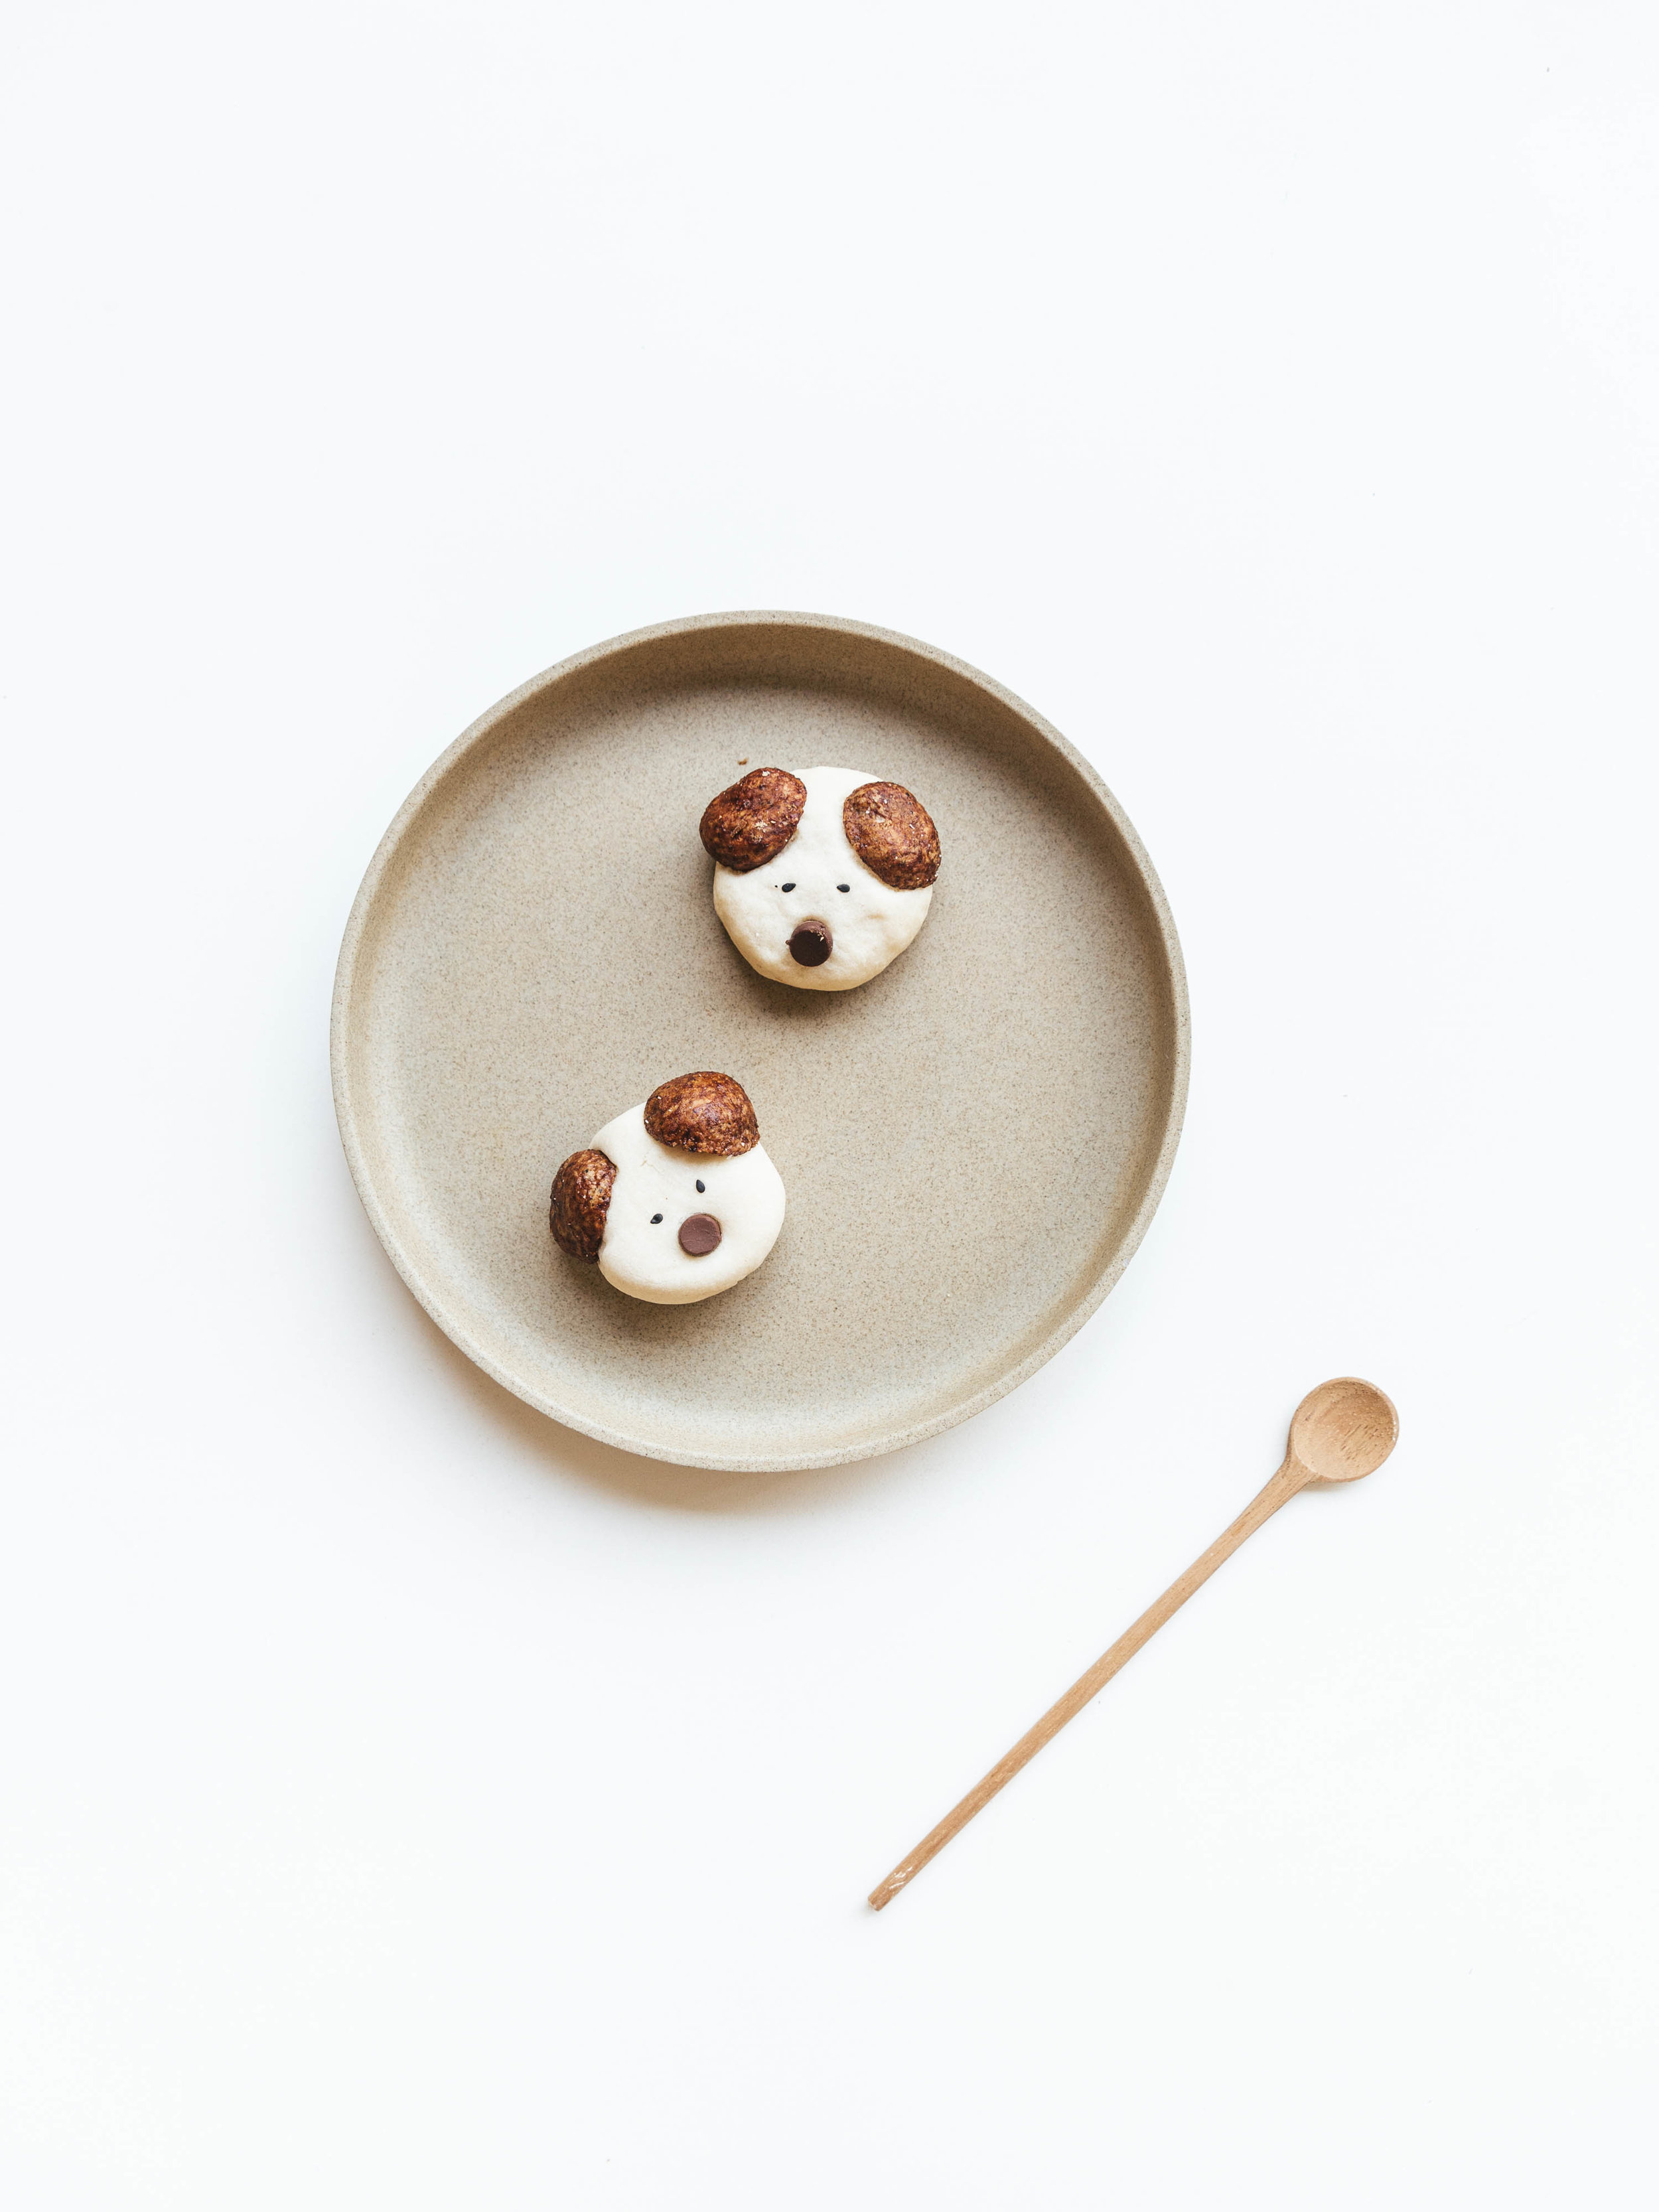
dog-shaped-cookies-recipe-chocolate-6.jpg

I have always been a dog person. Sorry to disappoint my cat loving friends but there is something simply irresistible about dogs. The fluff, the woof, the wag. The joyful leap they make towards you at the end of a long day. That grin when they destroy your beloved possessions and get away with it just because.

For me, the one thing that gets me about travel is the inability to bring your fluffy friends with you. My first dog Lisa the Akita died young (the drama queen in me likes to think it was from heartache) when my family immigrated to Canada. My dachshund who I left behind for college is now retired in Shanghai after many moves, travels, and change of homes. The family discussions, tearful goodbyes, and a little canine who will faithfully wag their tail serving whichever master they end up with.

This post is dedicated to all the dogs I have ever loved and photographed. A dog photo book is the list for projects I want to create and I trust that I am getting close to the process everyday. In the meantime, I will be content making dog shaped cookies.

This is a recipe adapted from Not quite Nigella and Baking Taitai. It is actually a recipe for Weihnachtsplätzchen — German sugar cookies eaten during advent. I love the addition of potato starch which gives the cookie a very biscuit-like texture. Good for convincing yourself you are eating vegetables when having a cookie too many.

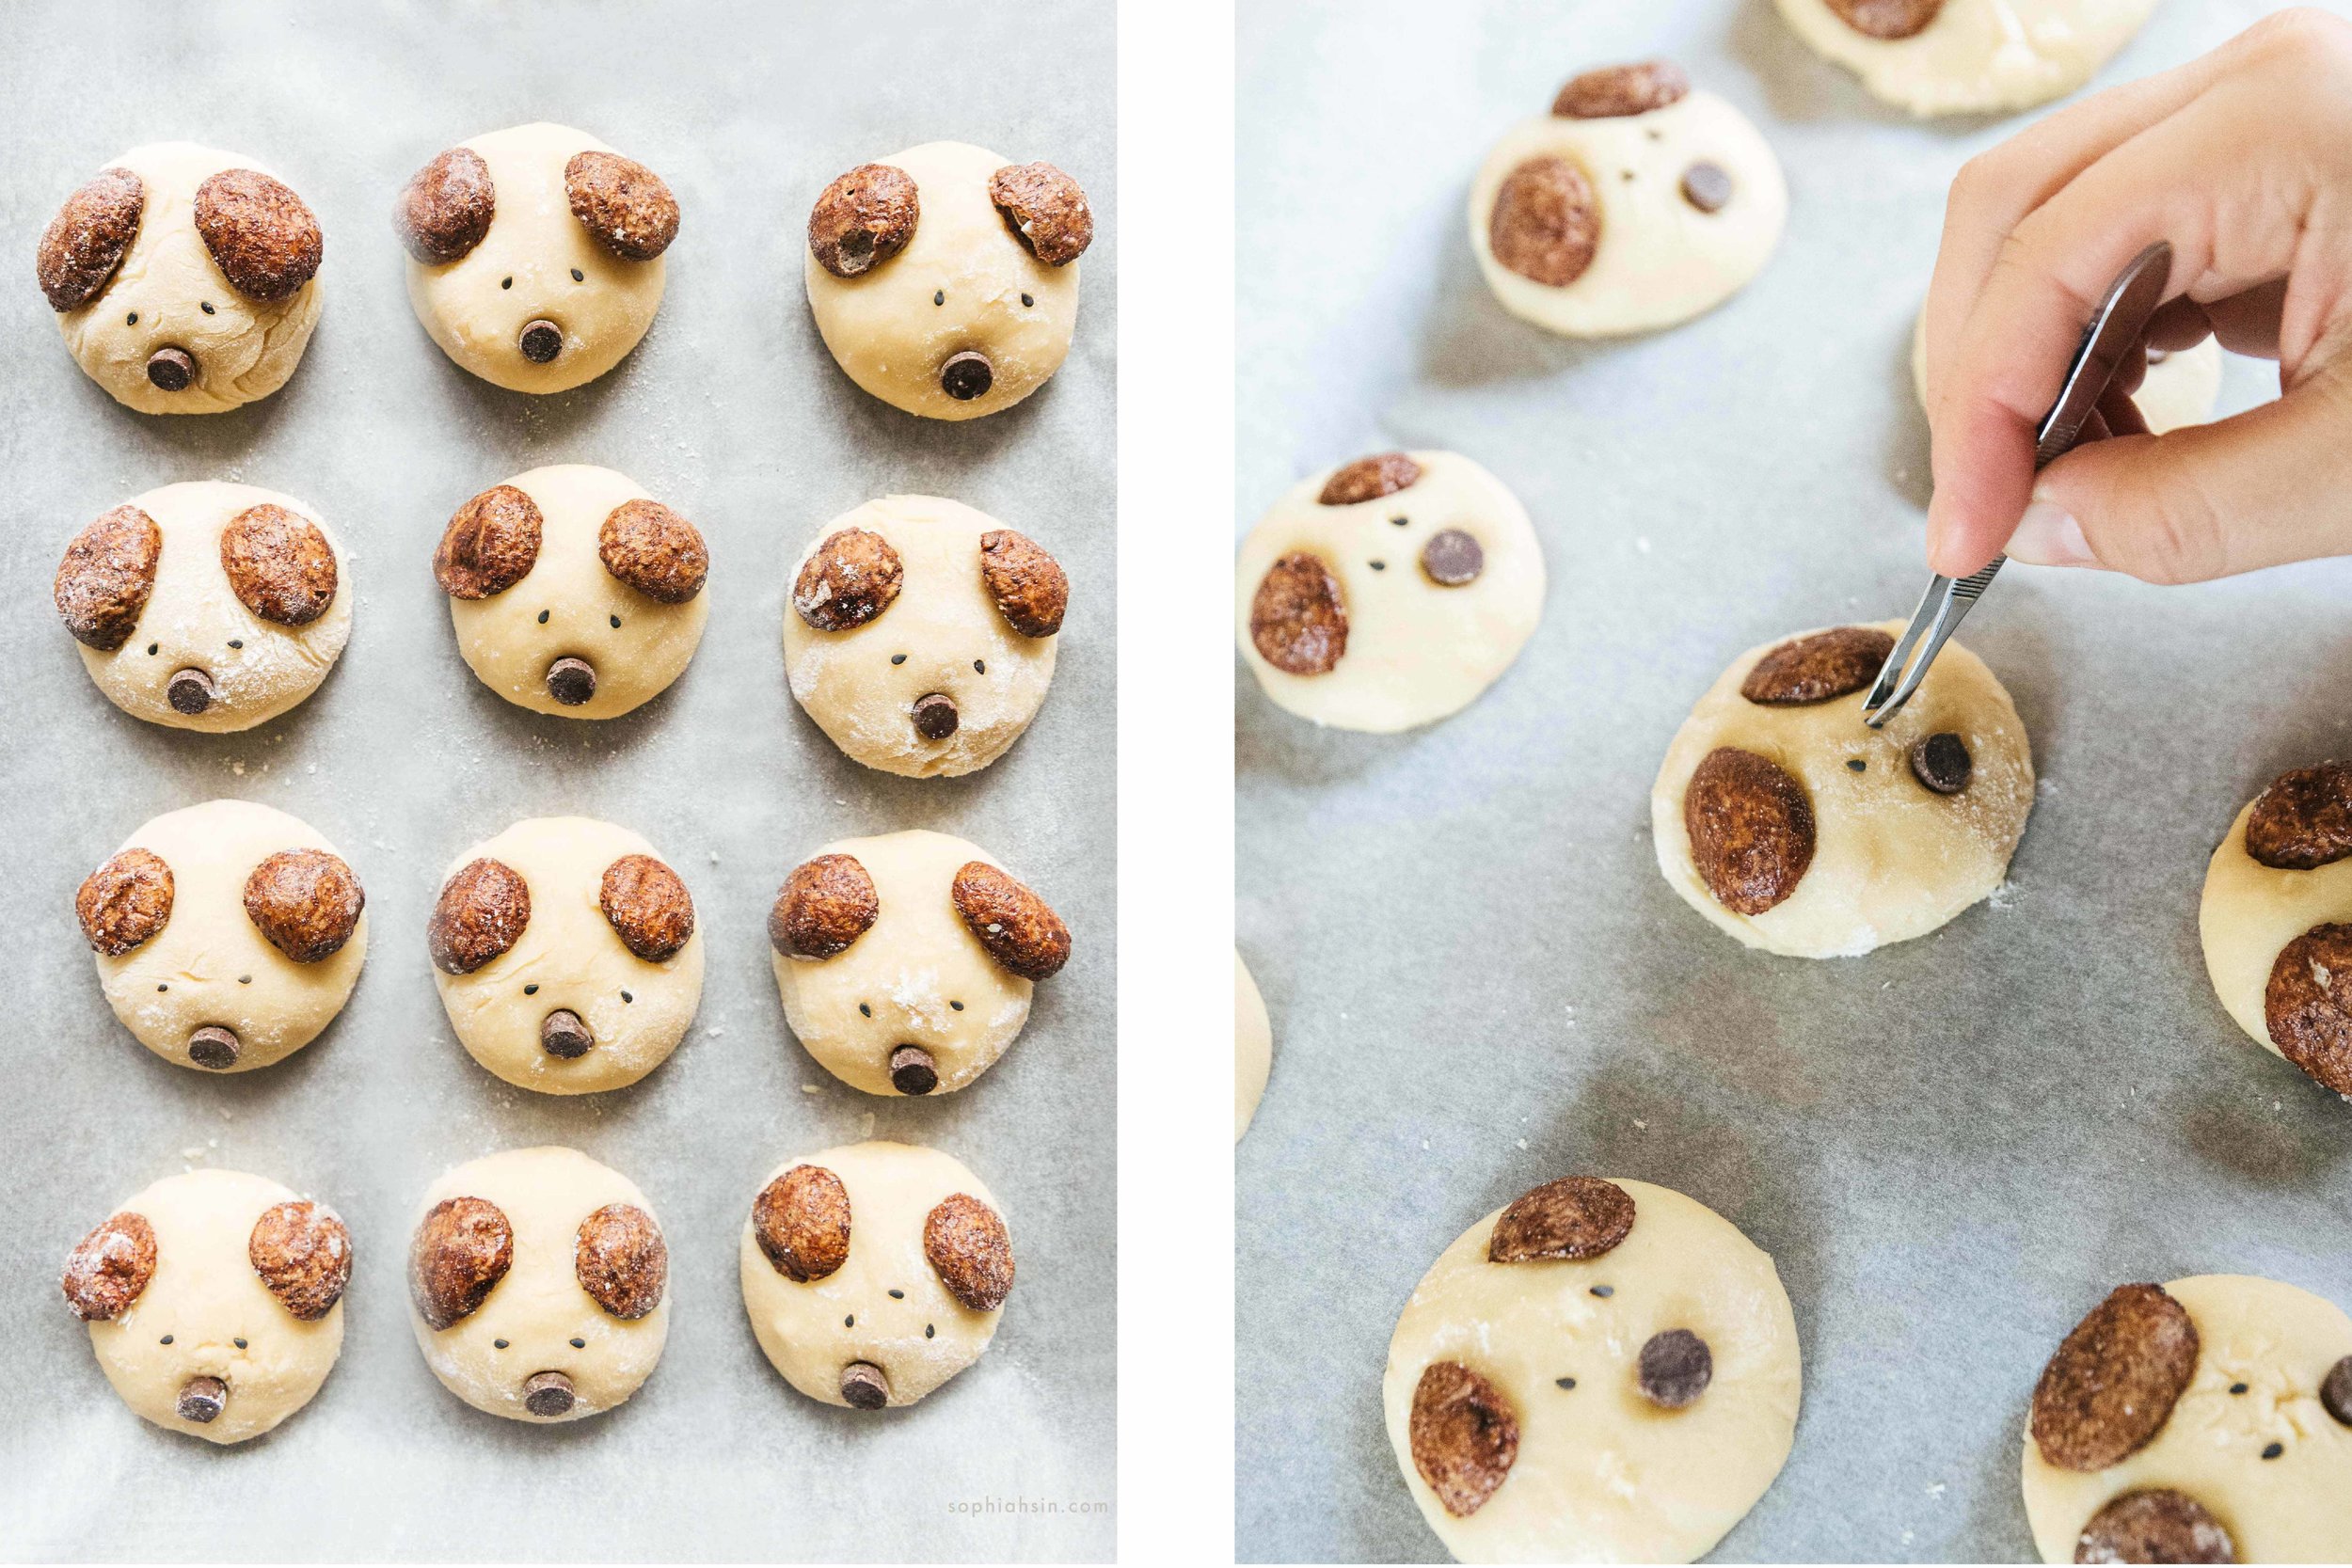
These cookies can be time consuming cookie to make. My advice is to invite at least one friend to help with dough rolling, the application of cereal ears and sesame eyes. The end product is meant to be shared with at least four friends.

dog_shaped_cookies_recipe.jpg
dog-shaped-cookies-recipe-chocolate-3.jpg
dog-shaped-cookies-recipe-chocolate-5.jpg

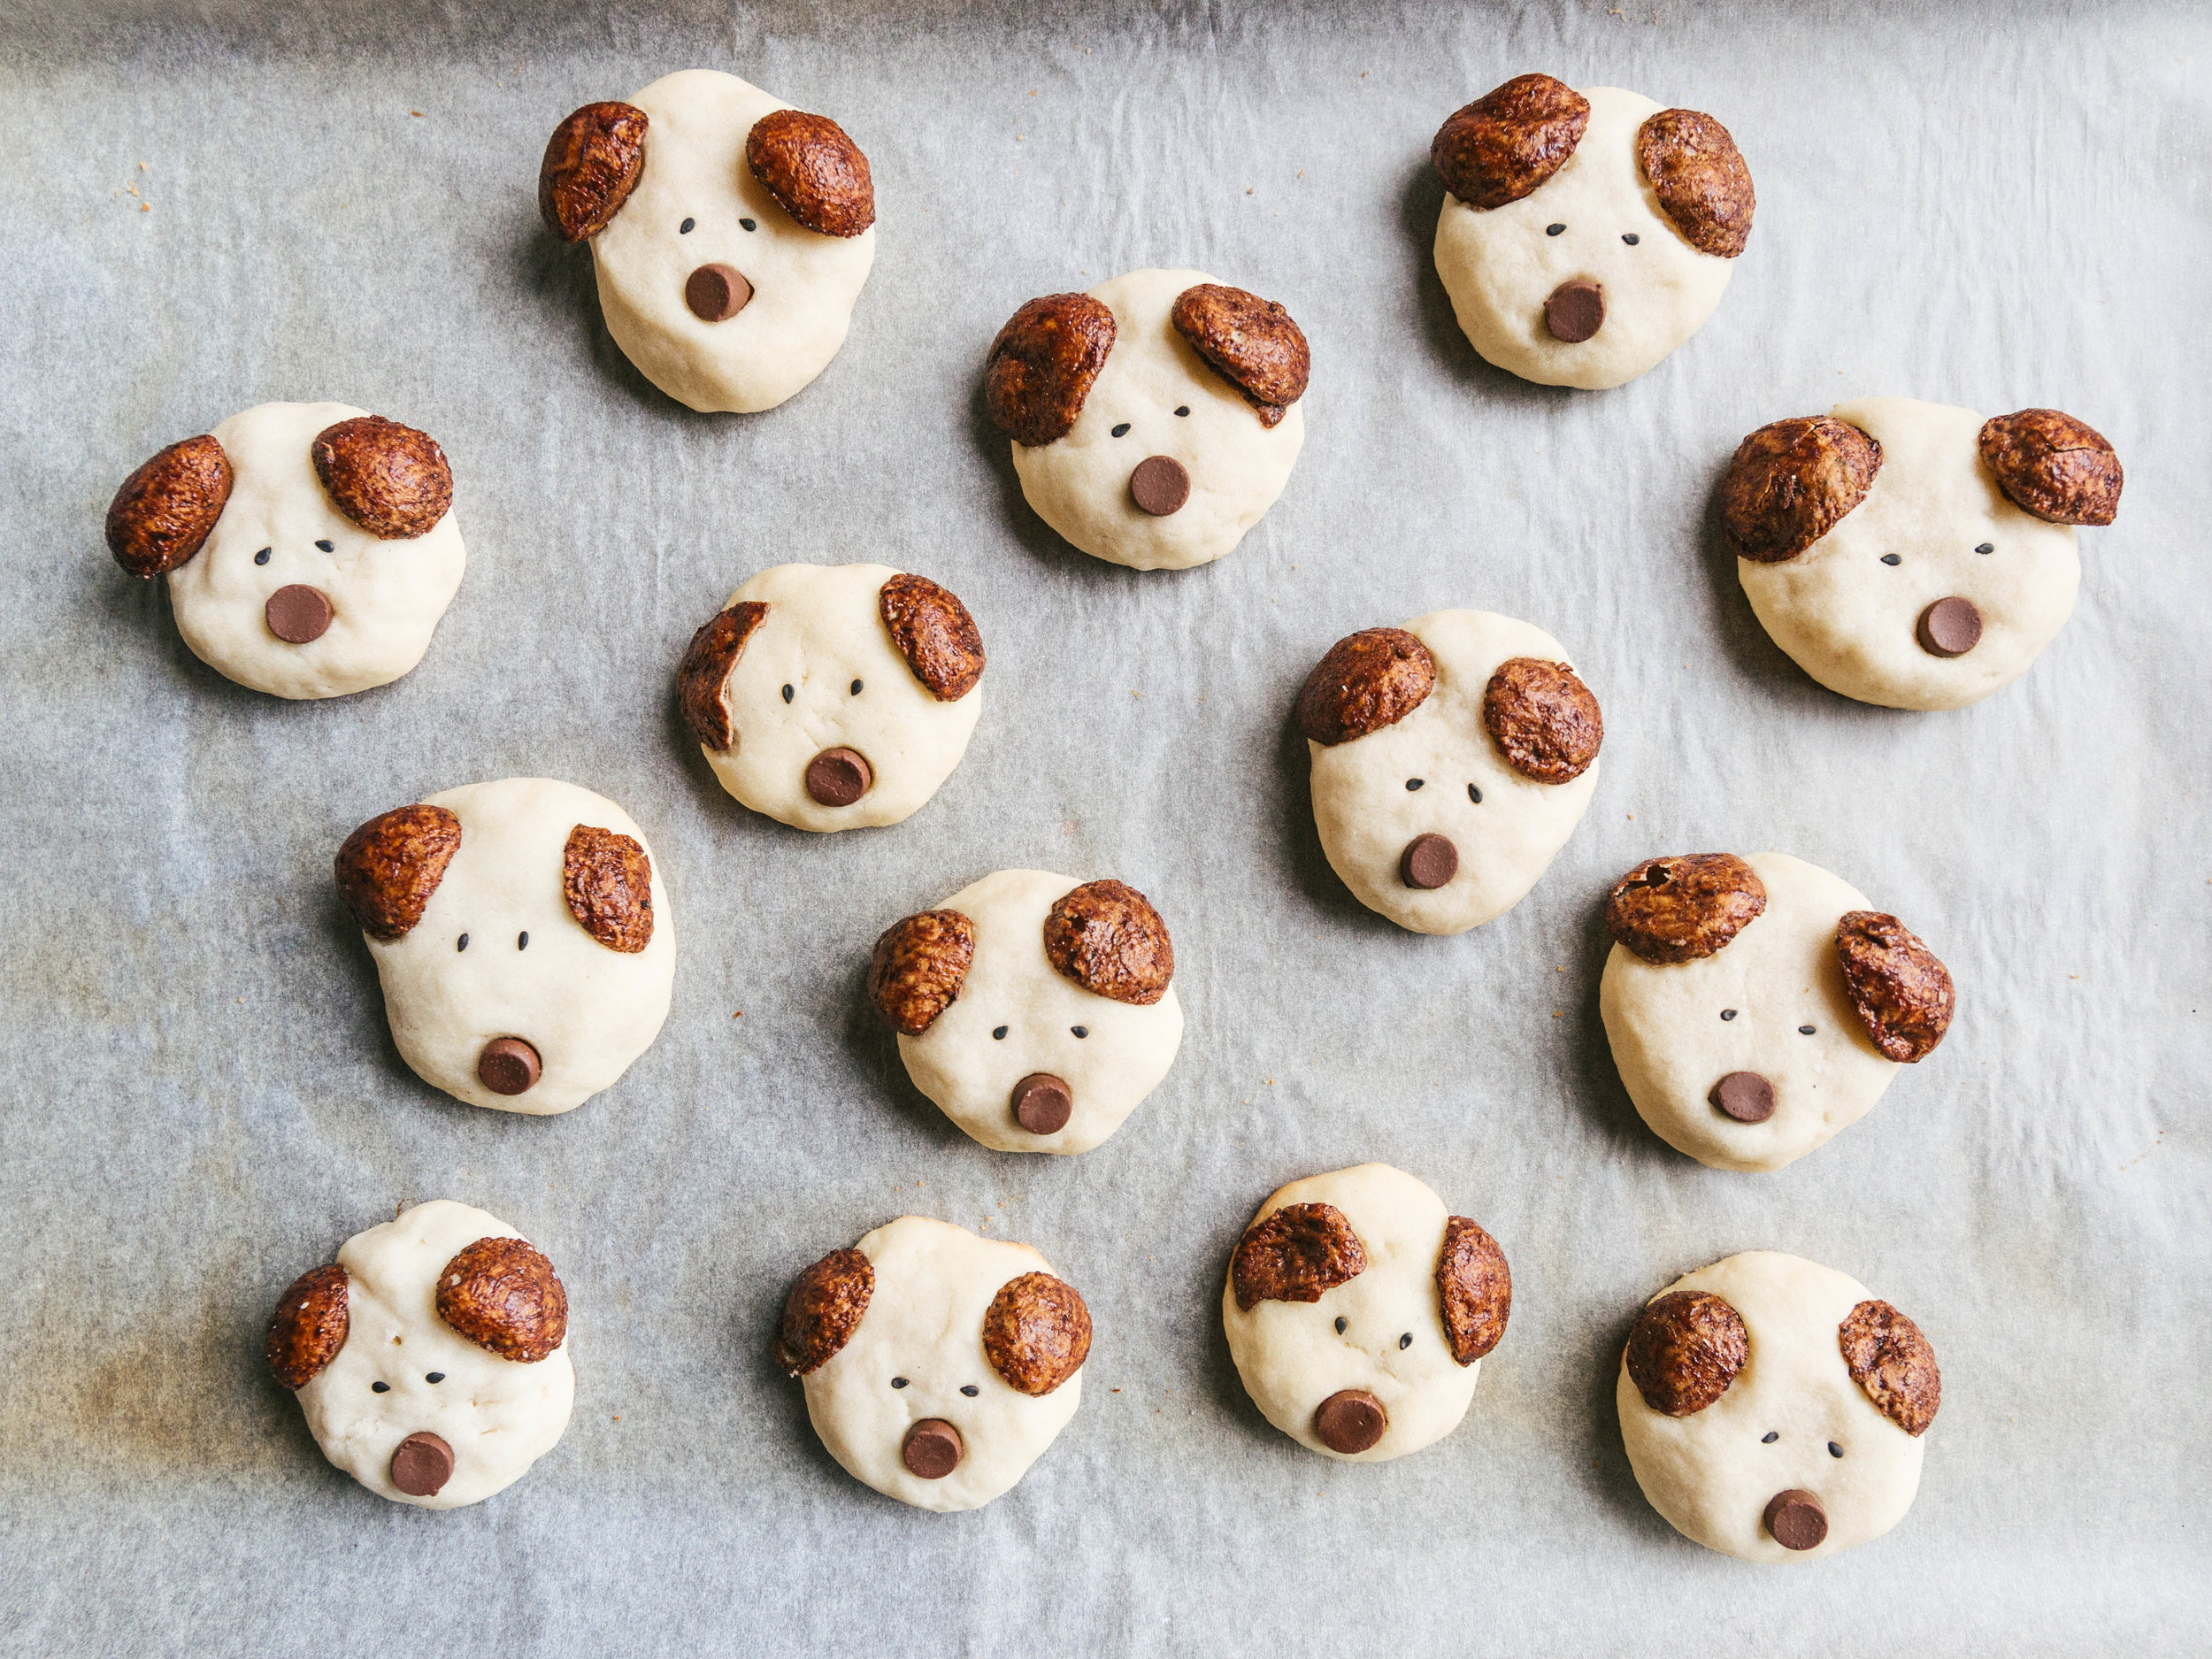
Dog shaped cookies for dog lovers
*
Makes around 20 cookies 

Ingredients

• 1.5 cup flour
• 2 cup potato starch
• 2 teaspoon vanilla extract
• 2/3 cup icing sugar
• 1 cup unsalted butter
• Chocolate cereal for ears (I found a box at Wholefoods in Vancouver)
• Black sesame seeds for eyes
• Baking chocolate chips for noses

Directions

1. Combine butter and sugar (wet ingredients). Beat until fluffy. Add vanilla and beat until combined.
2. Combine potato starch and plain flour (dry ingredients). Mix until combined.
3. Thoroughly mix dry and wet ingredients. If the mixture is too dry, add a few splashes of regular or oat milk. Cover with wrap and rest for half an hour or longer (I pre-make the dough and leave it in the fridge)
4. Line a baking tray with baking paper. Scoop dough into similar-sized balls and flatten them onto the surface of the tray. Add two chocolate cereal ears and a chocolate chip nose. Use a tweezer to add sesame seed eyes (this step requires a lot of patience)
5. Bake at 340F for 15 minutes or until cookie bottoms are golden.

Notes: 

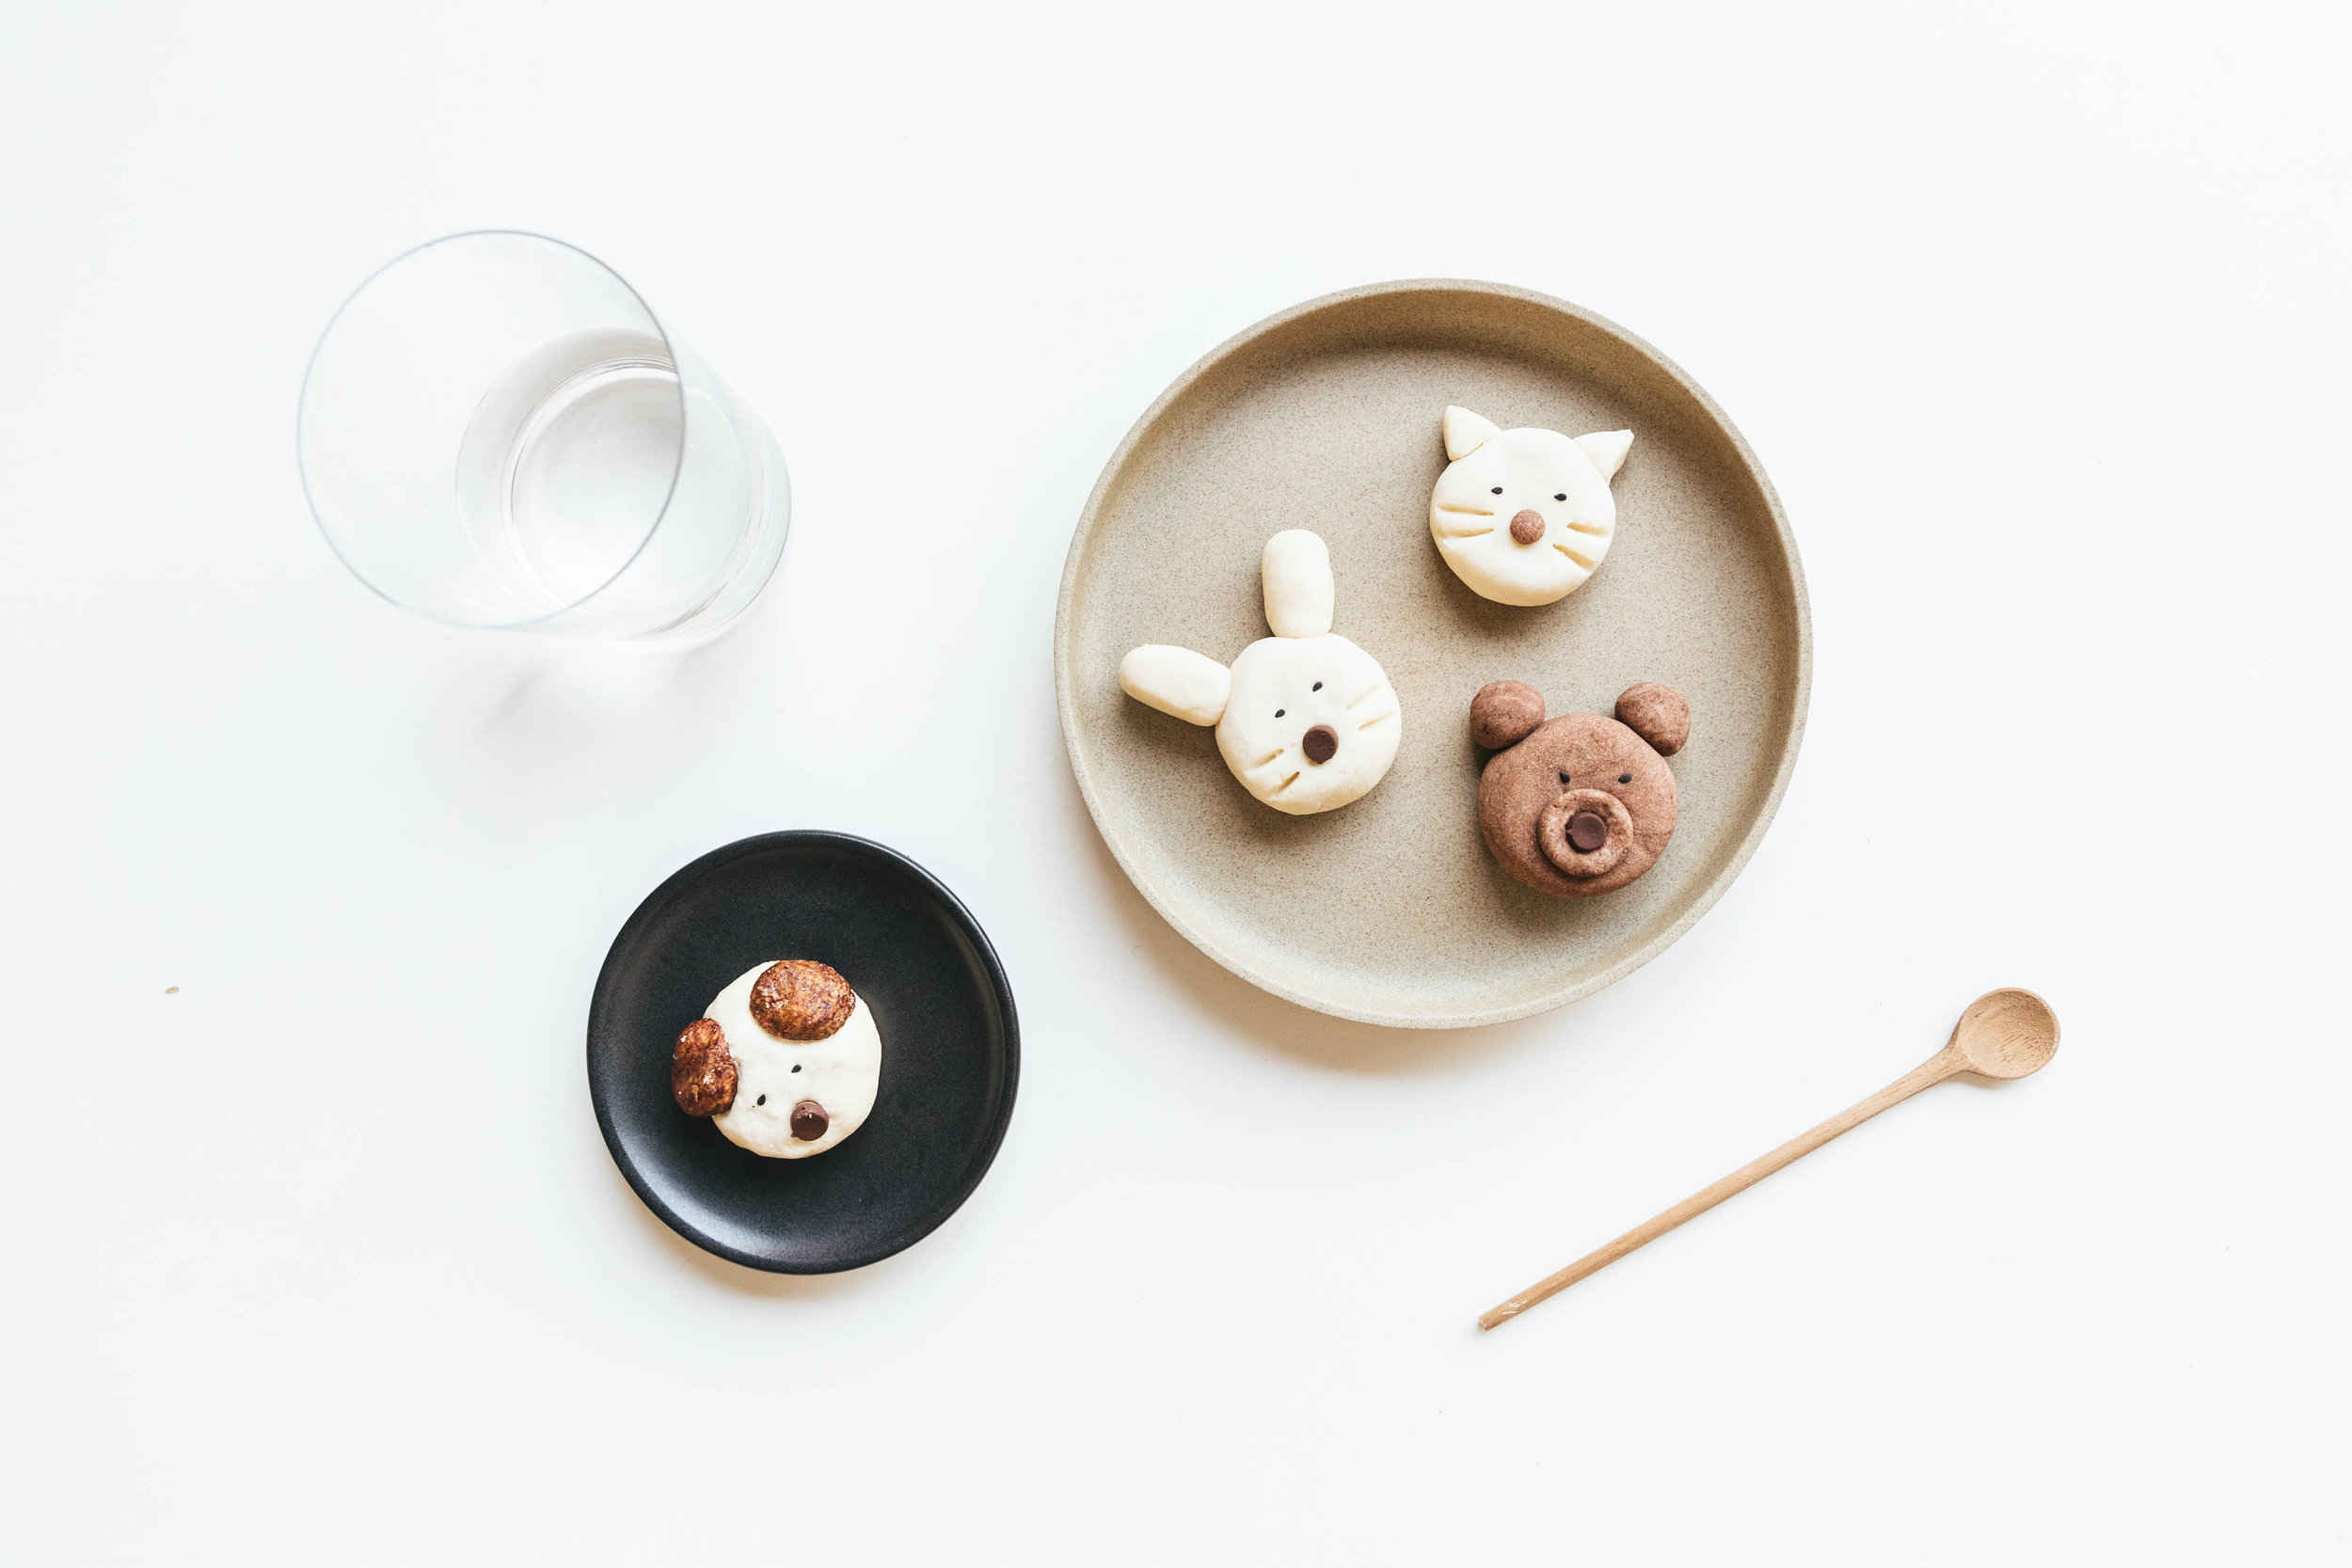
*For cocoa cookies, add a scoop of cocoa powder into the dough and mix until the colors are combined.  Additionally, you can expand from dog cookies to every kind of animal. 

animal-shaped-cookies-recipe-chocolate-7.jpg

Enjoy

My first dog Akita Lisa + brother | Shot on film in Taiwan, 1992

My first dog Akita Lisa + brother | Shot on film in Taiwan, 1992